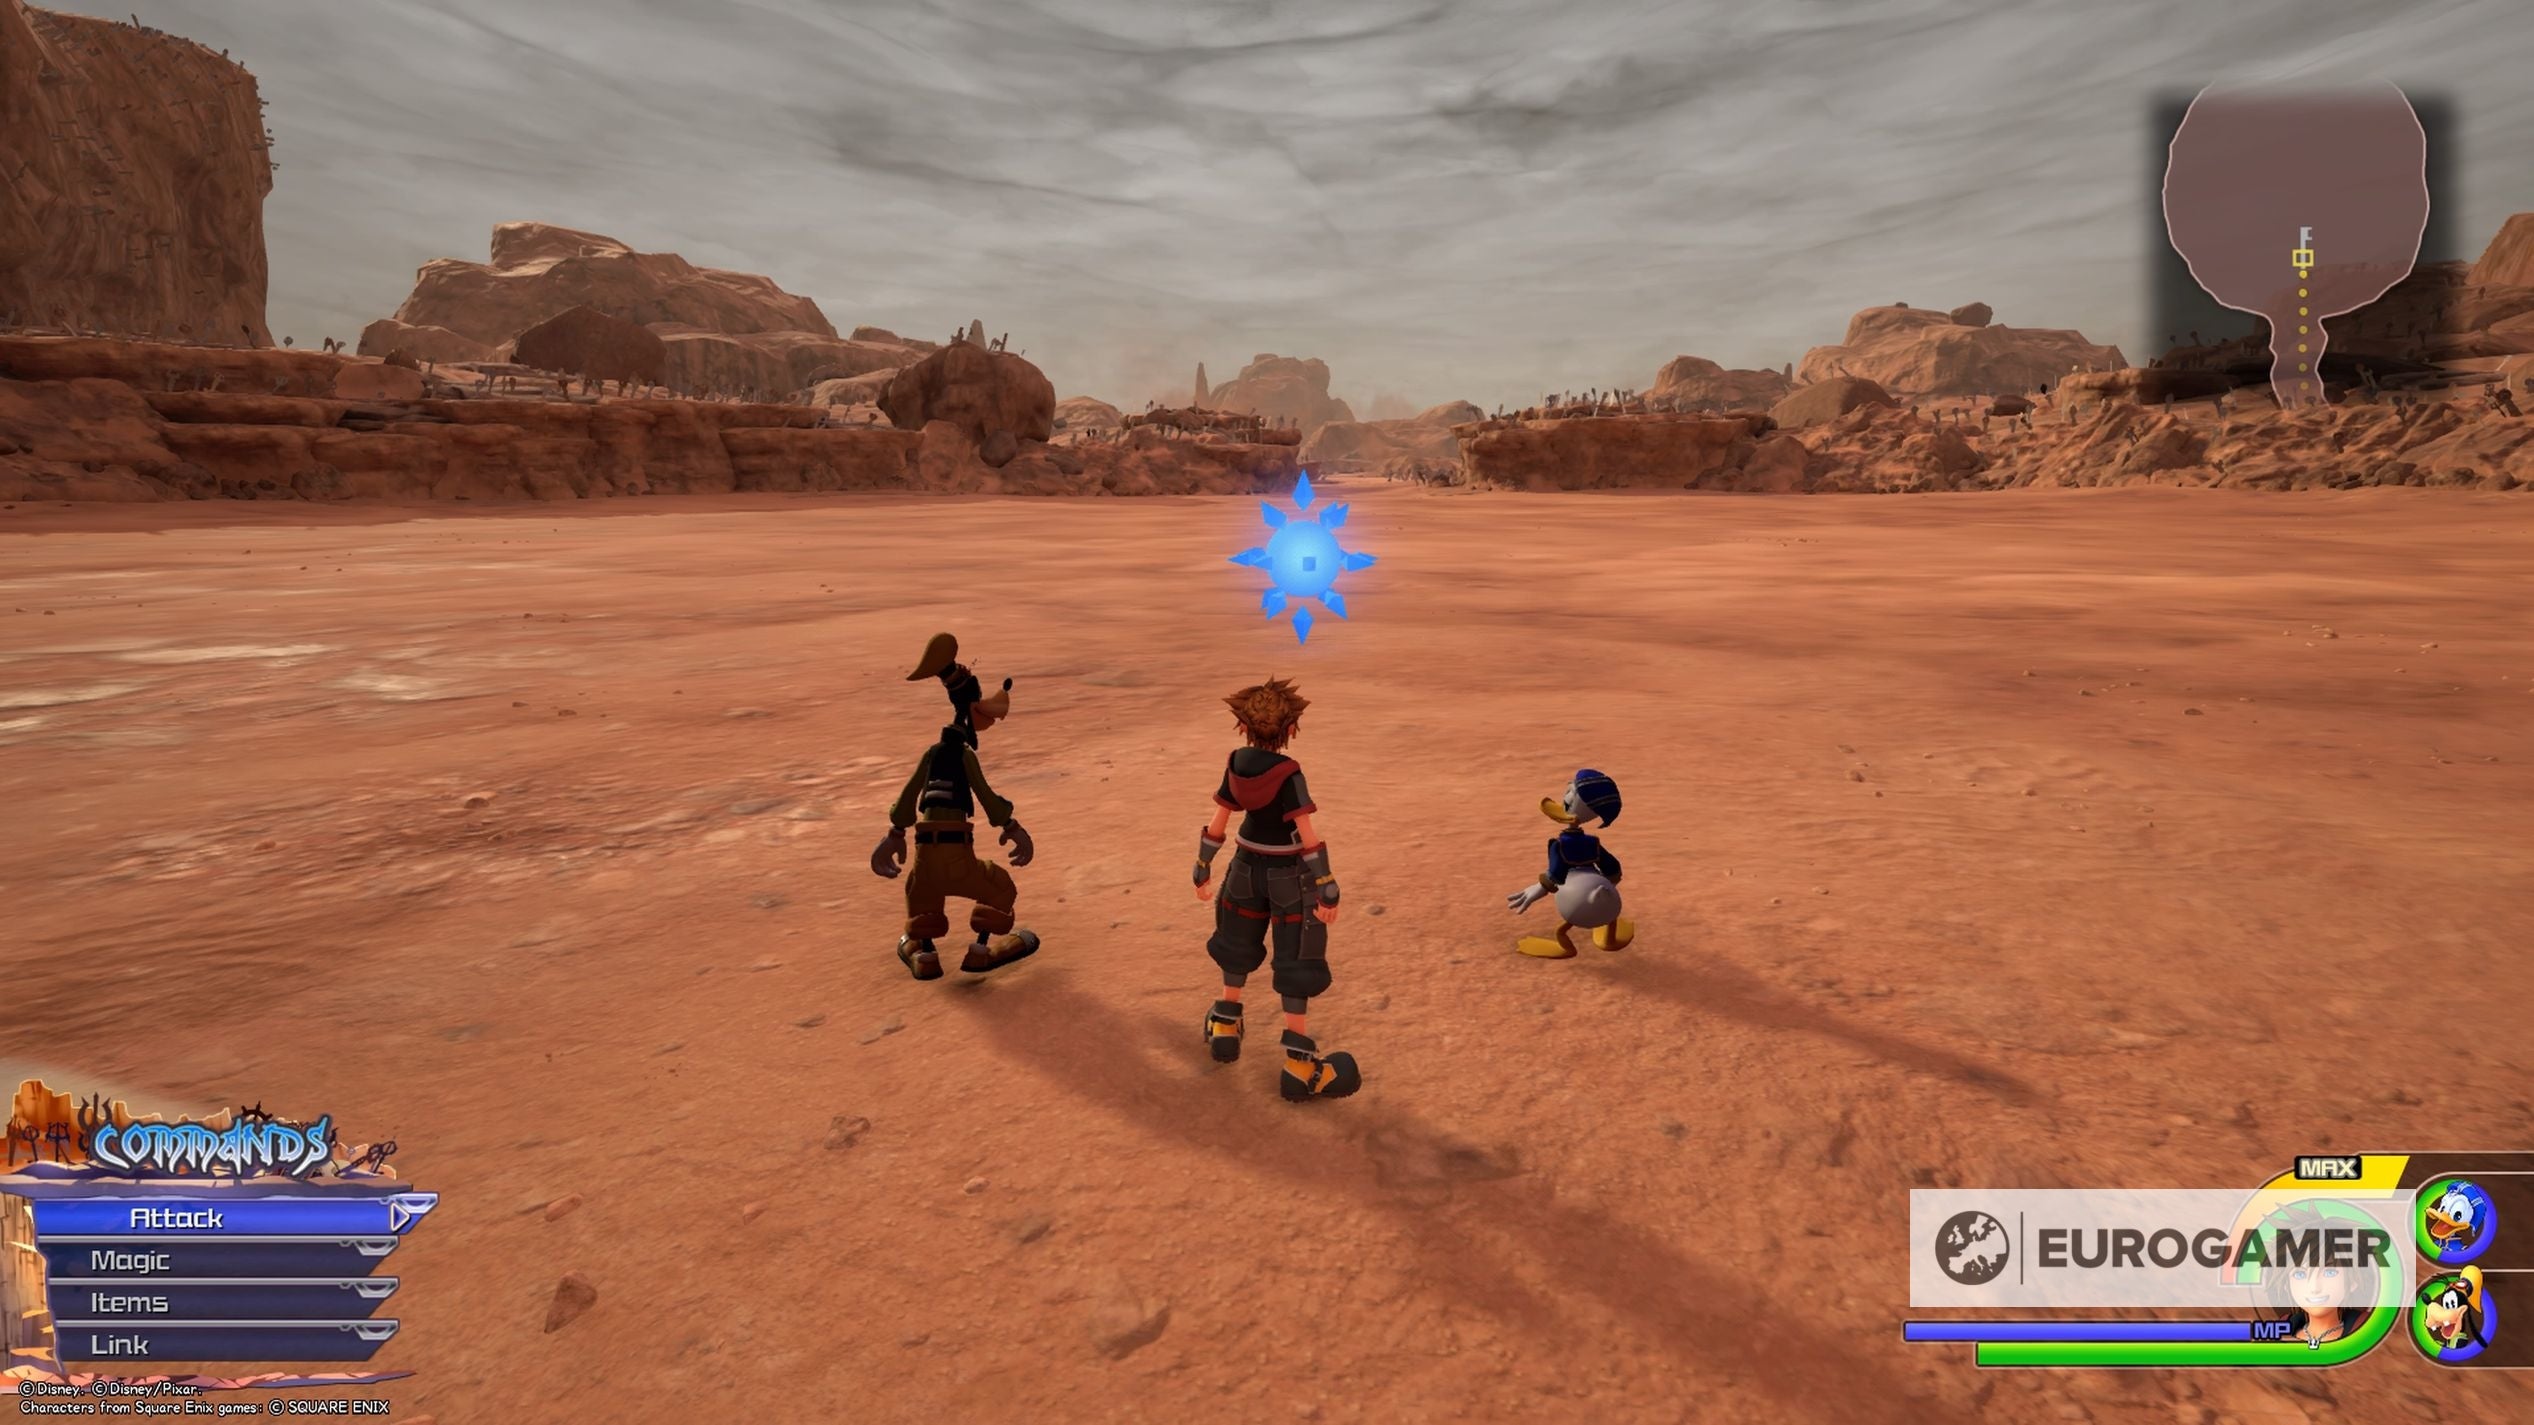
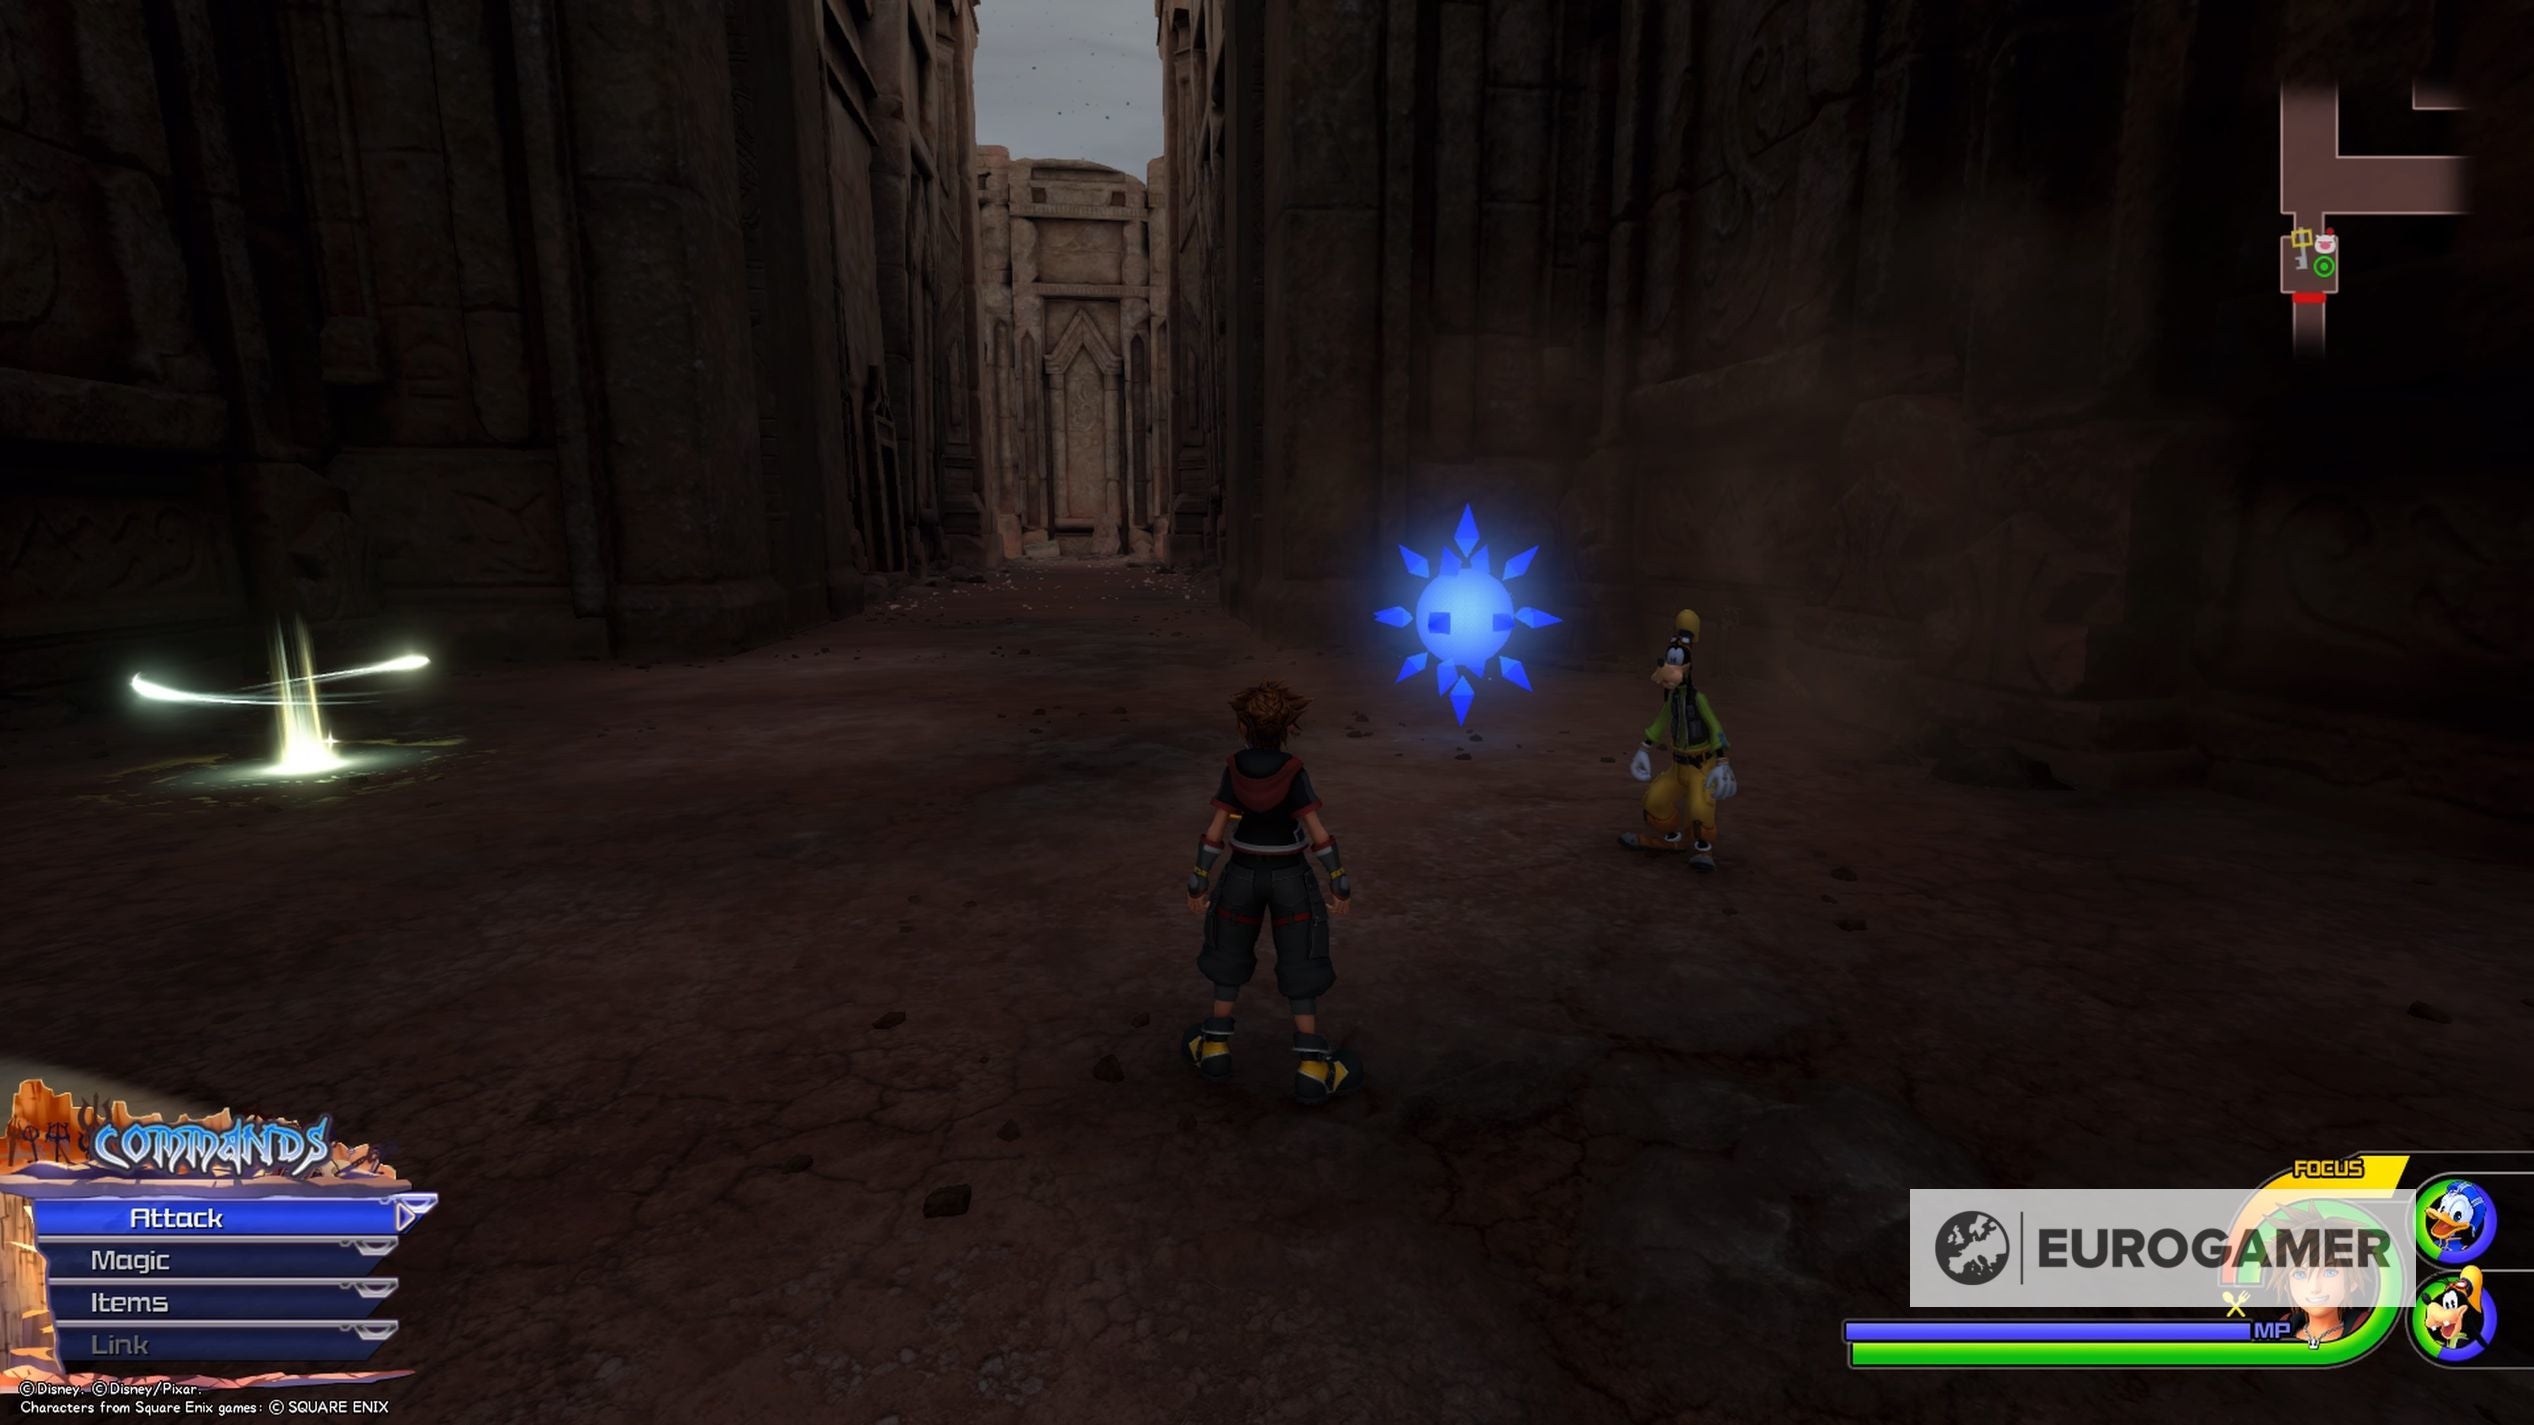
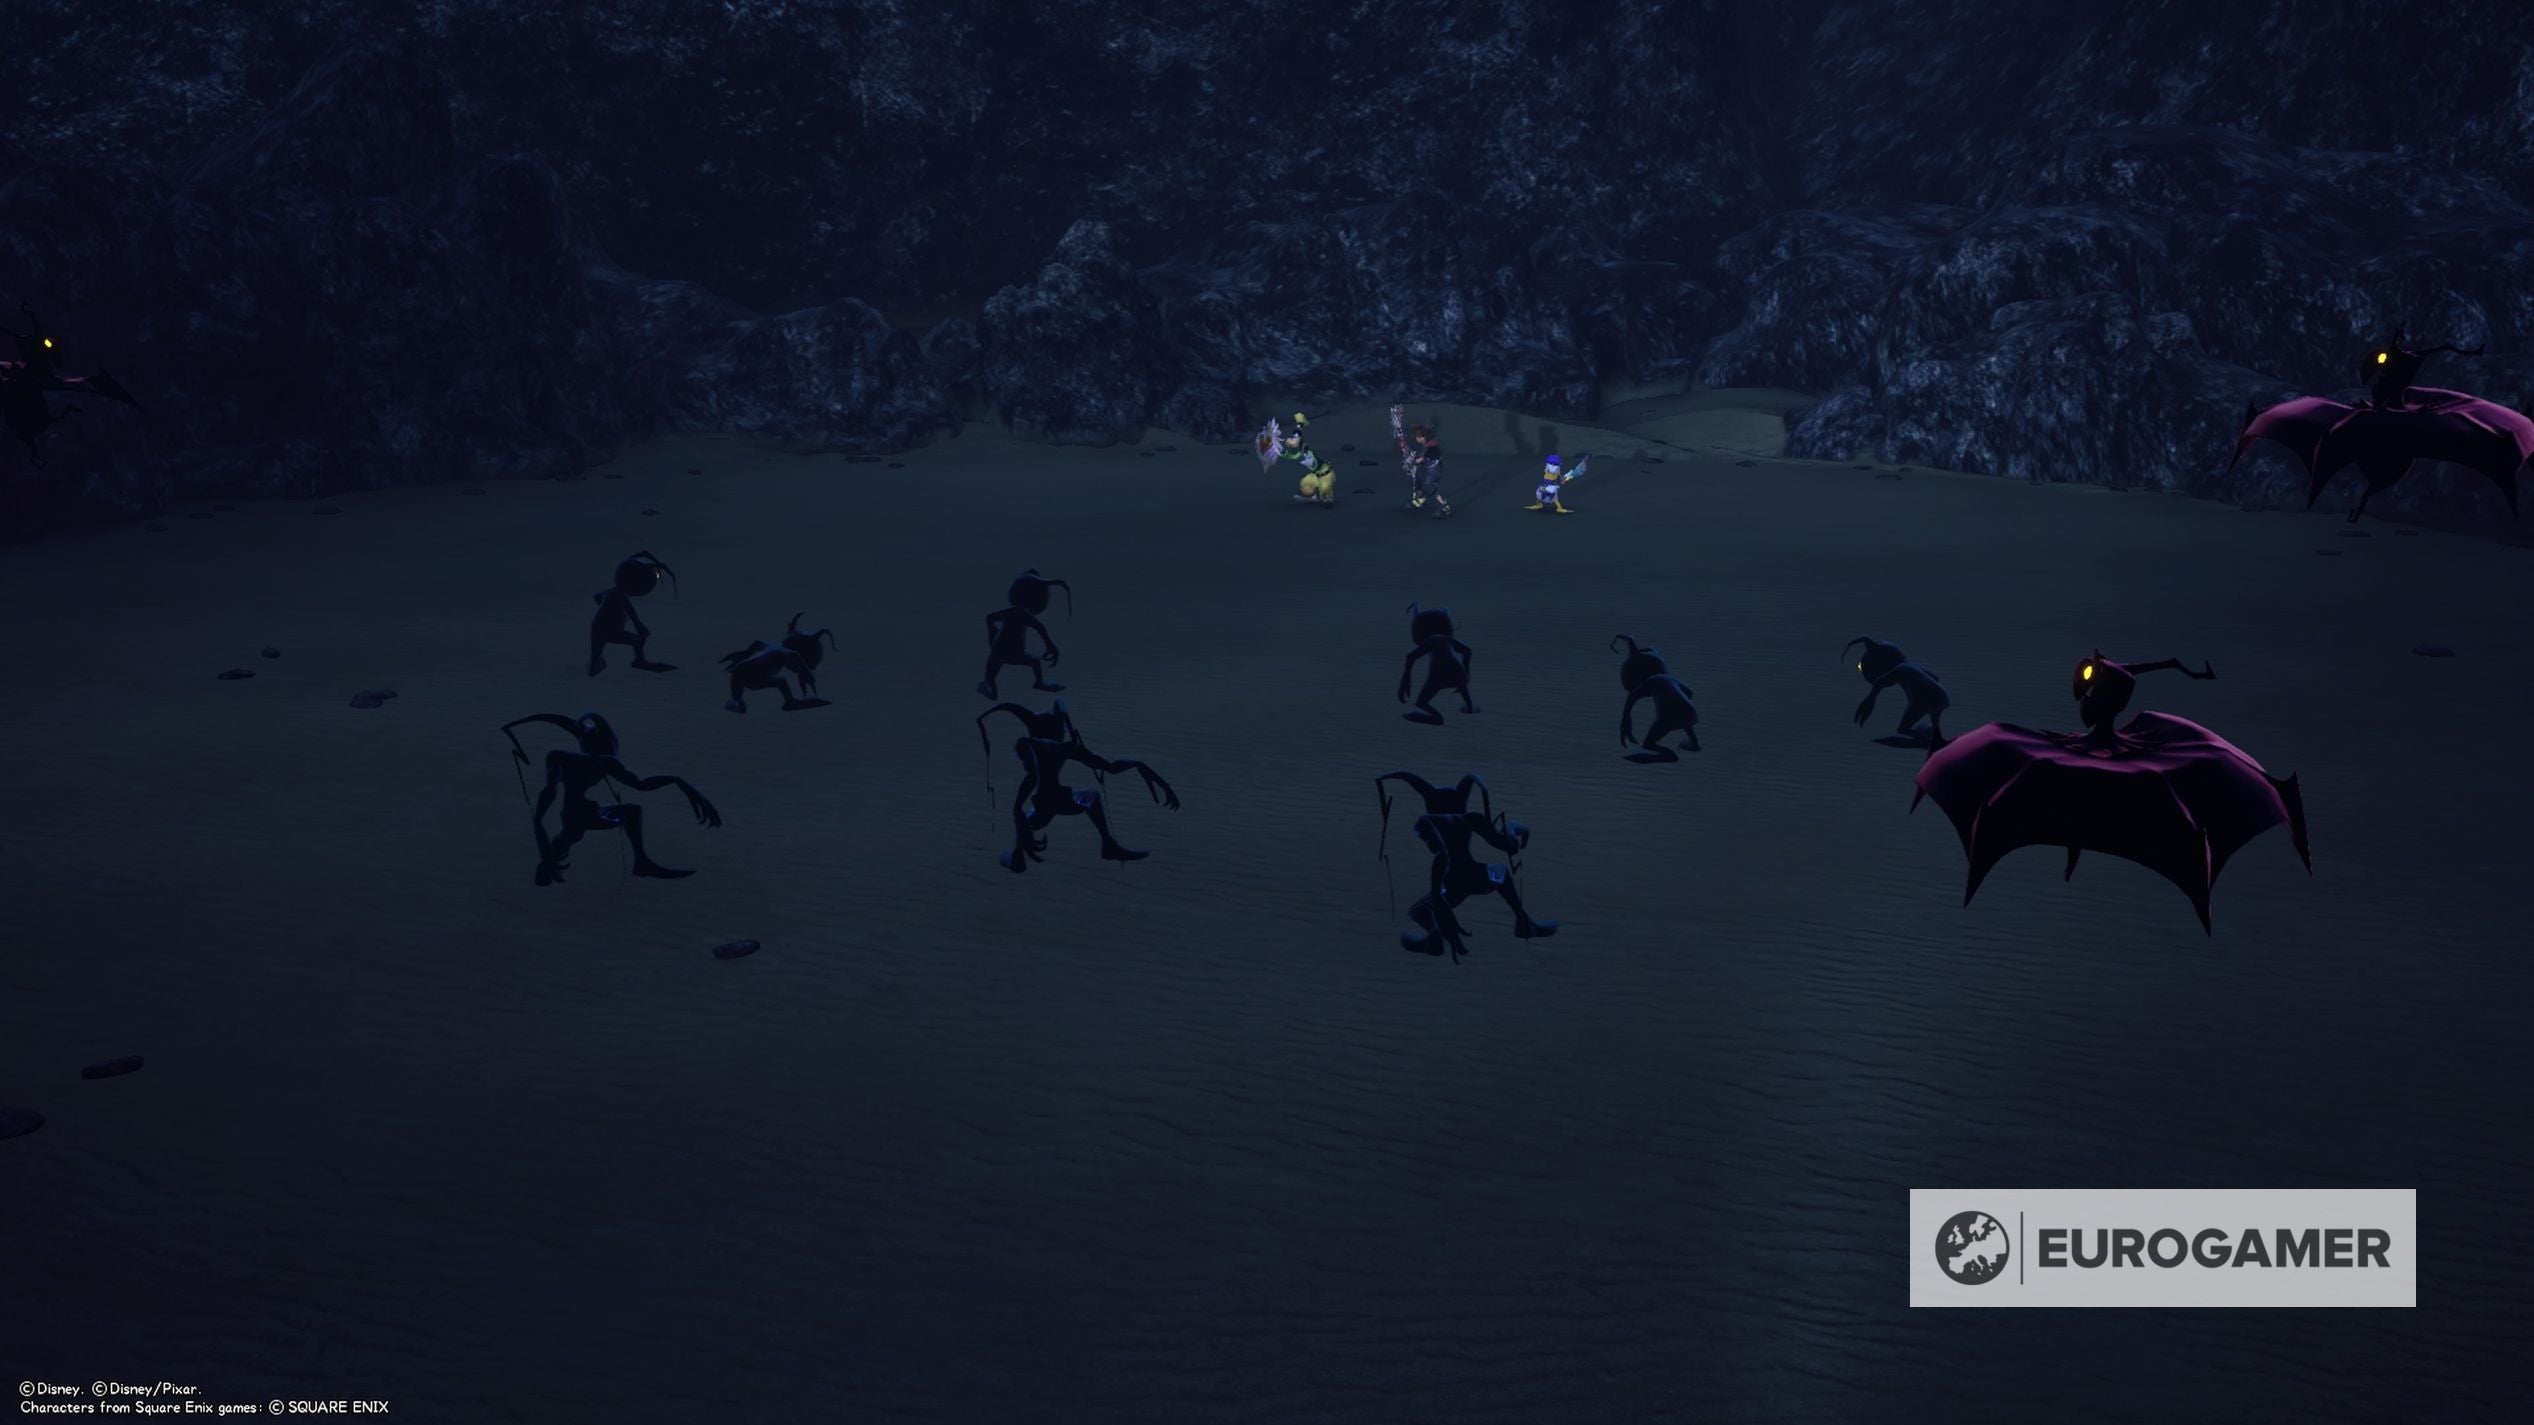
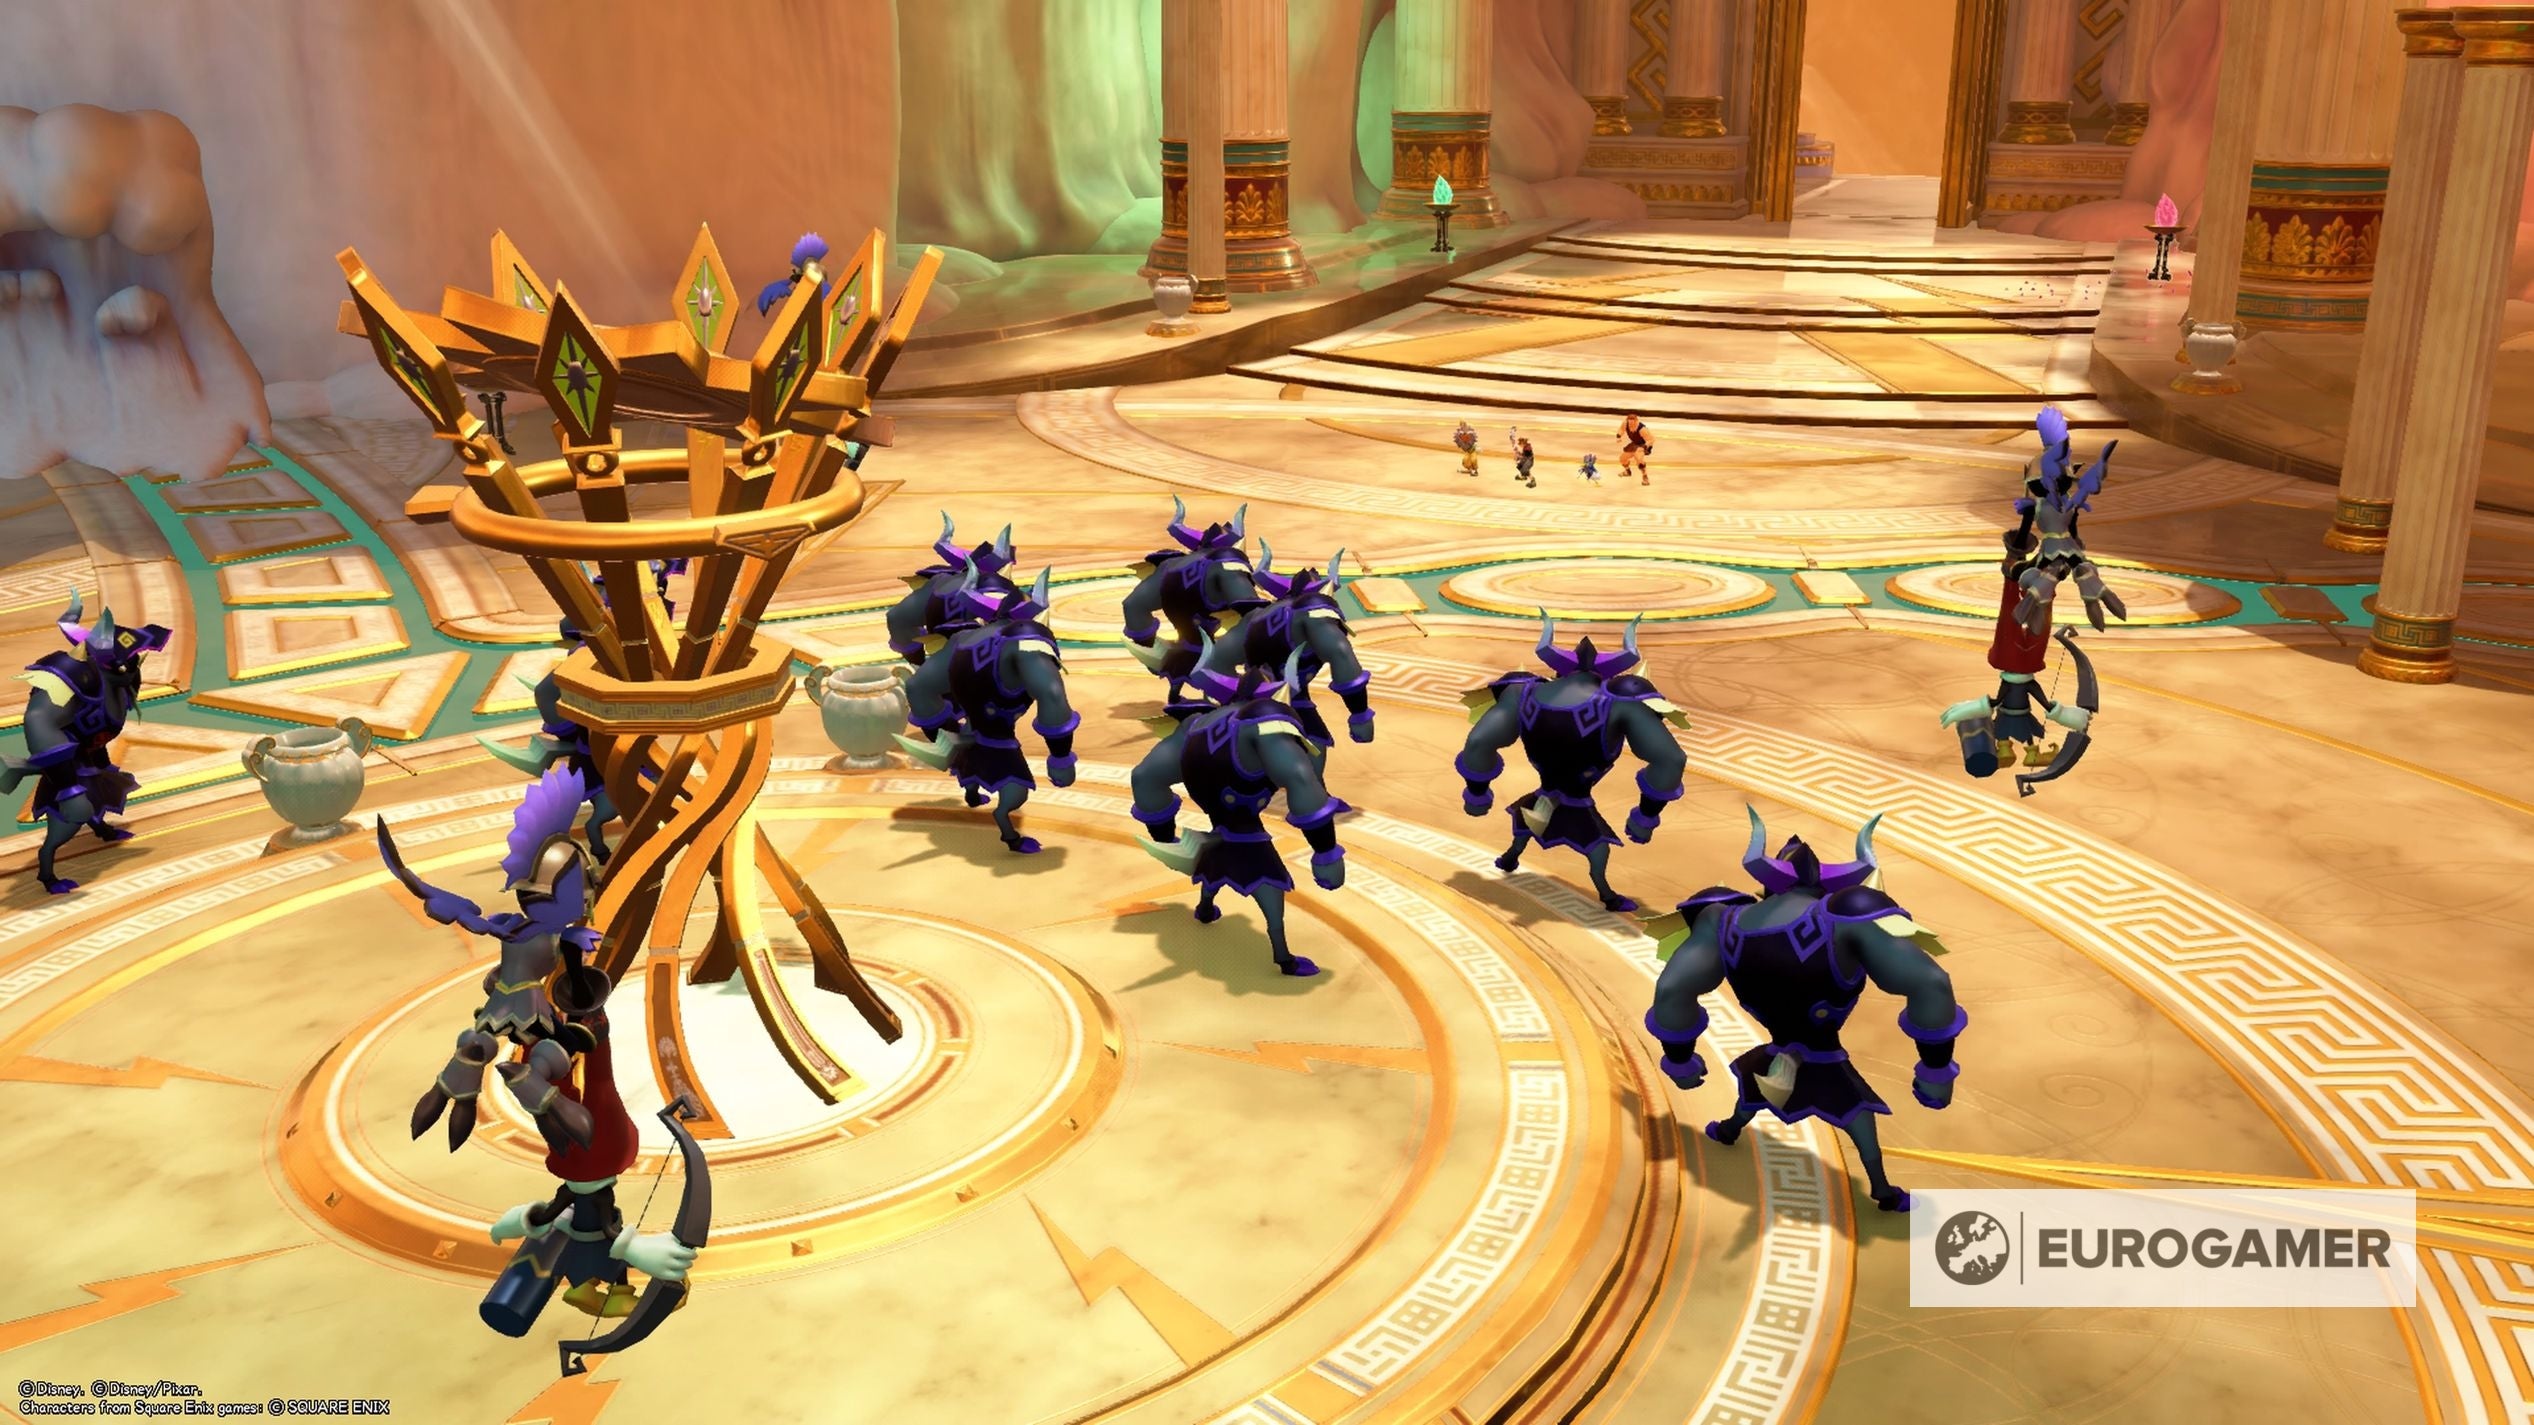
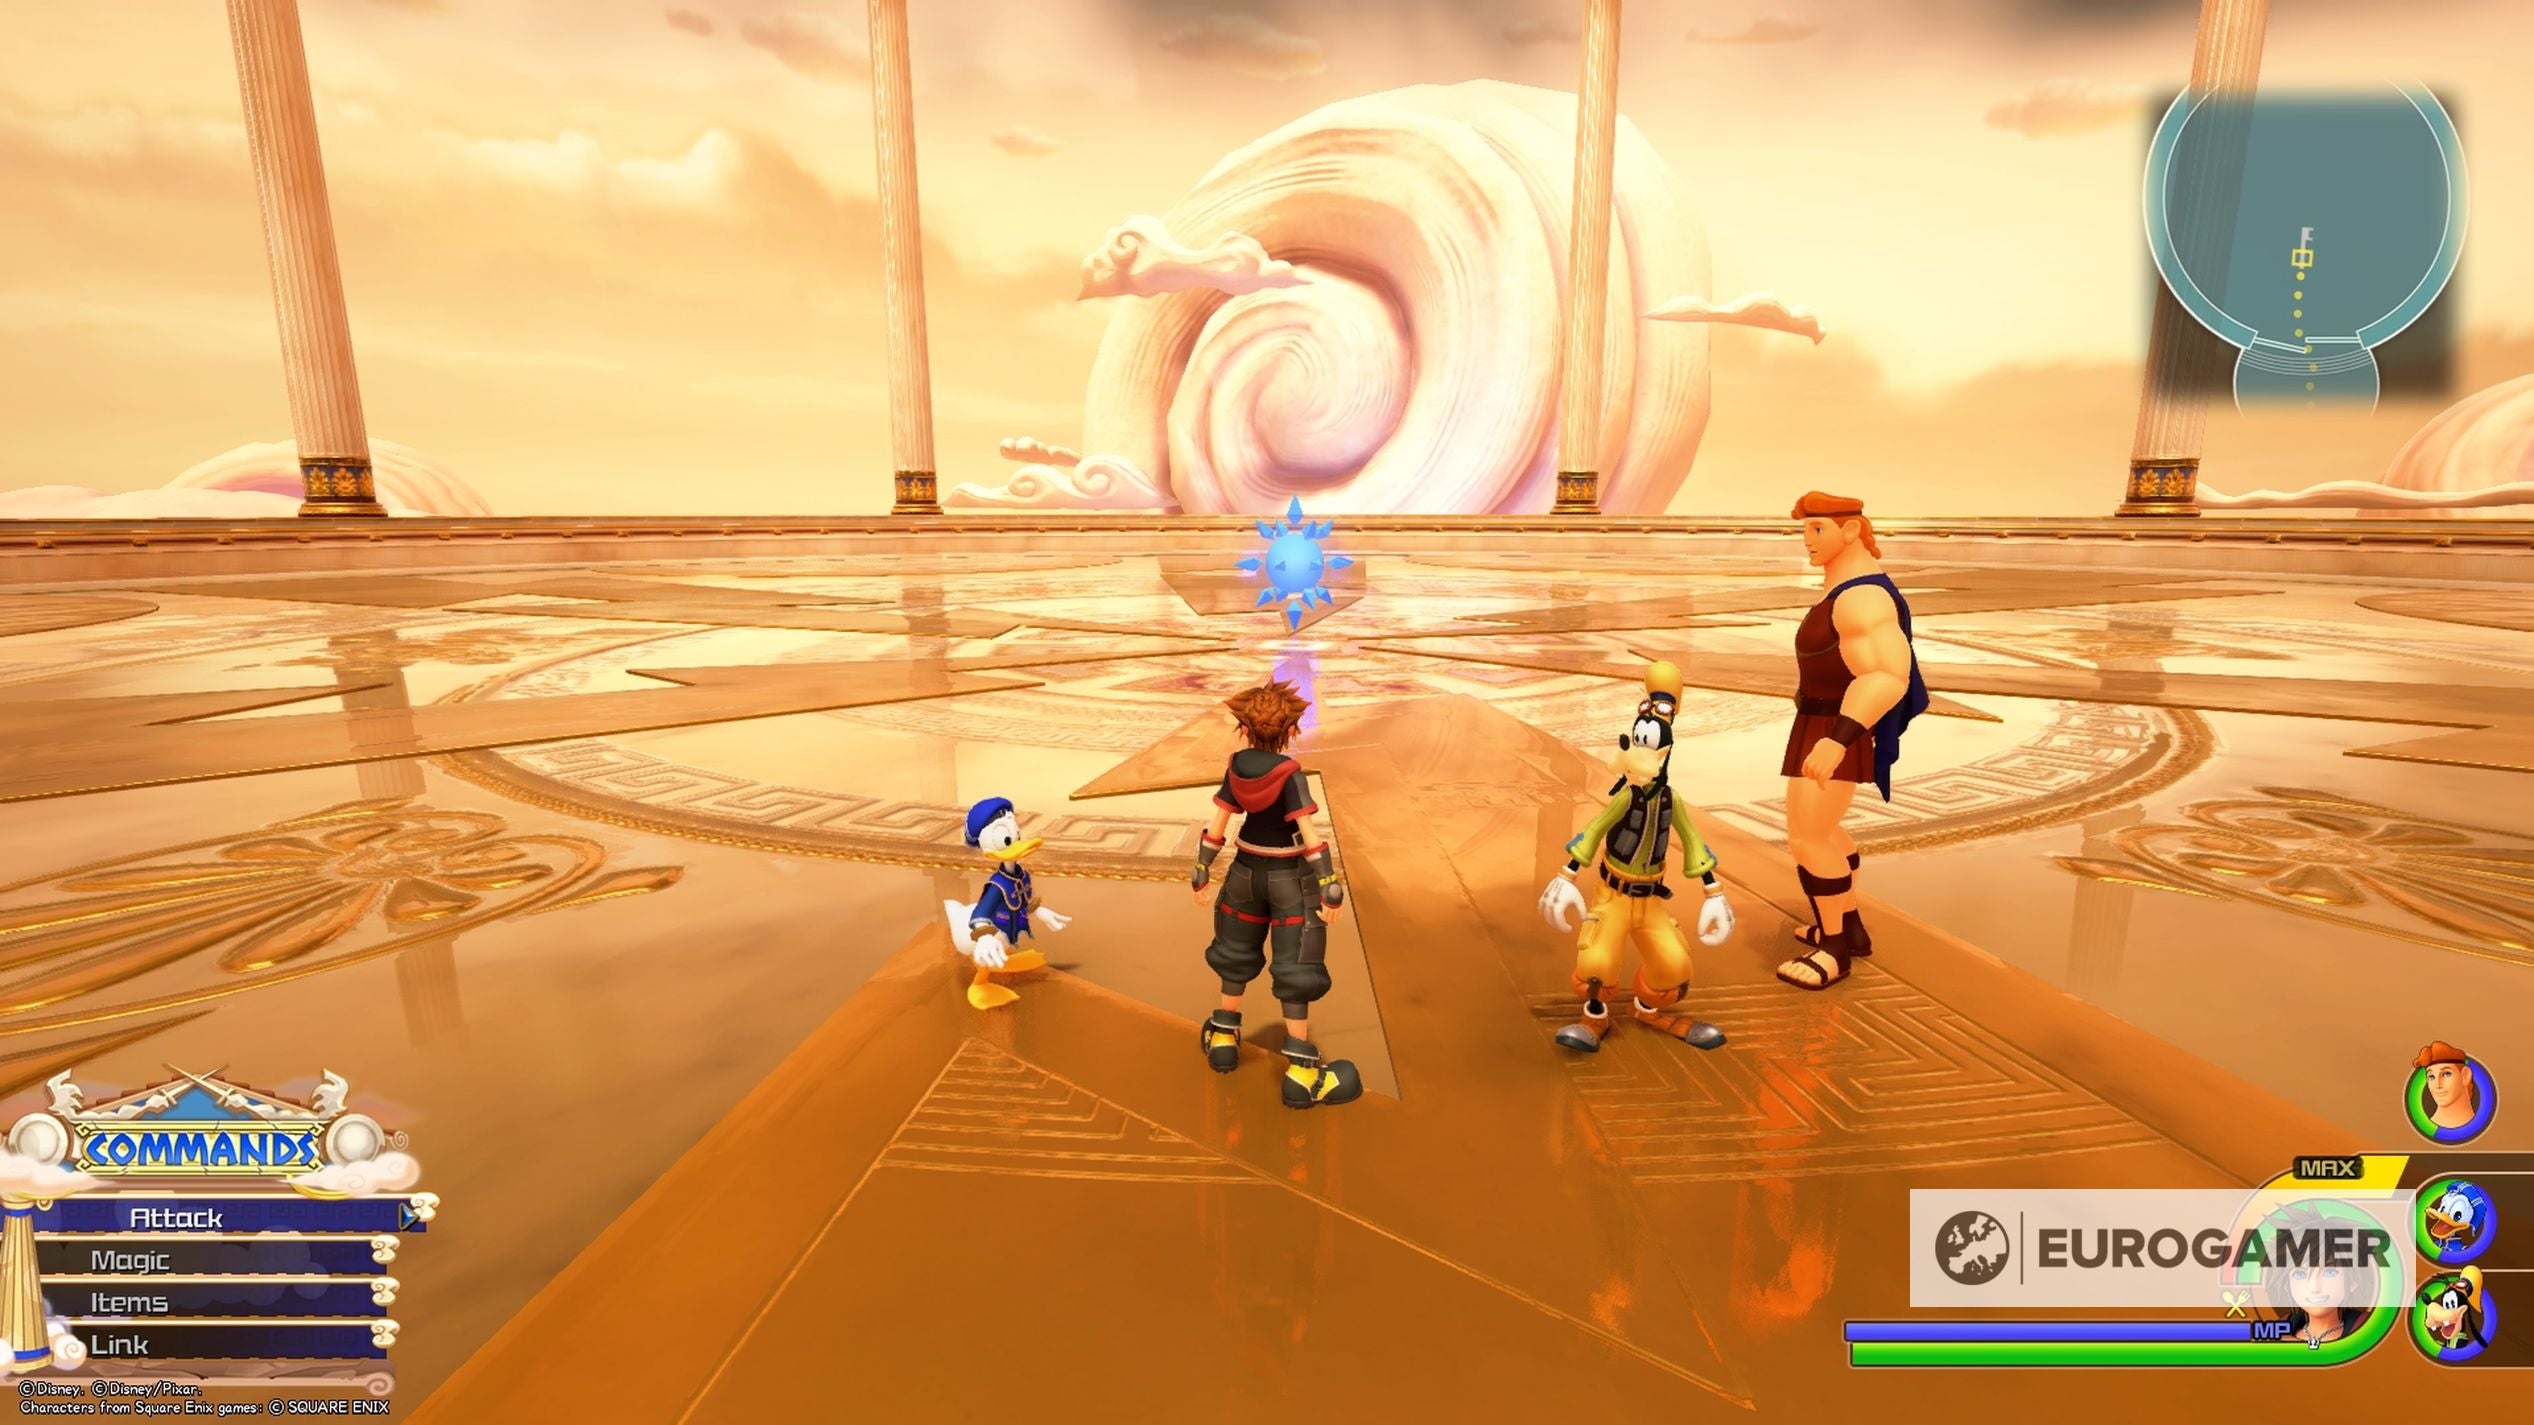
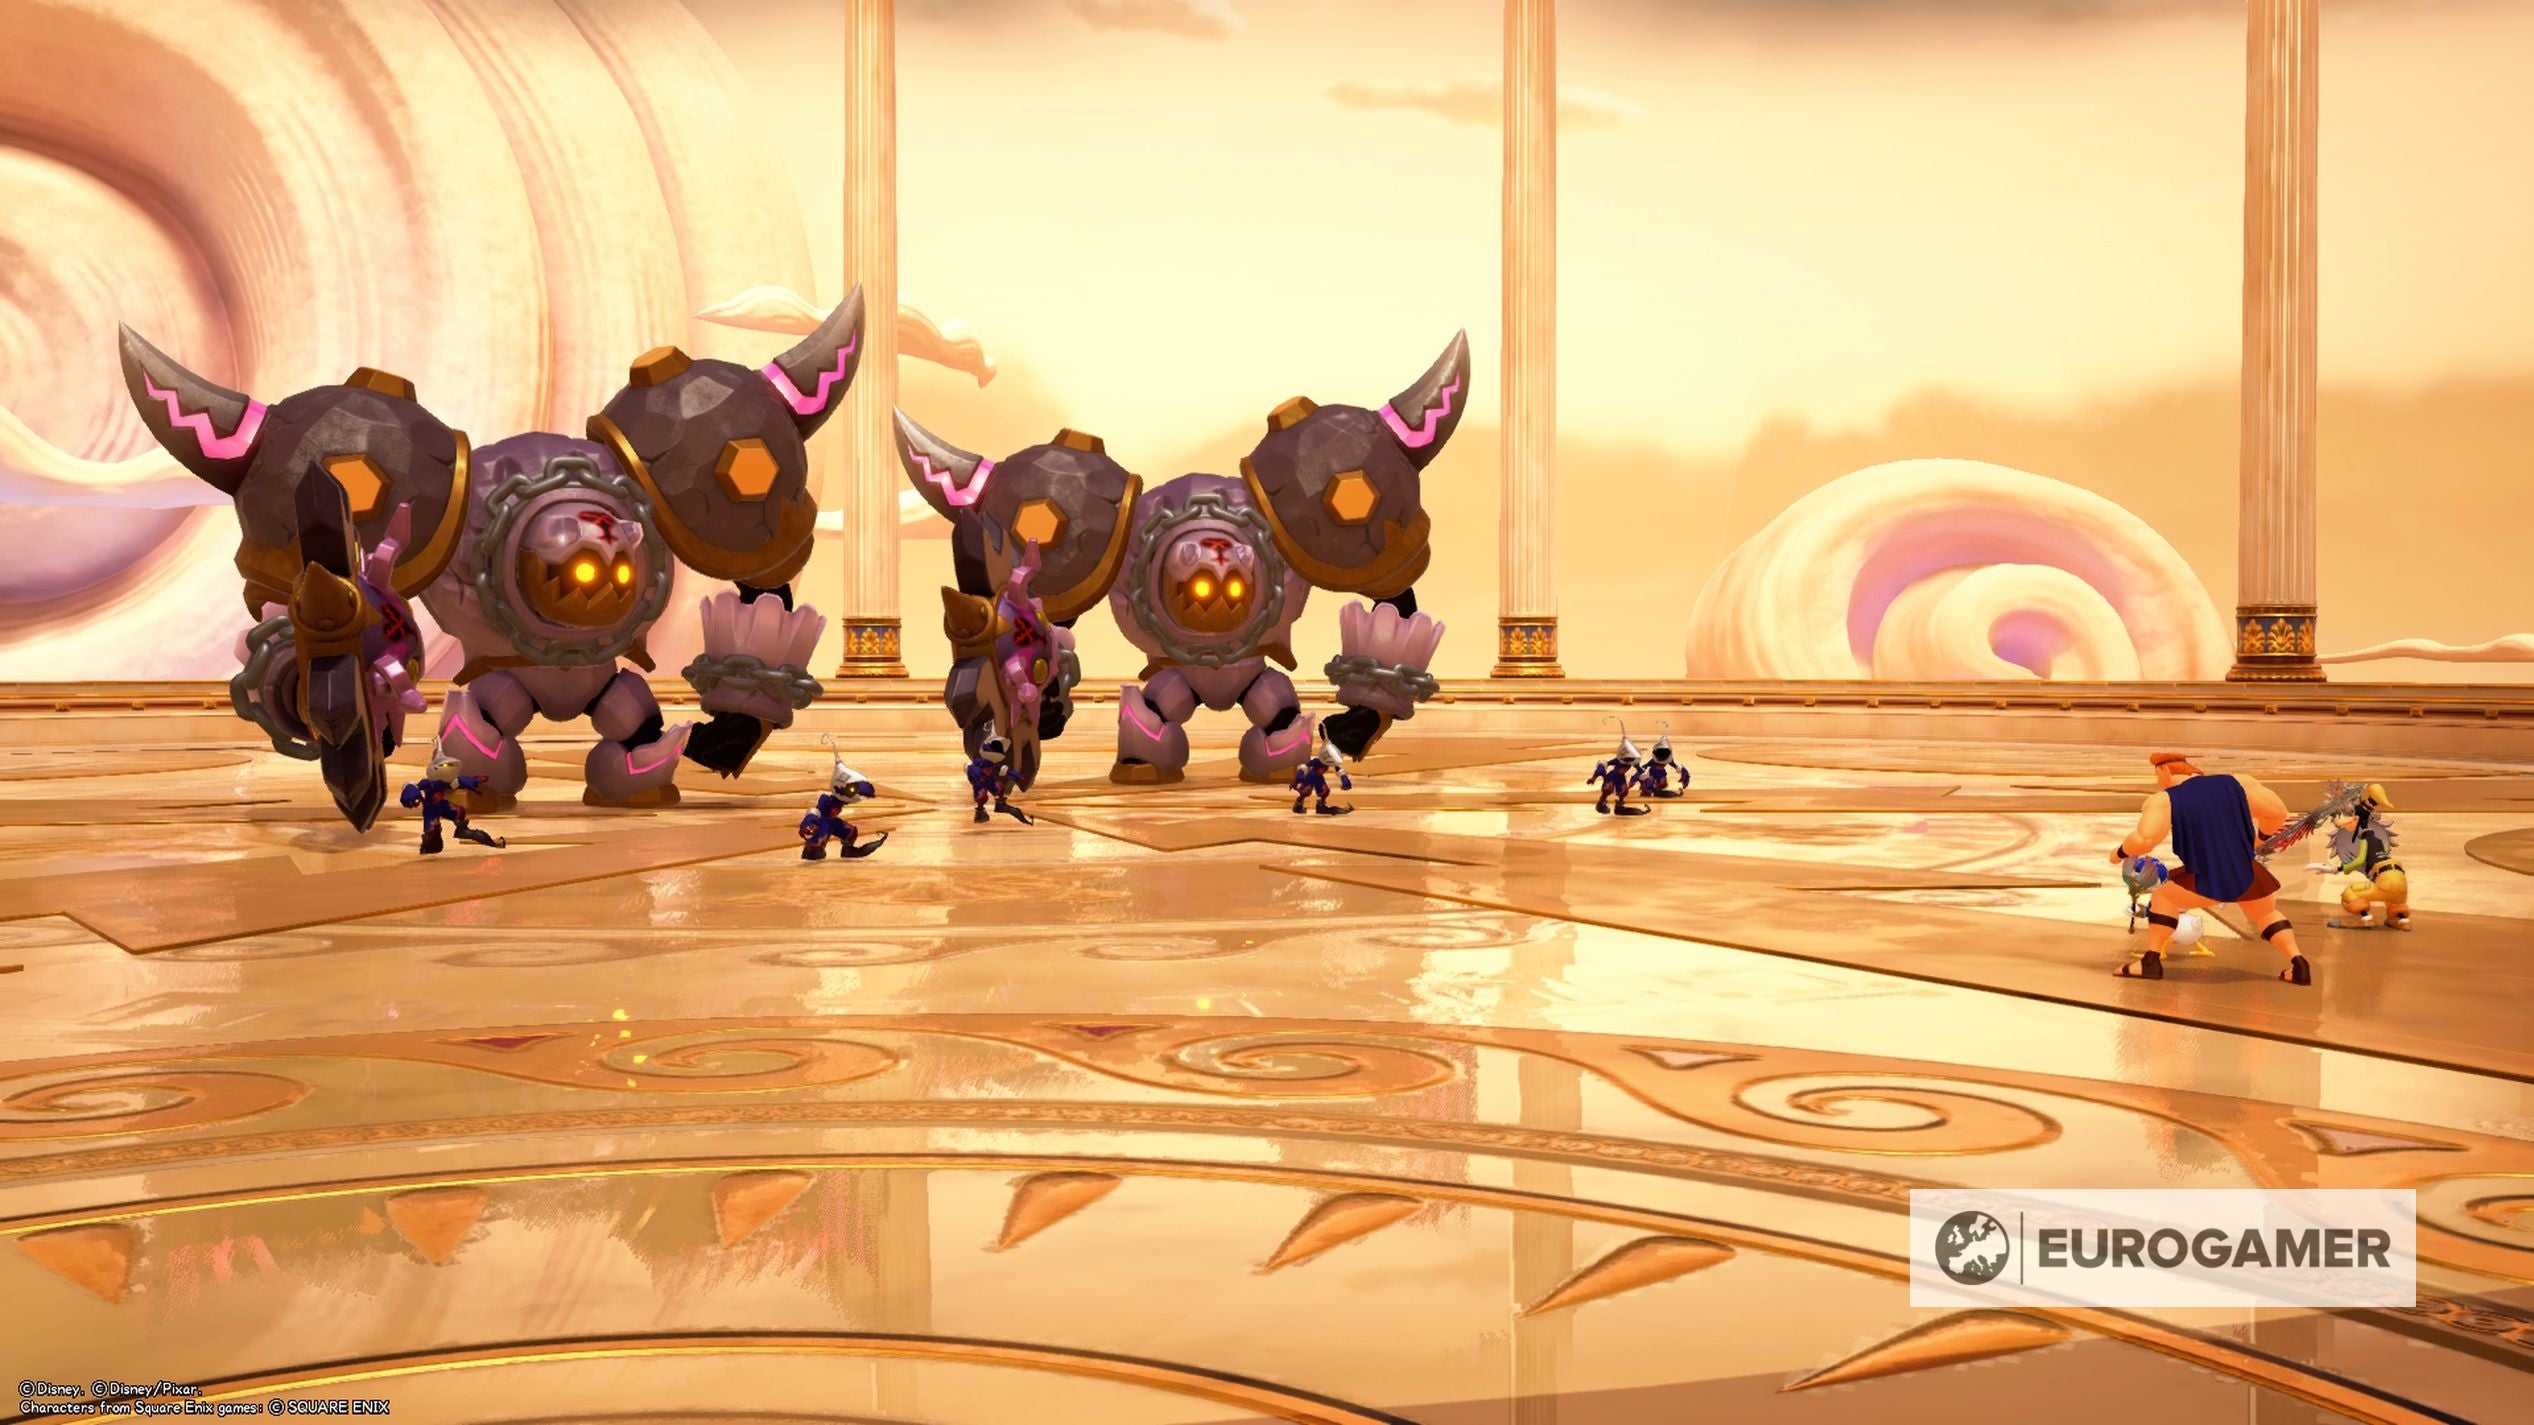
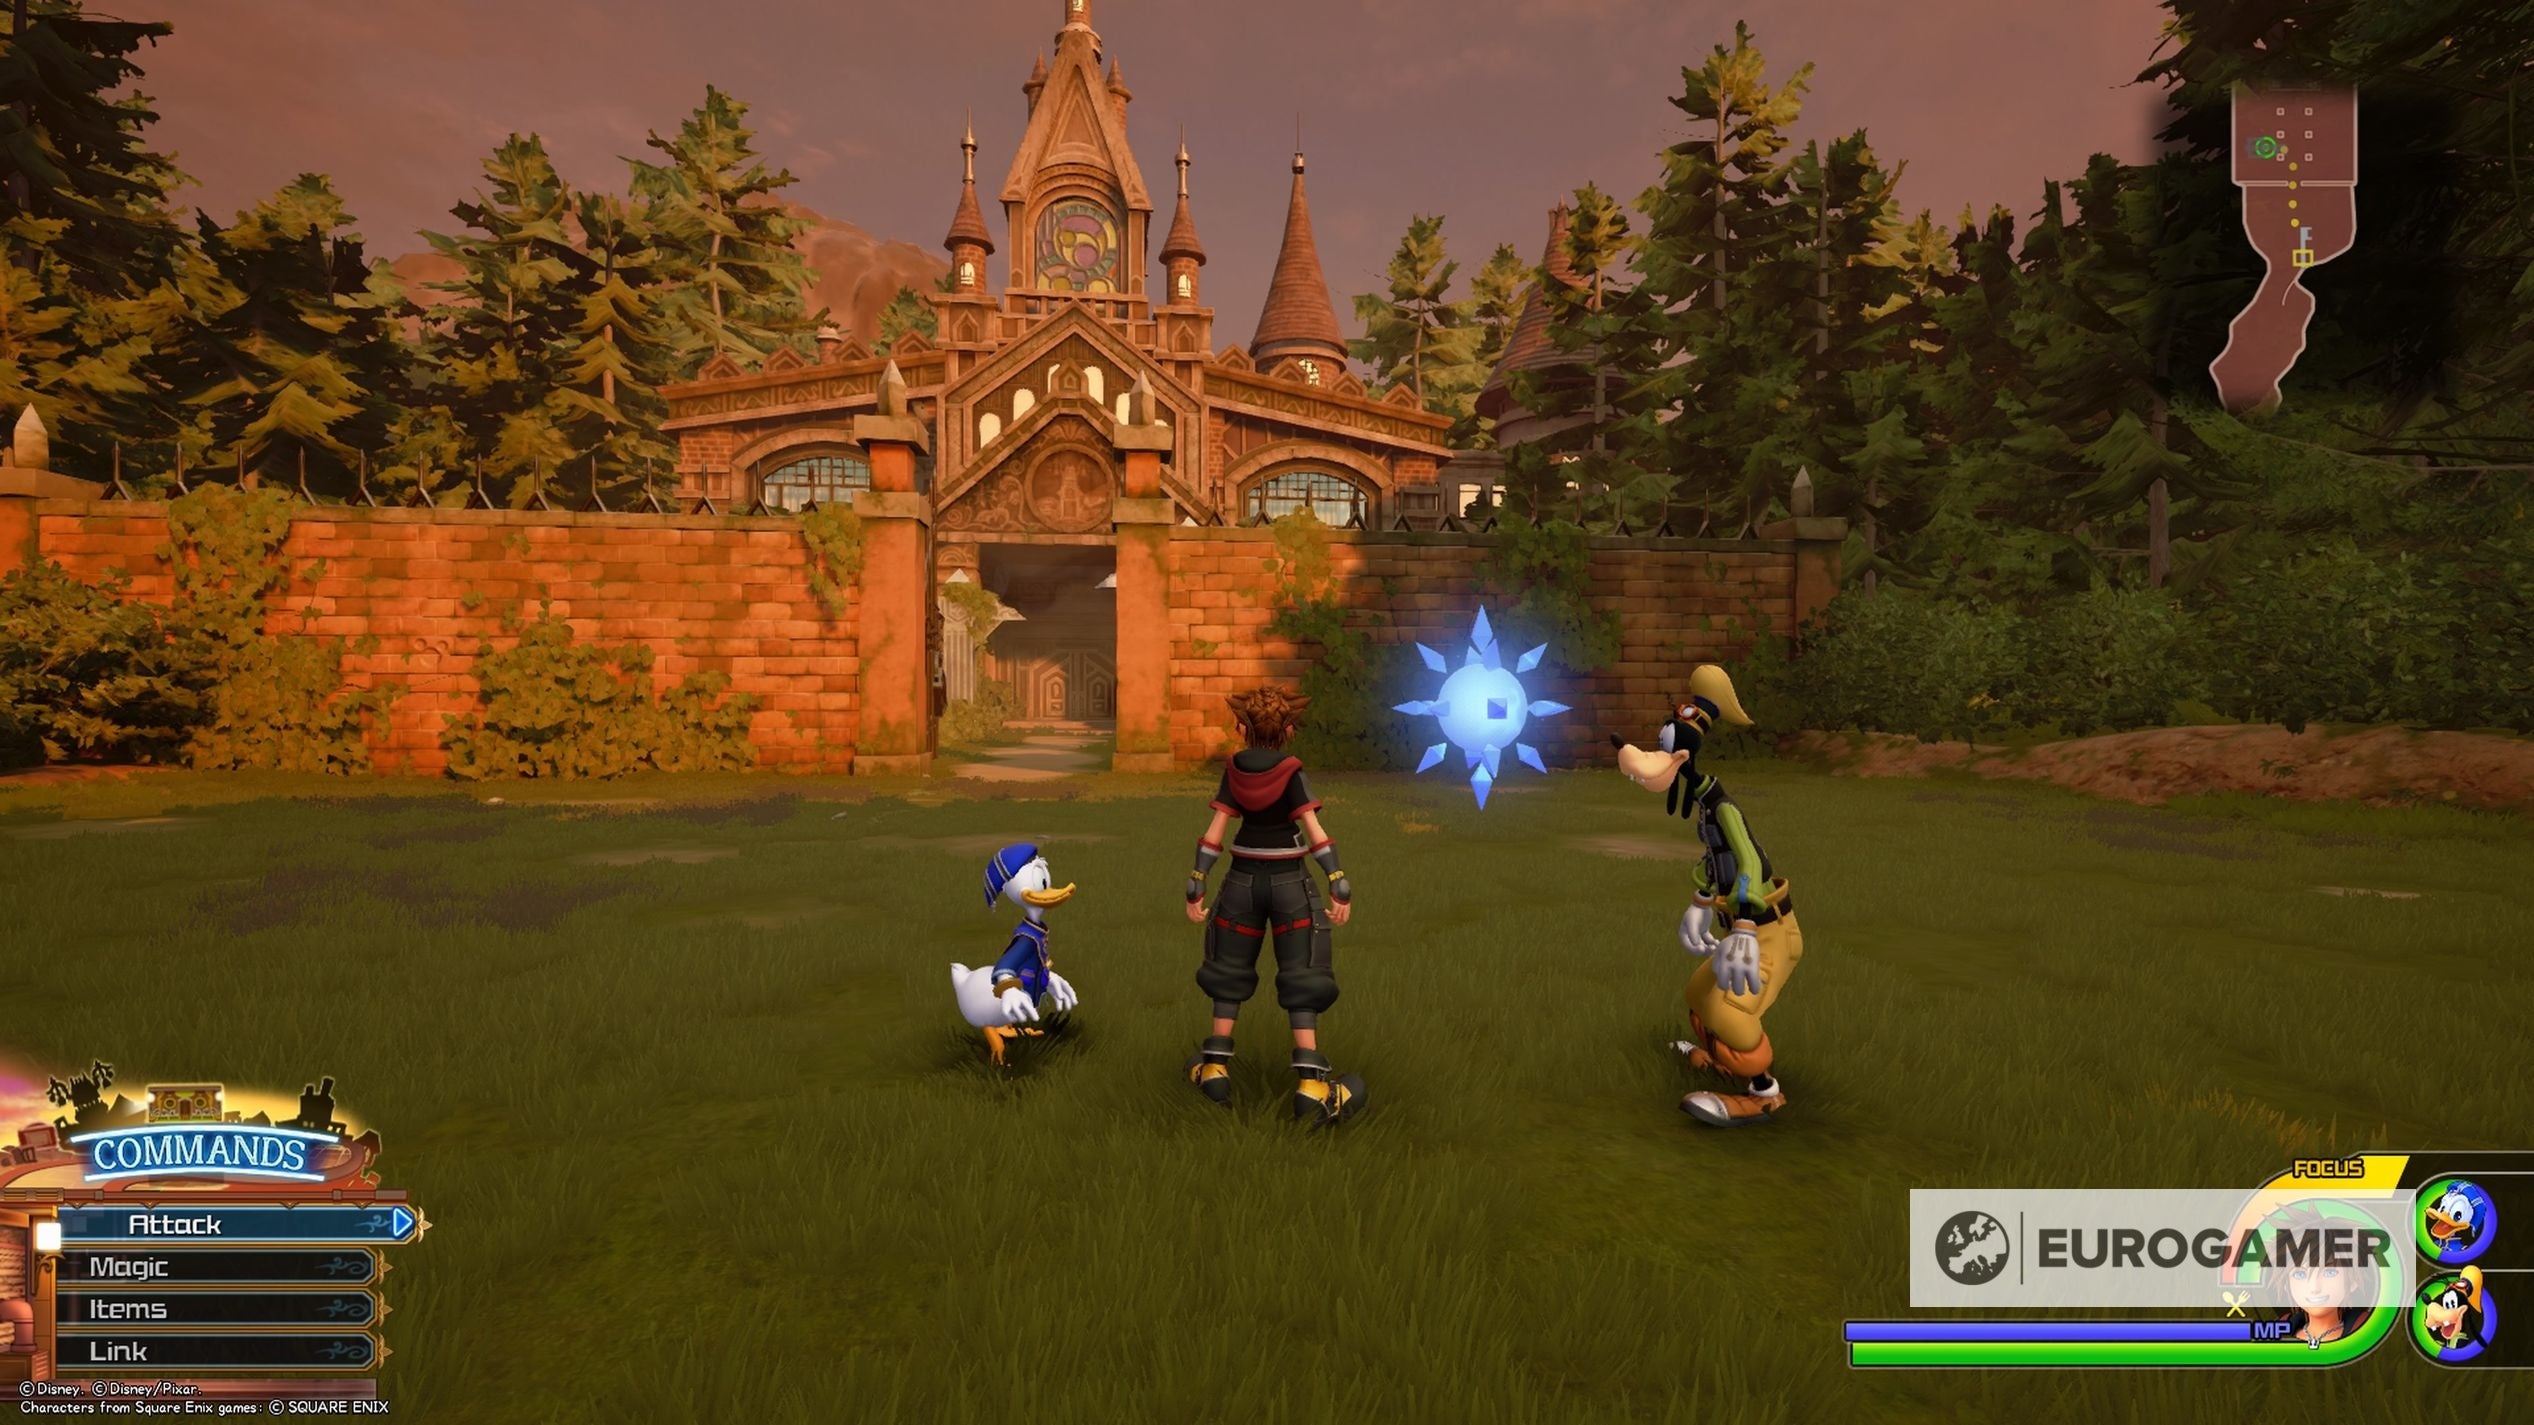
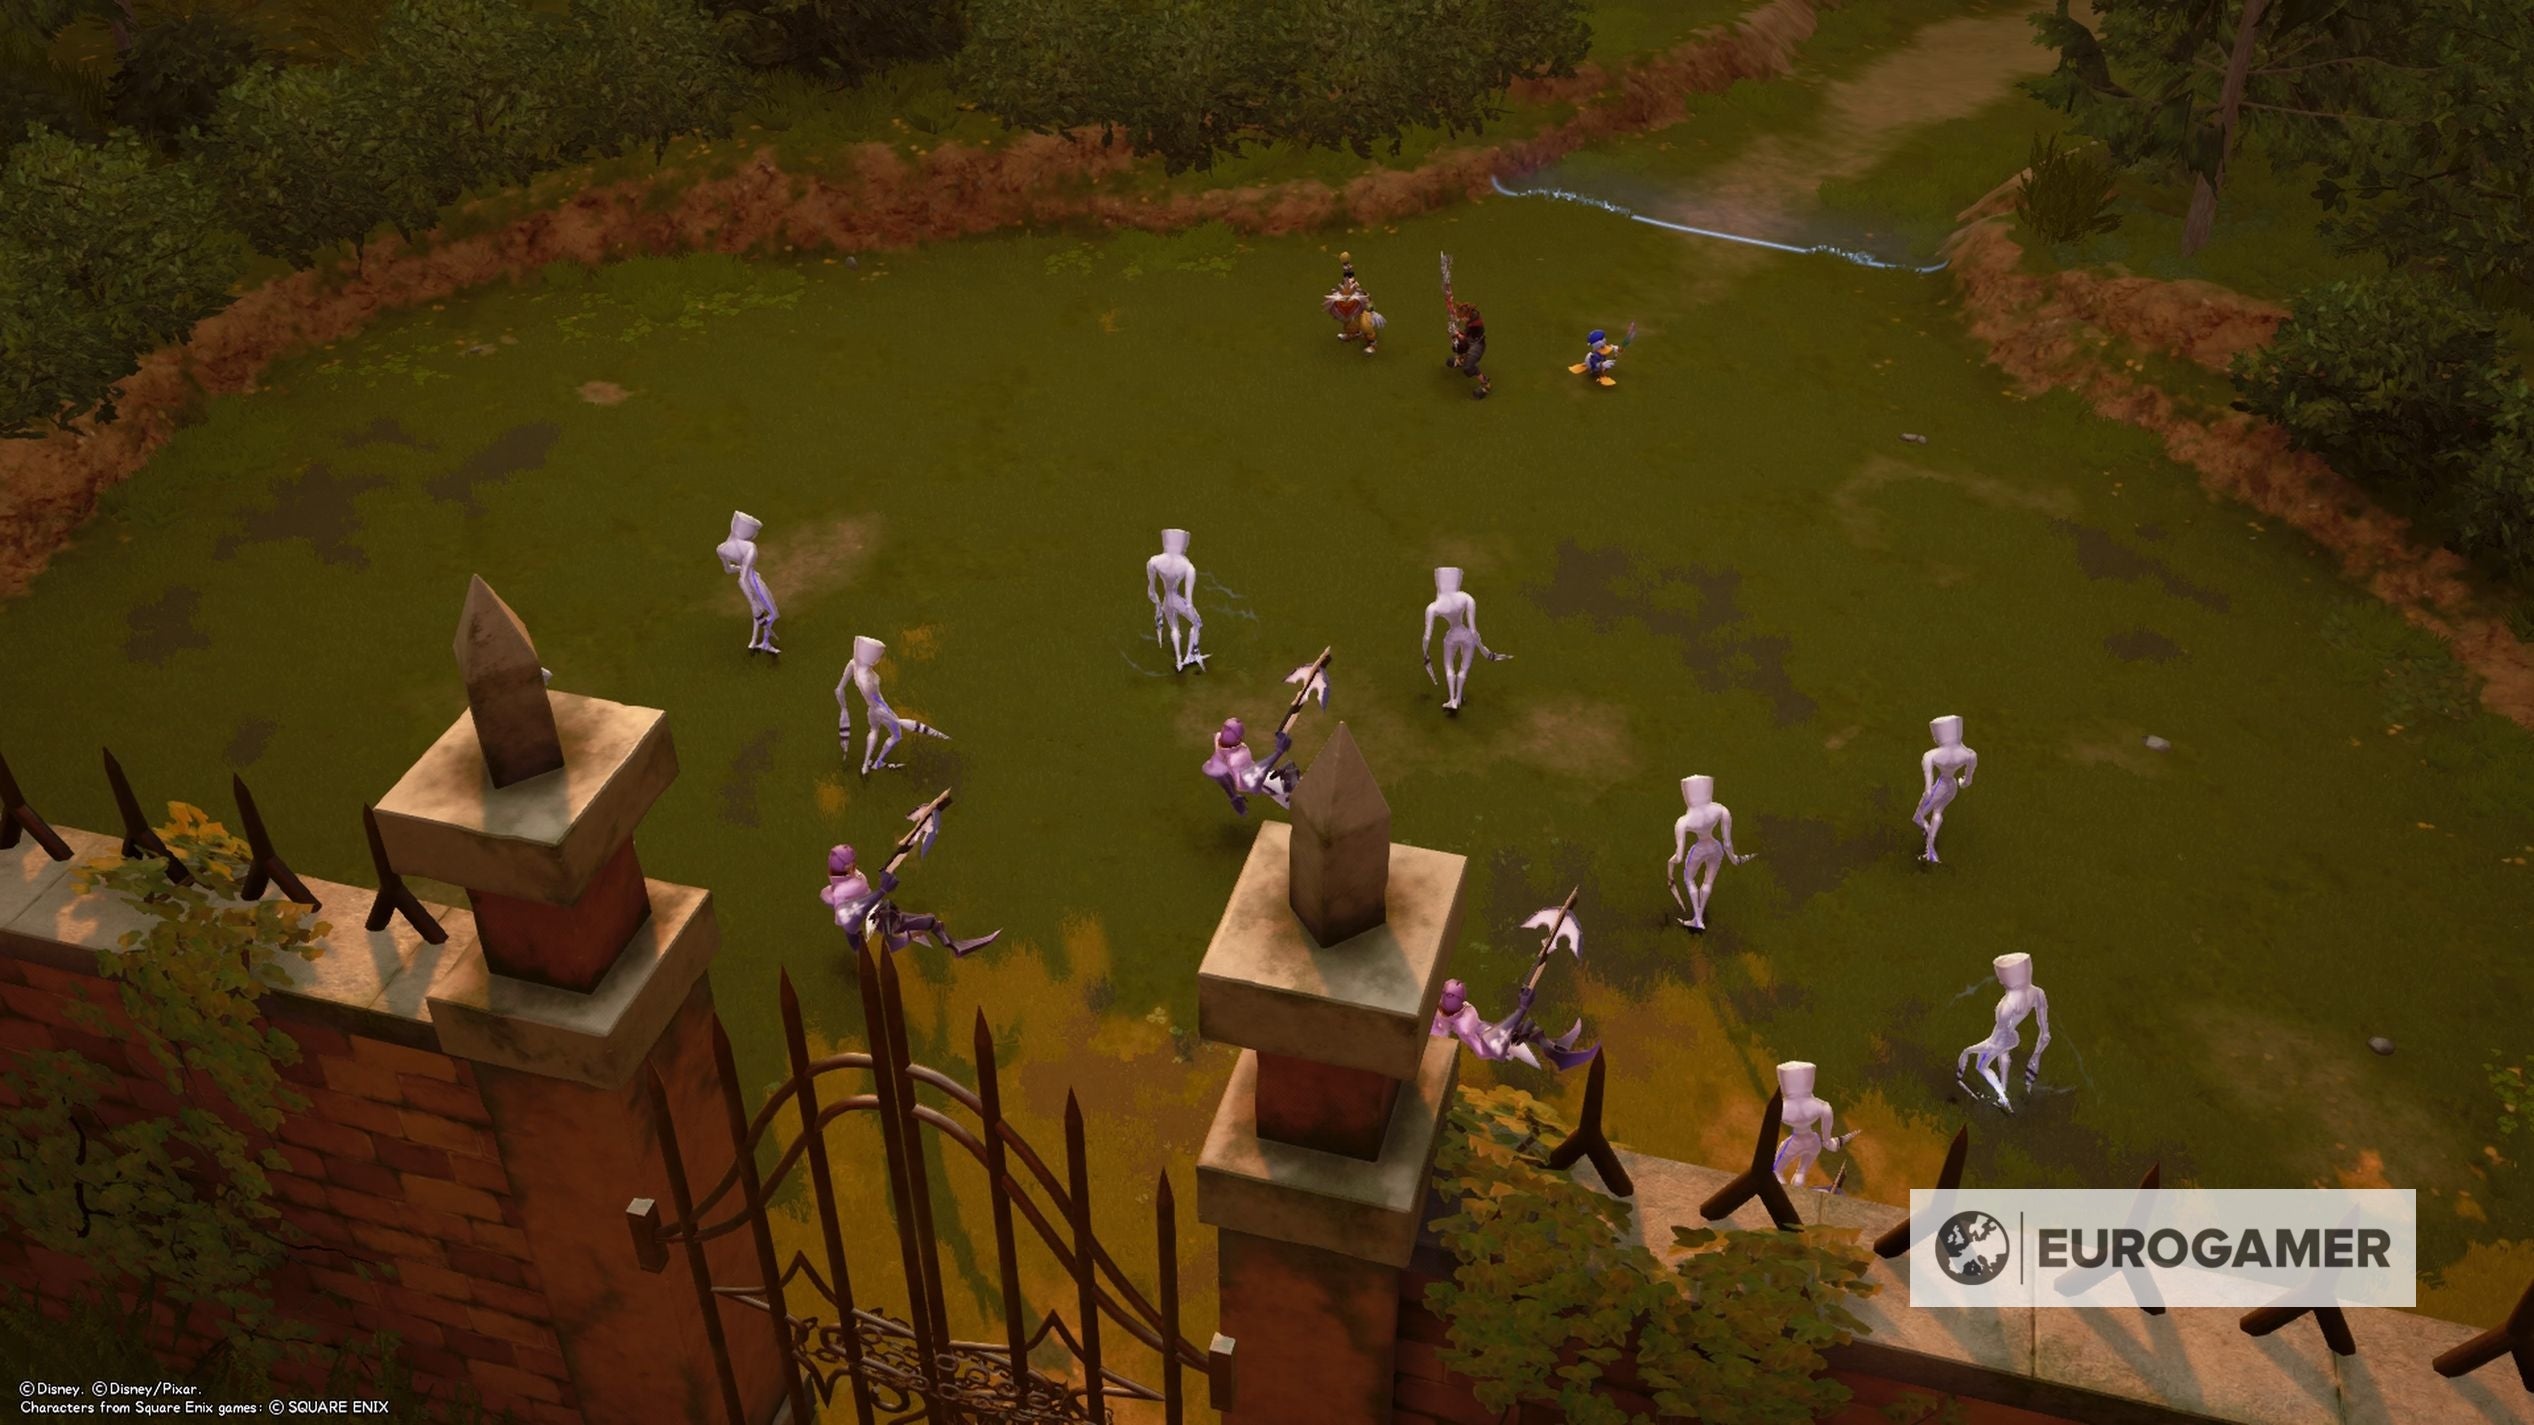
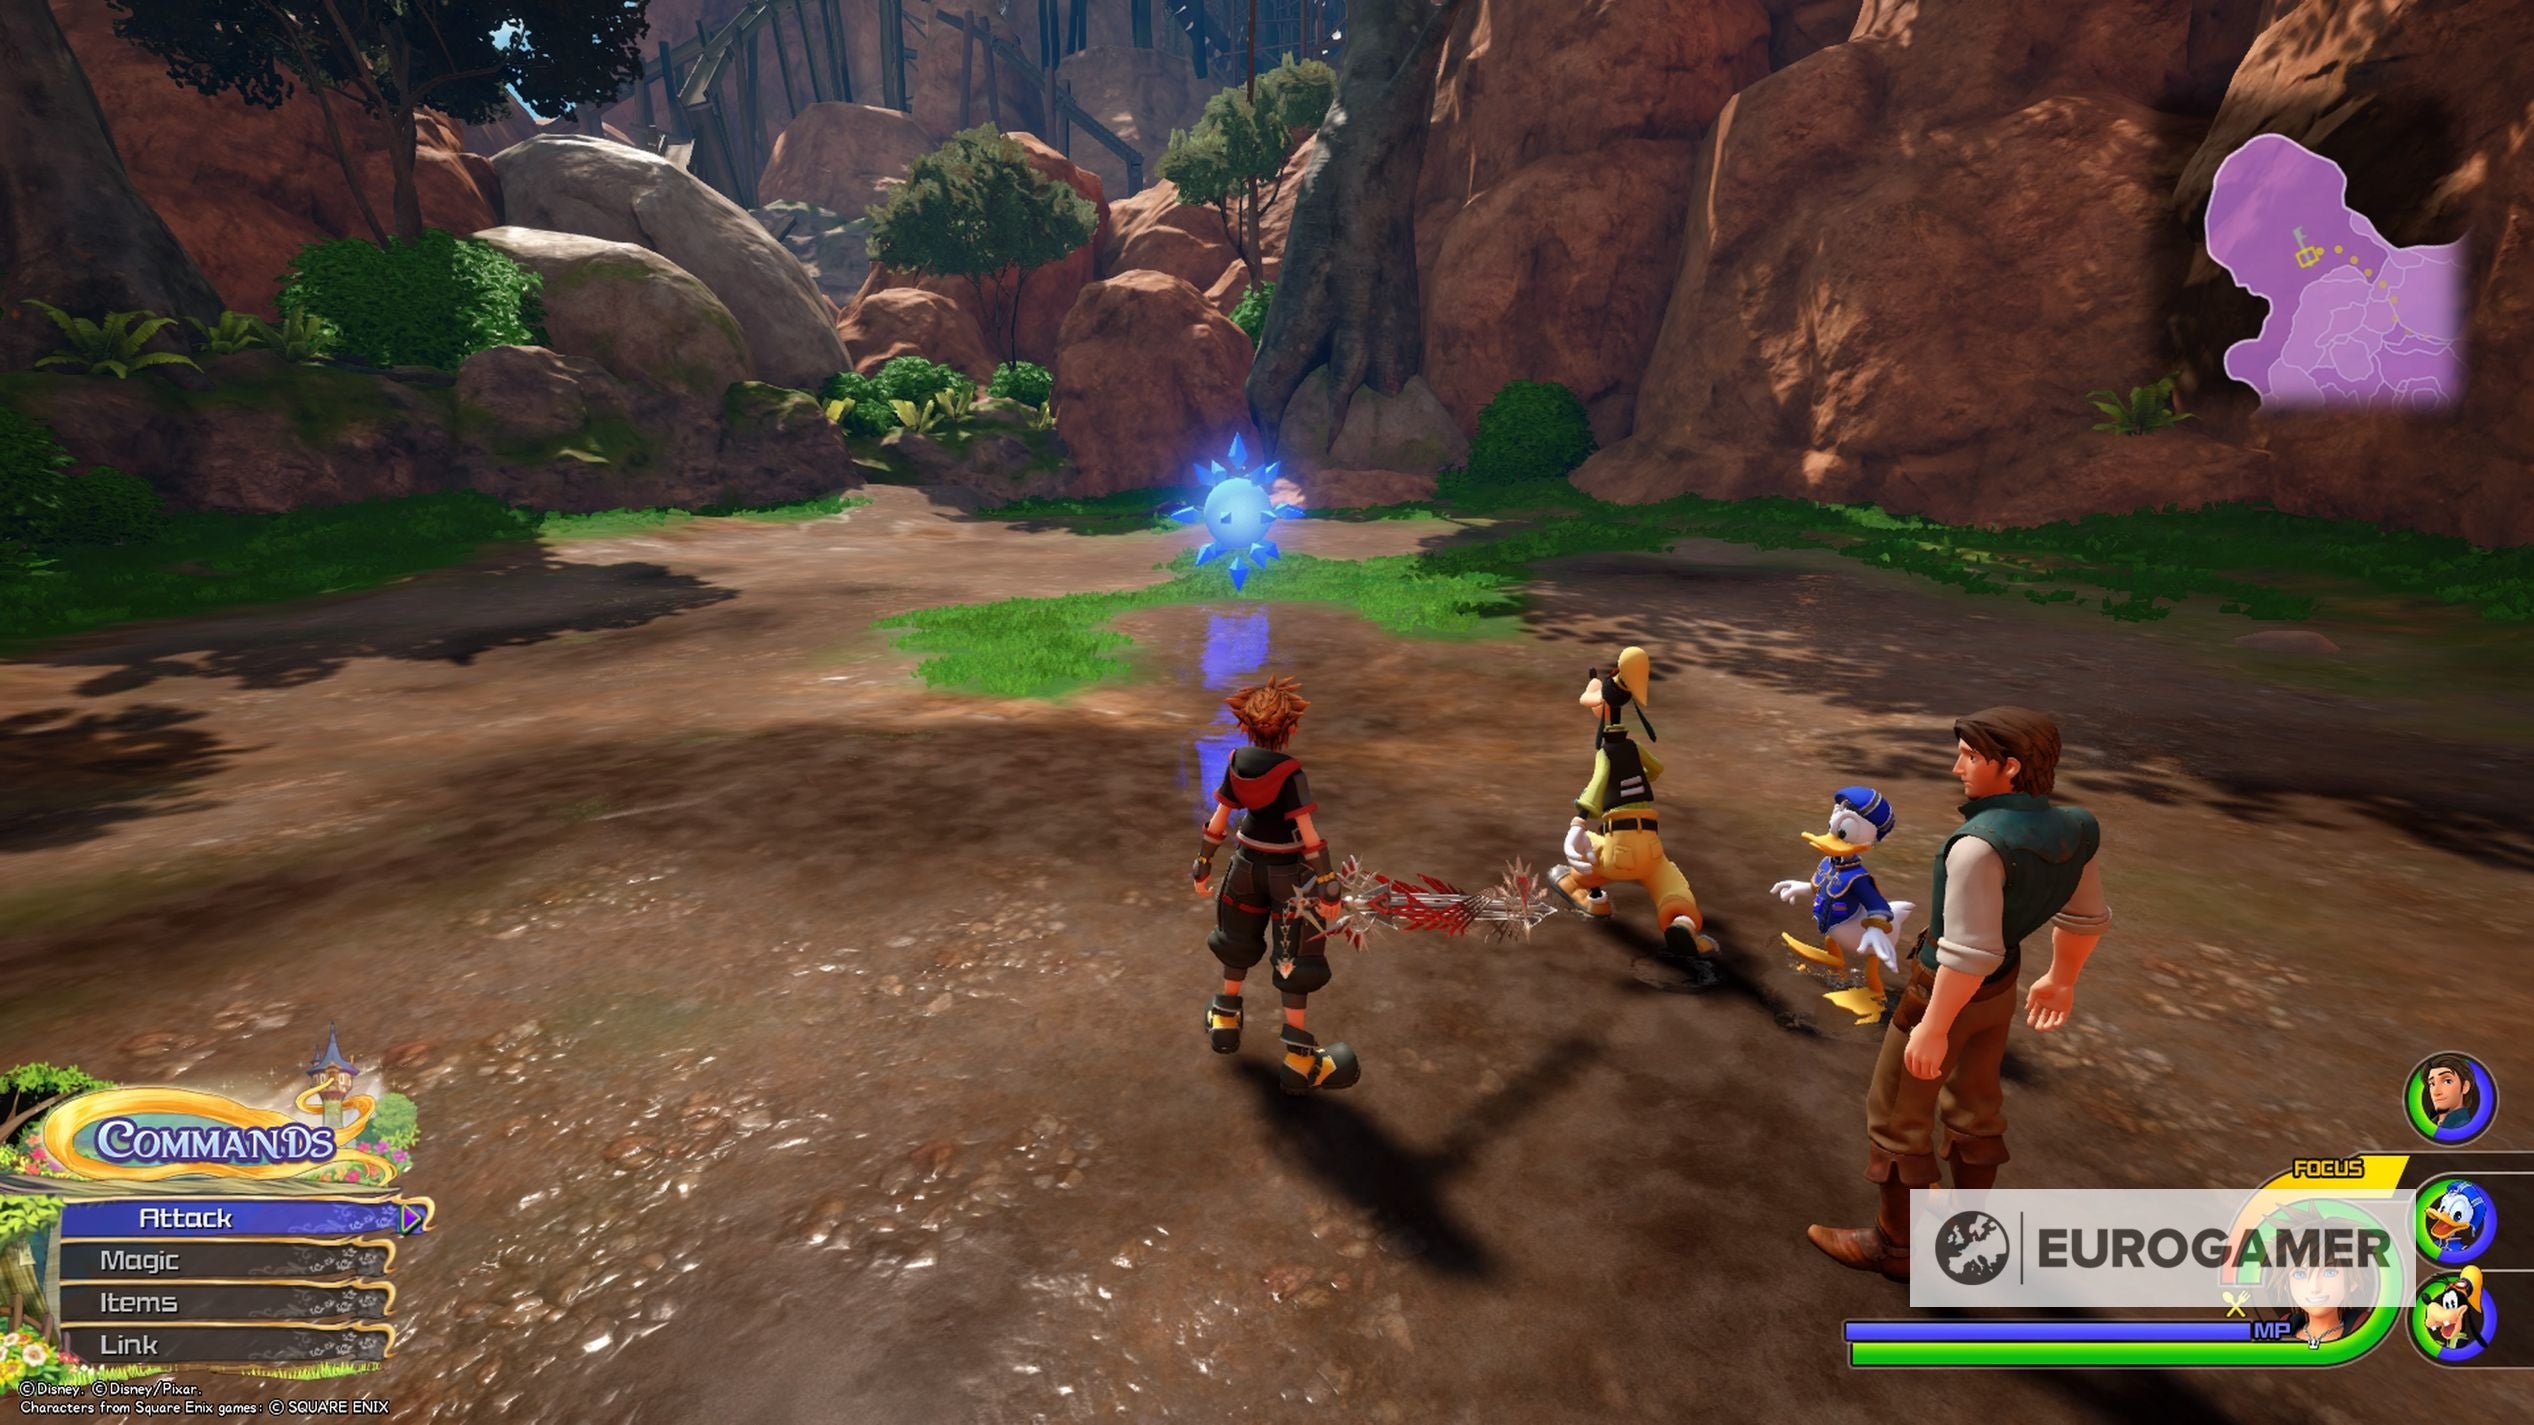
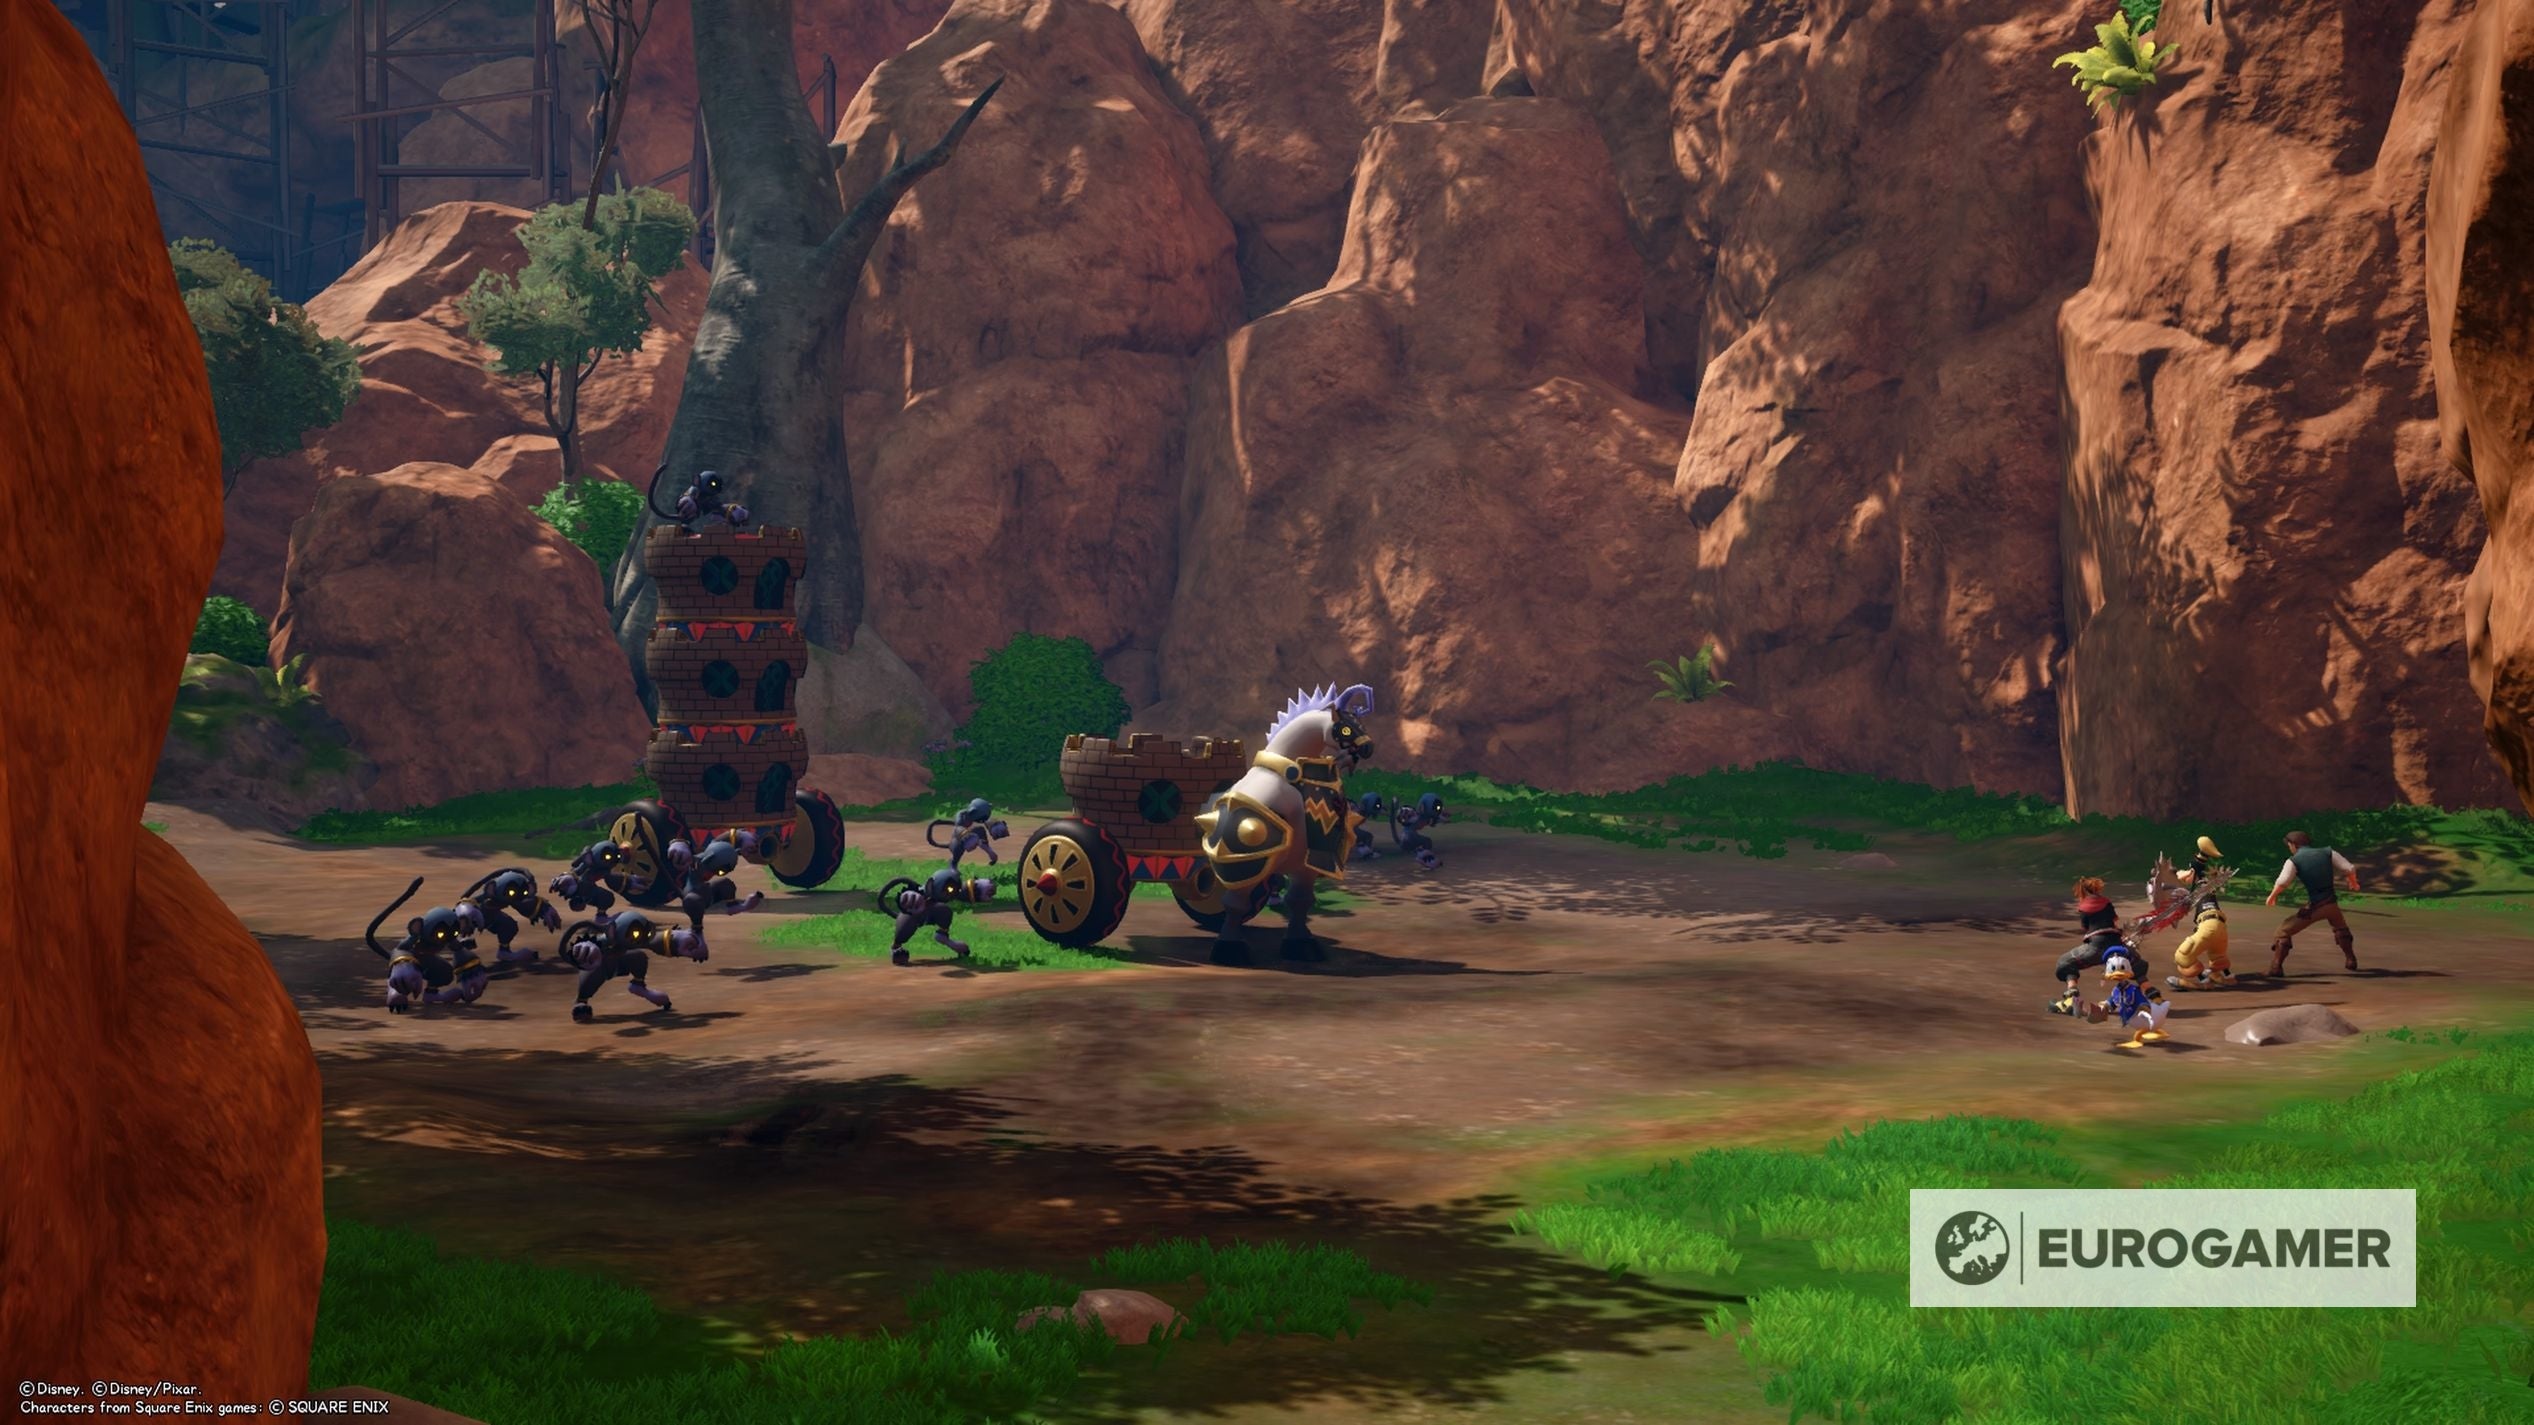
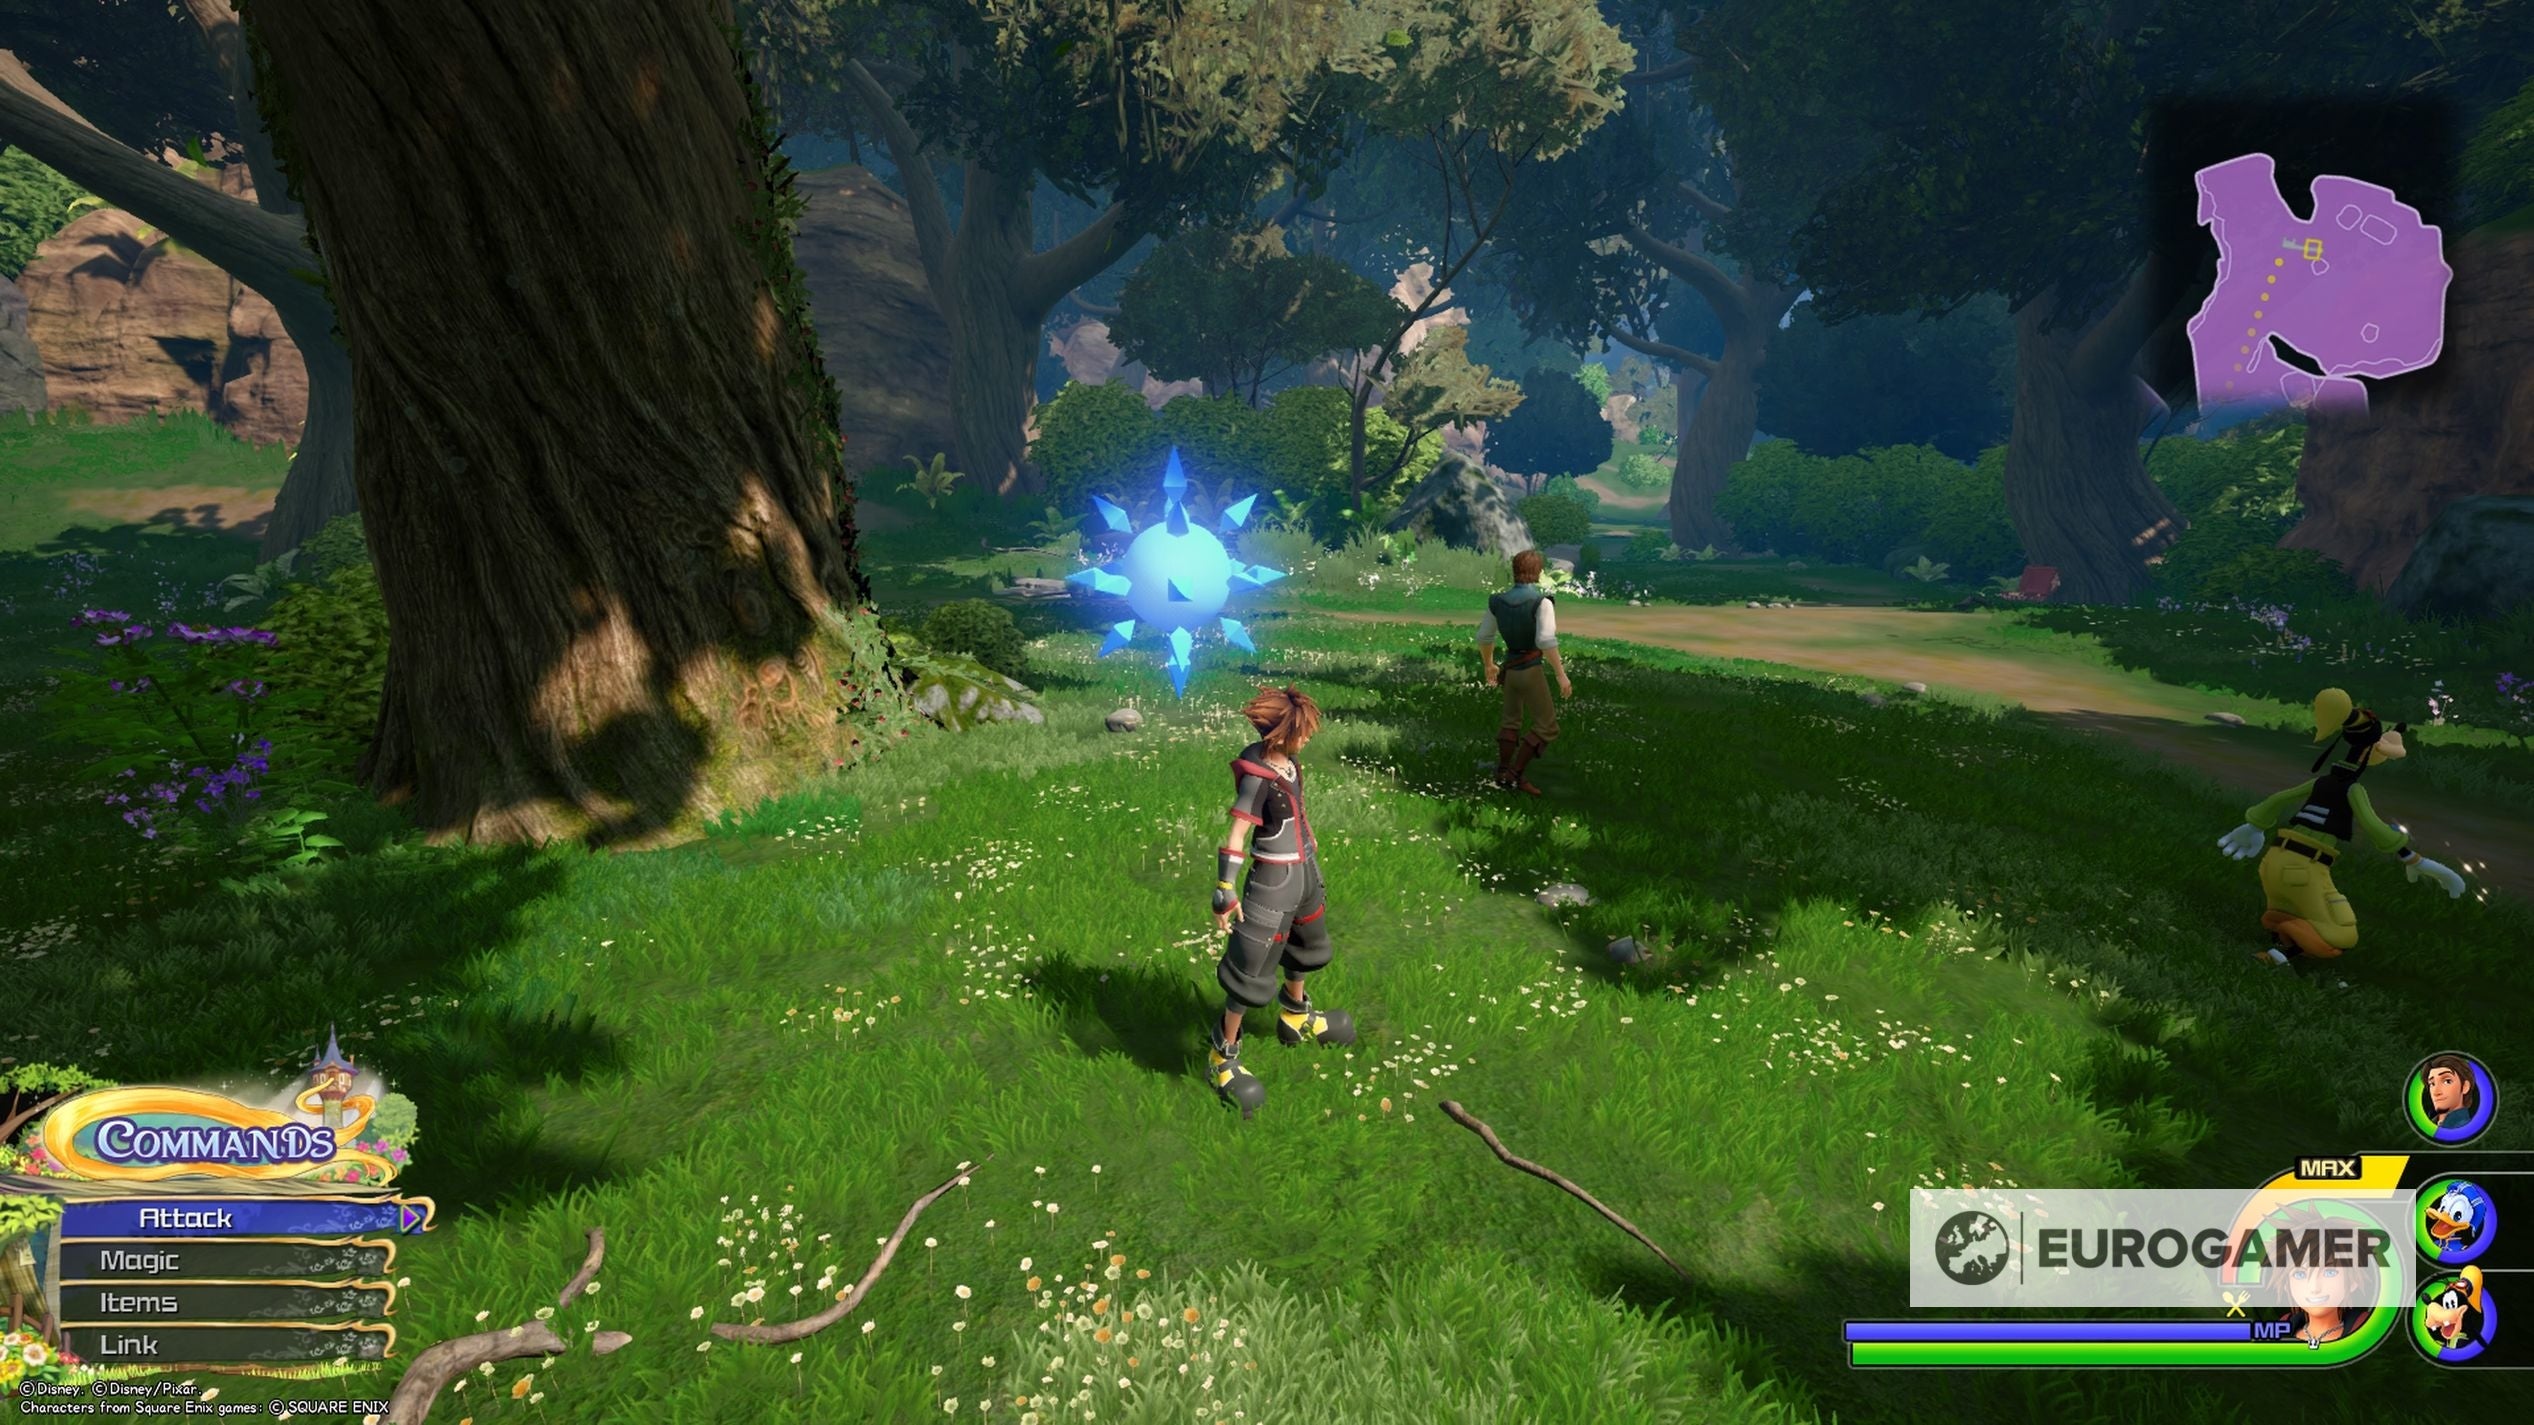
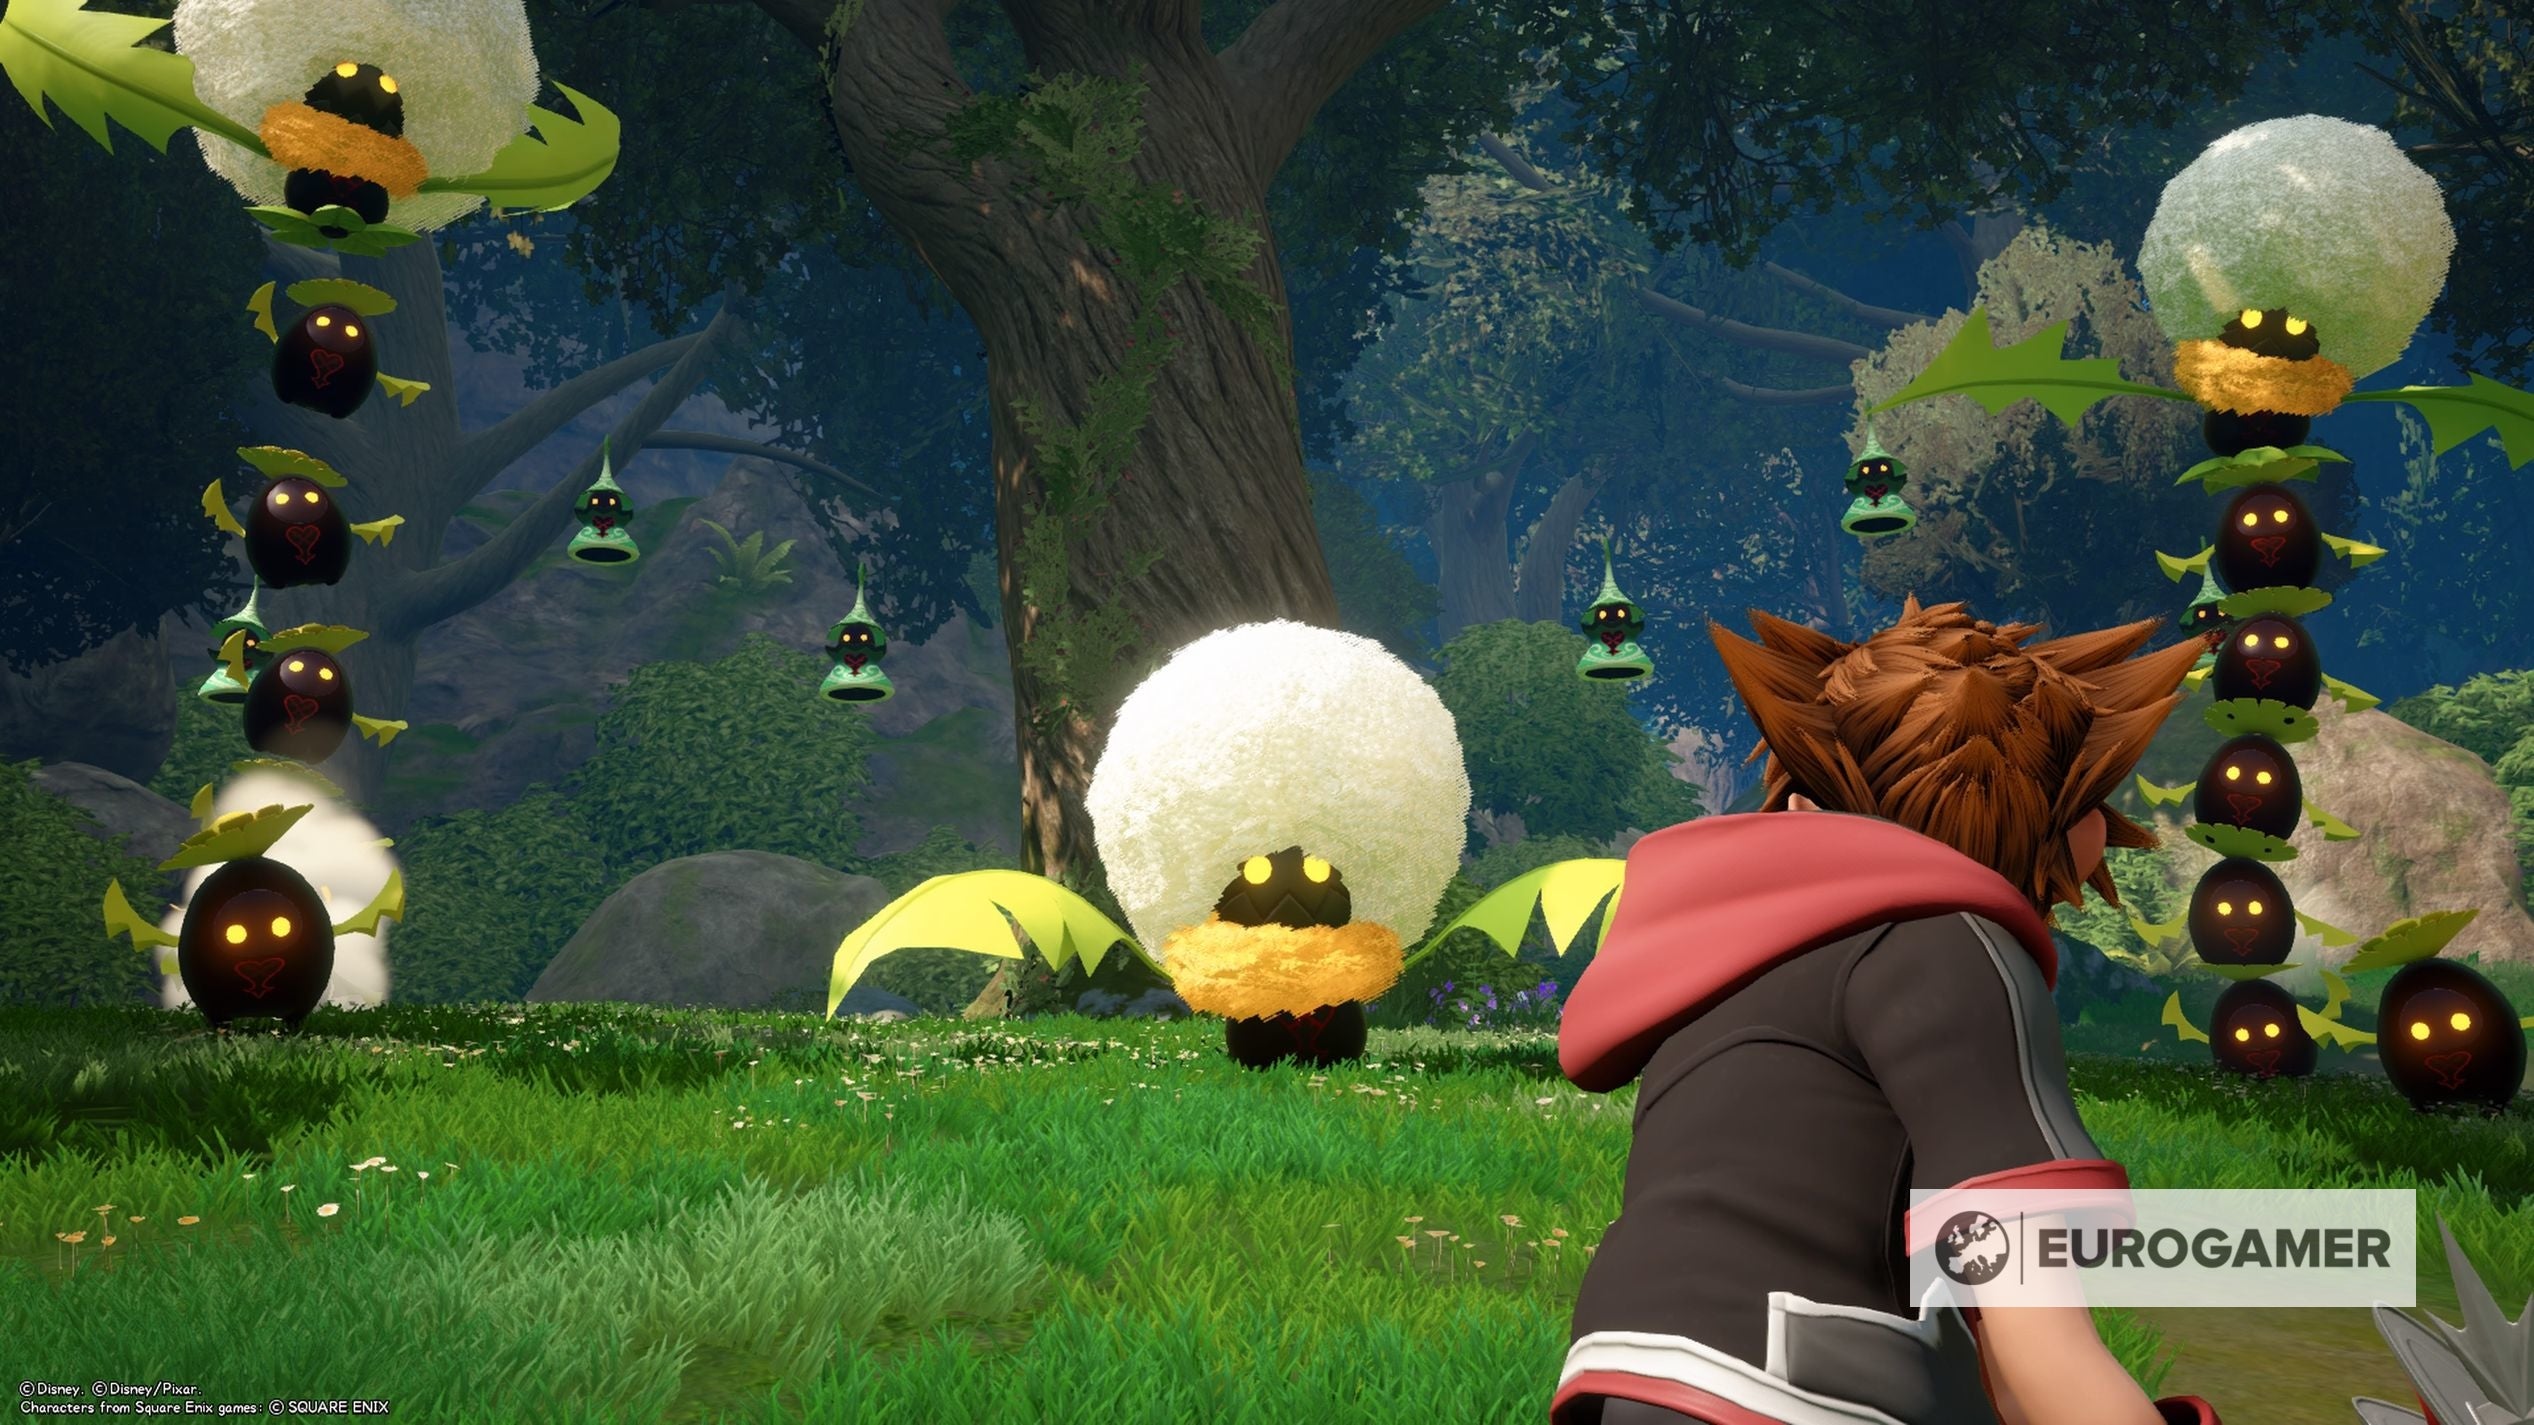
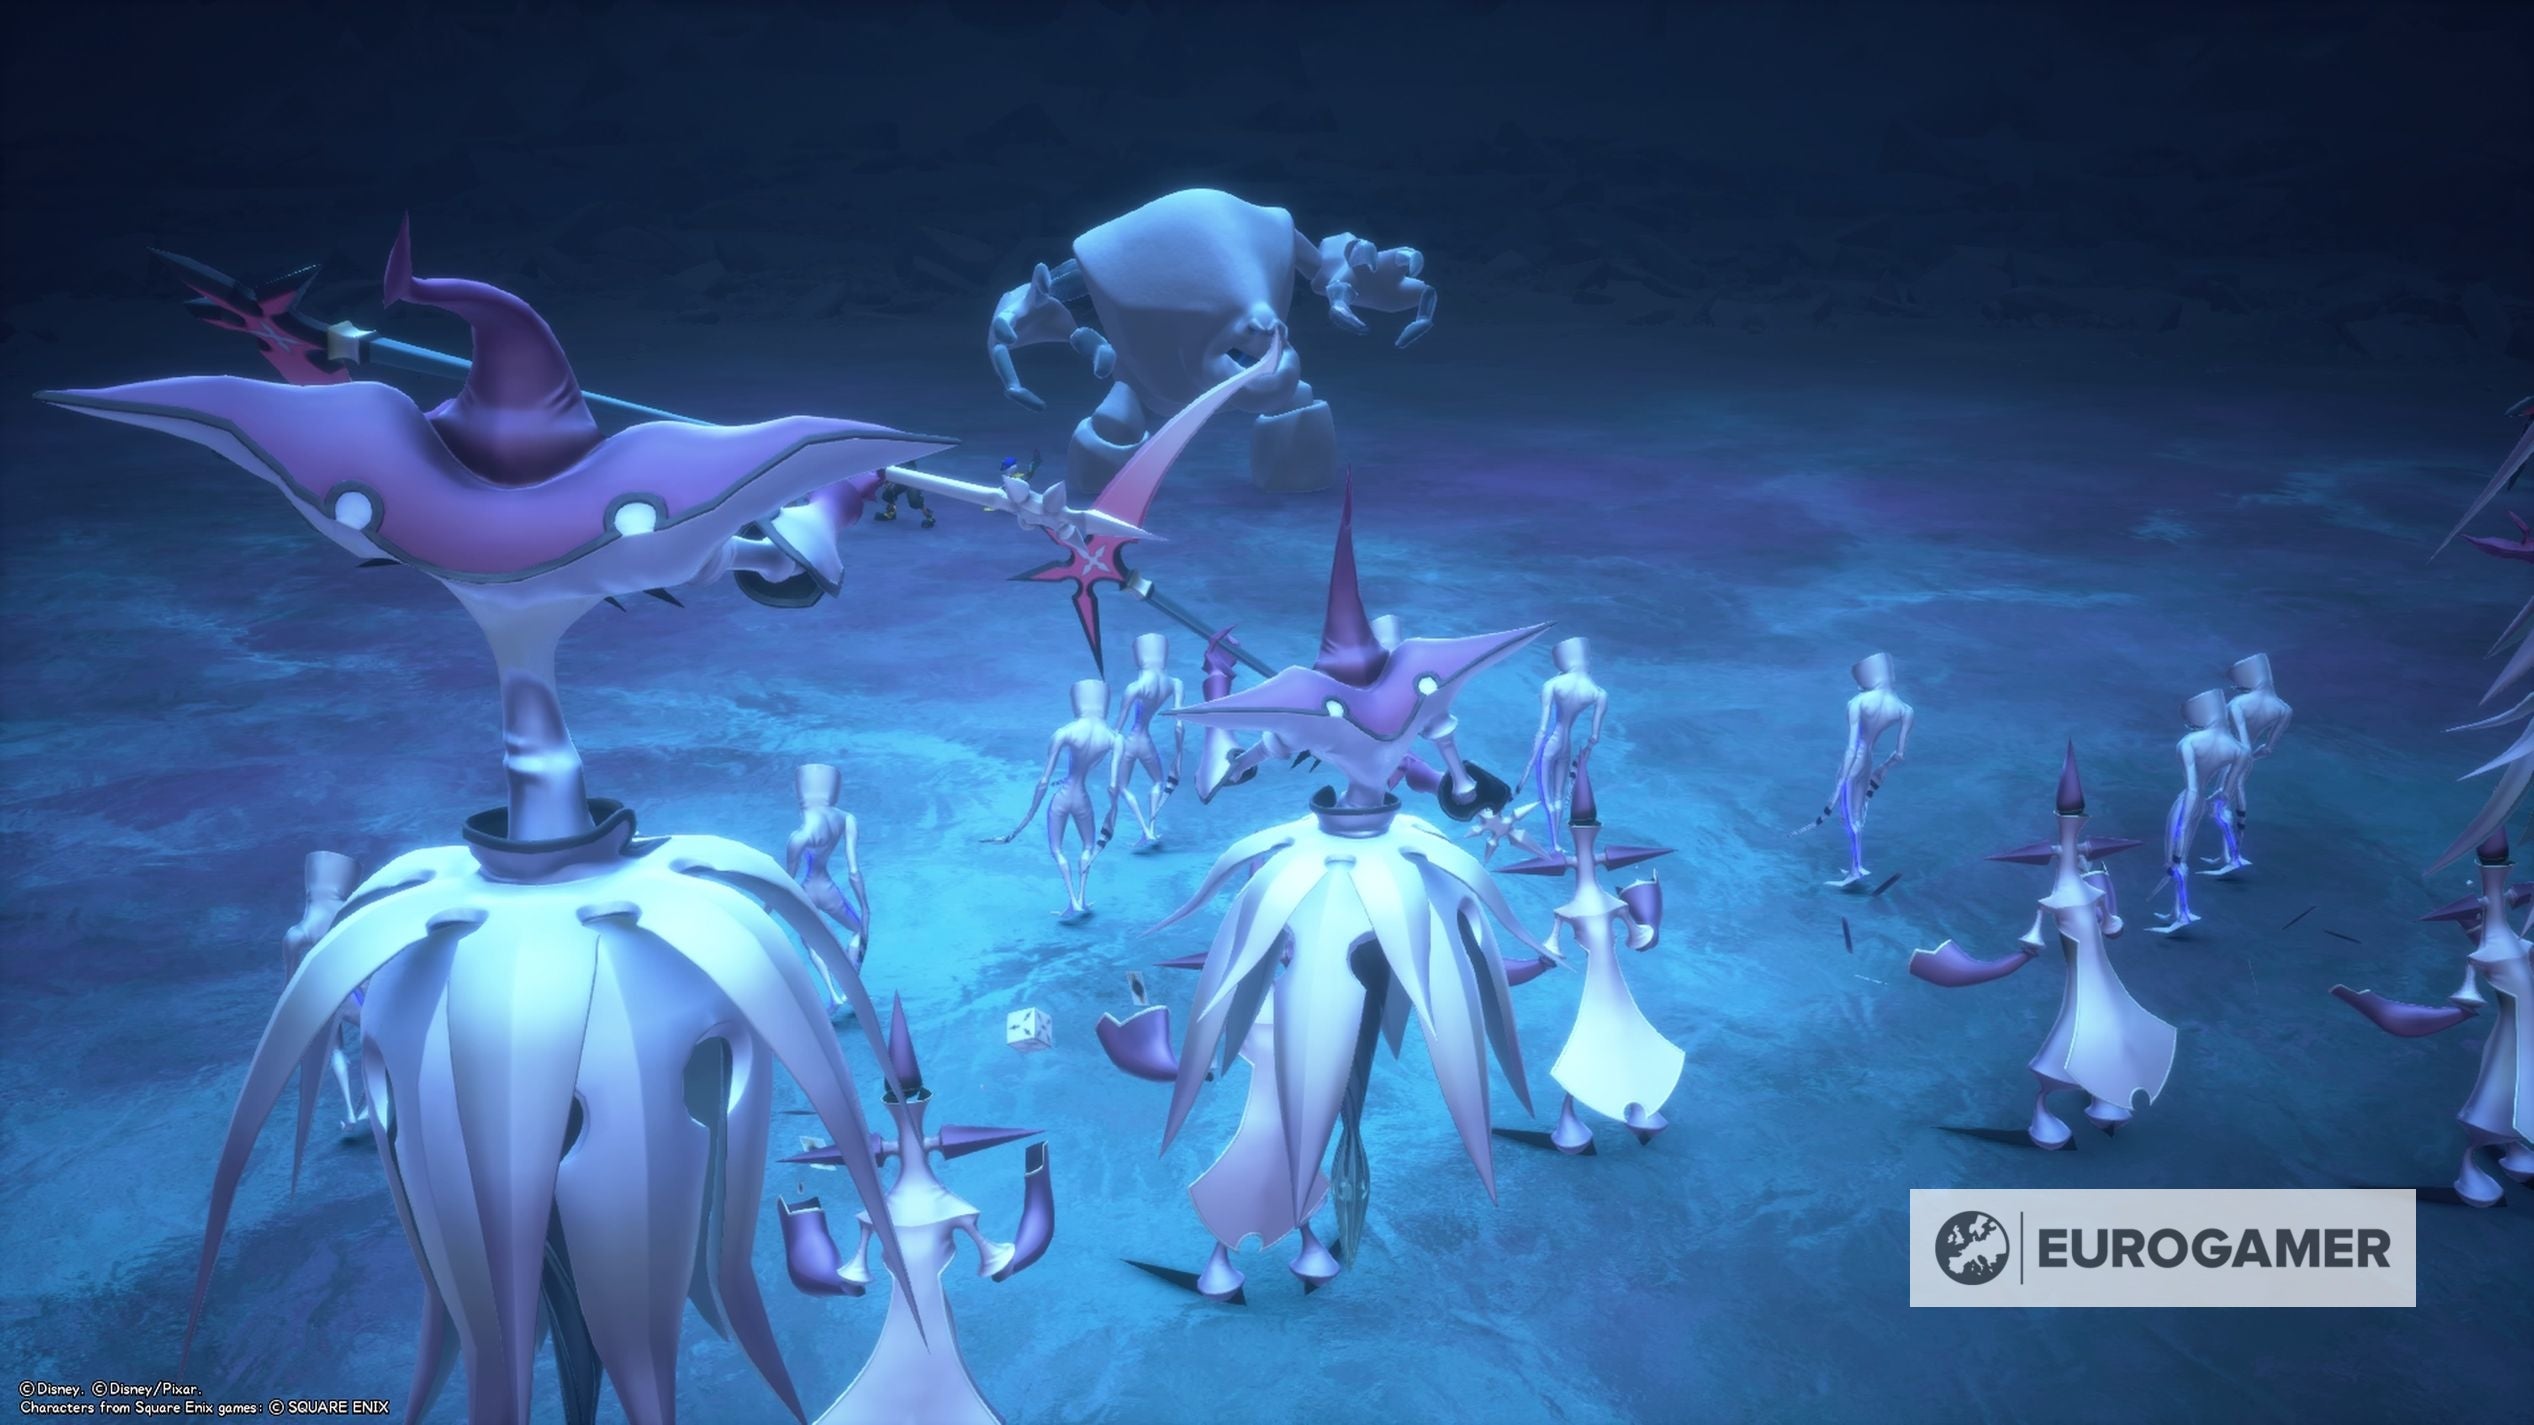
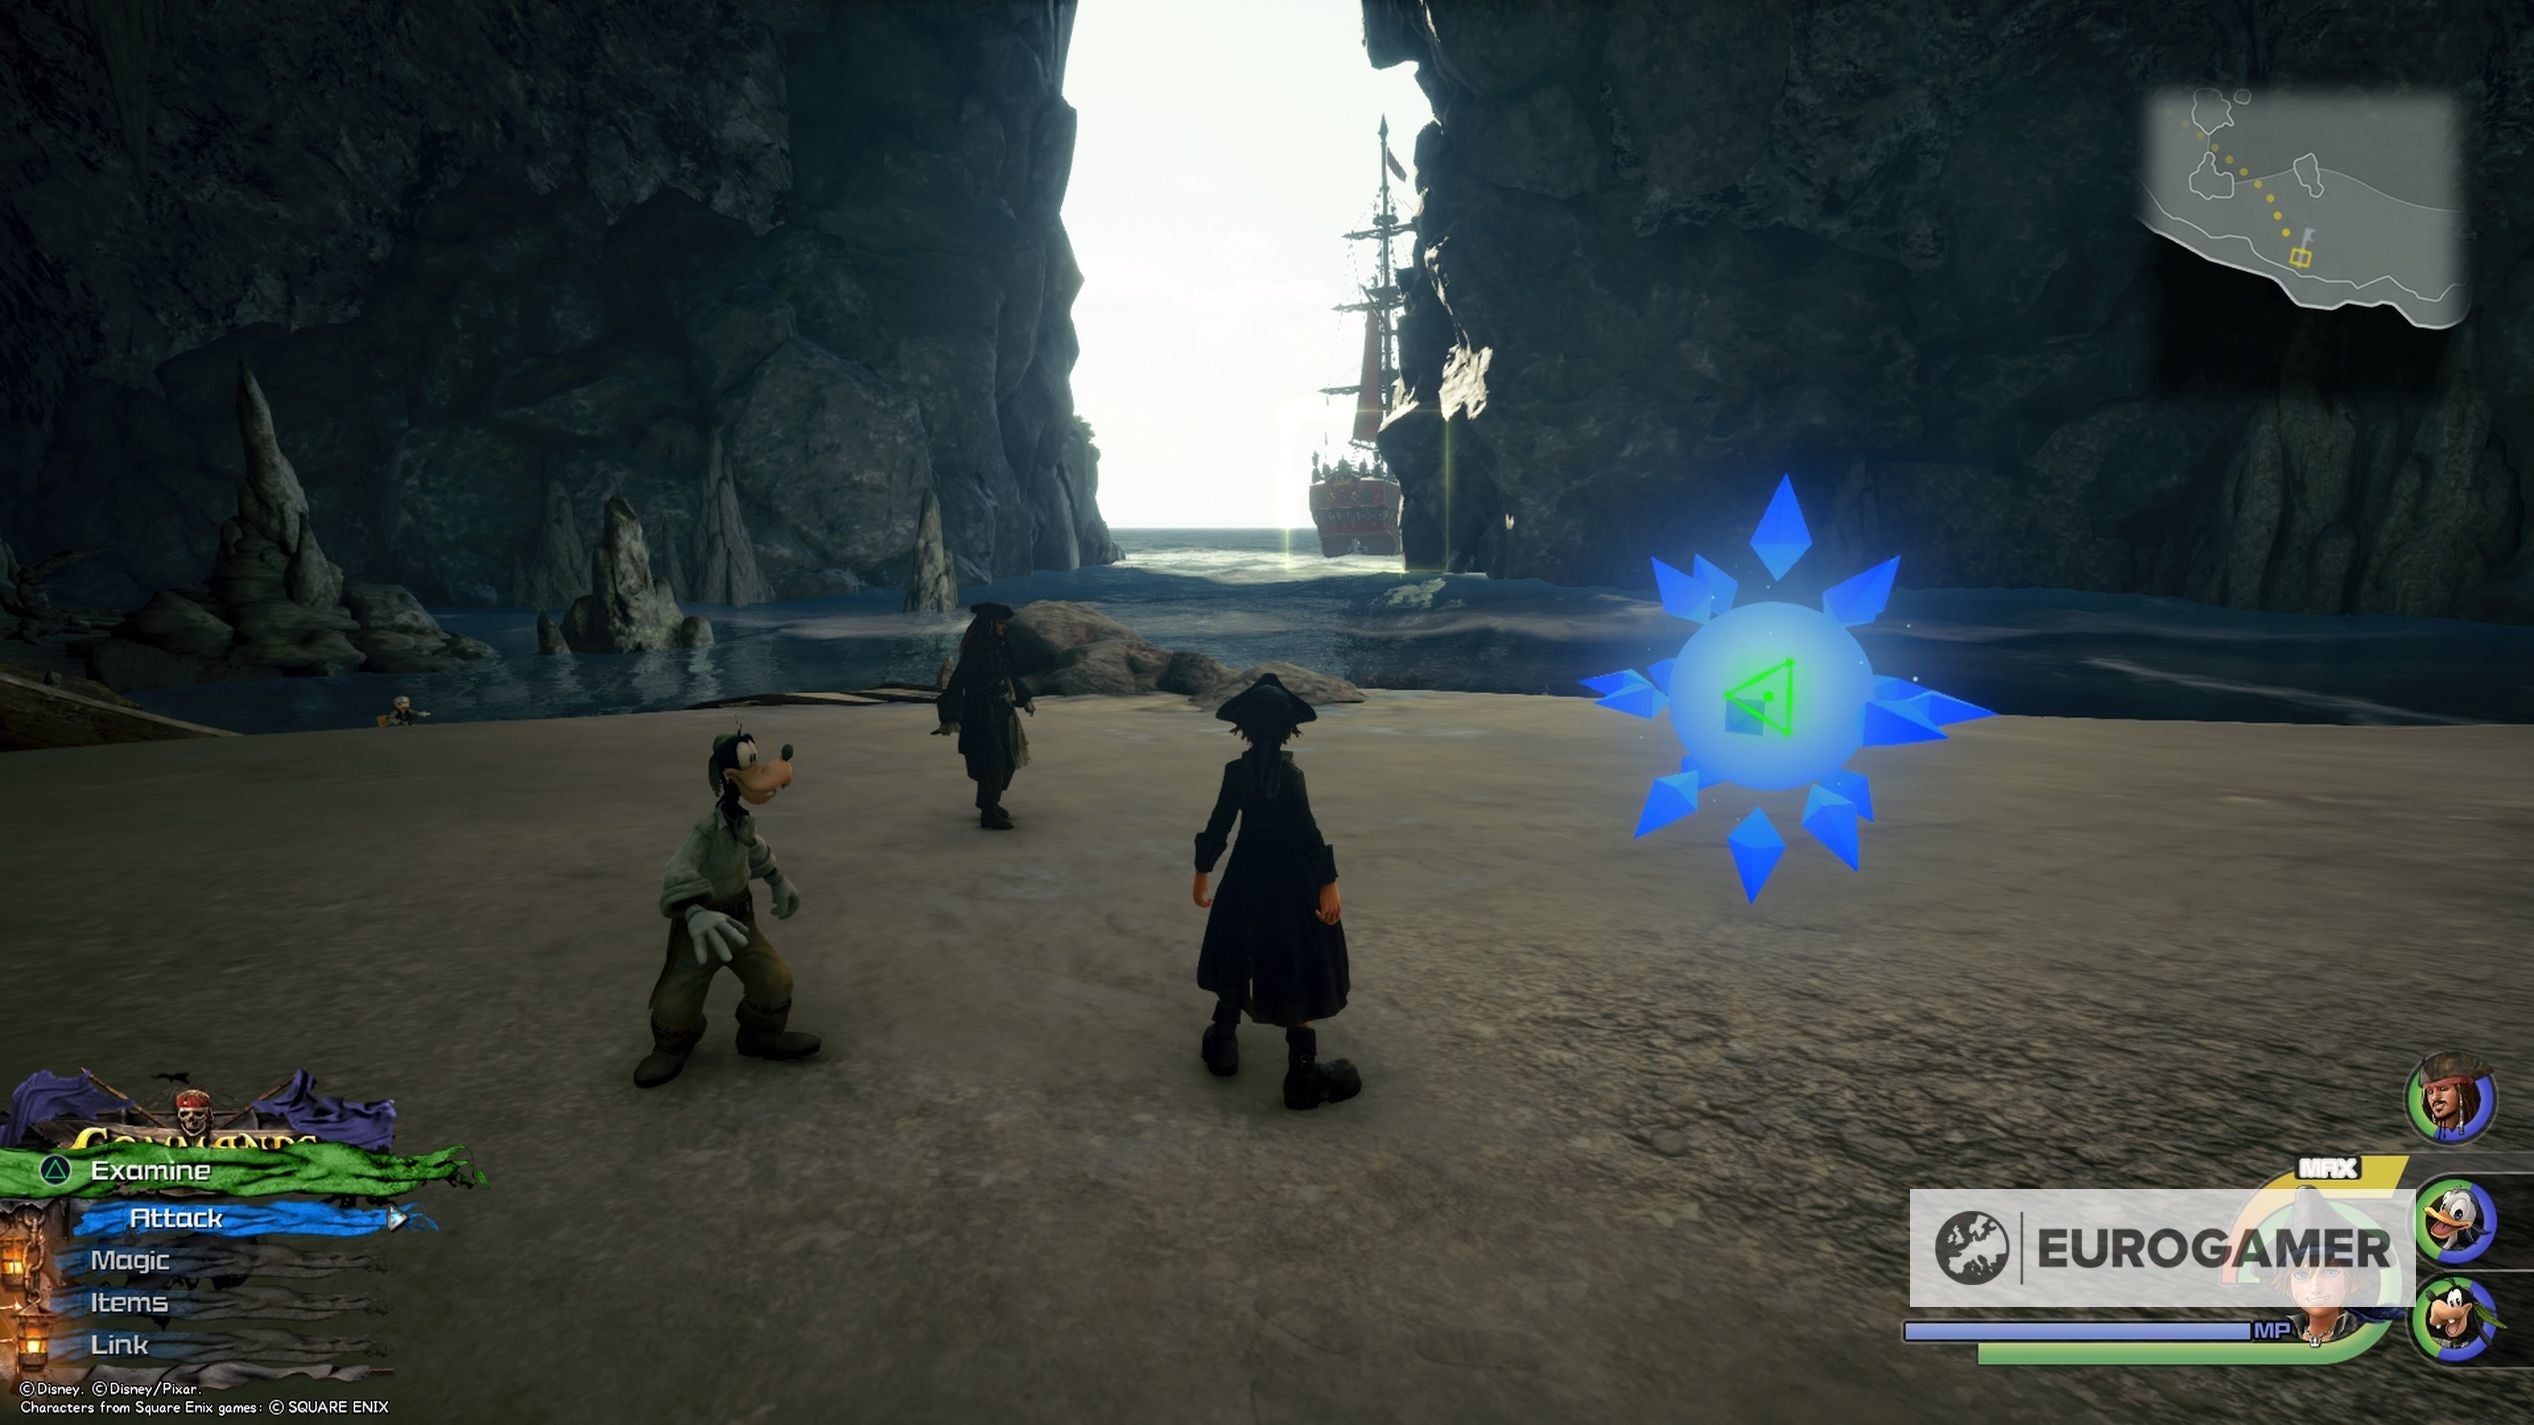
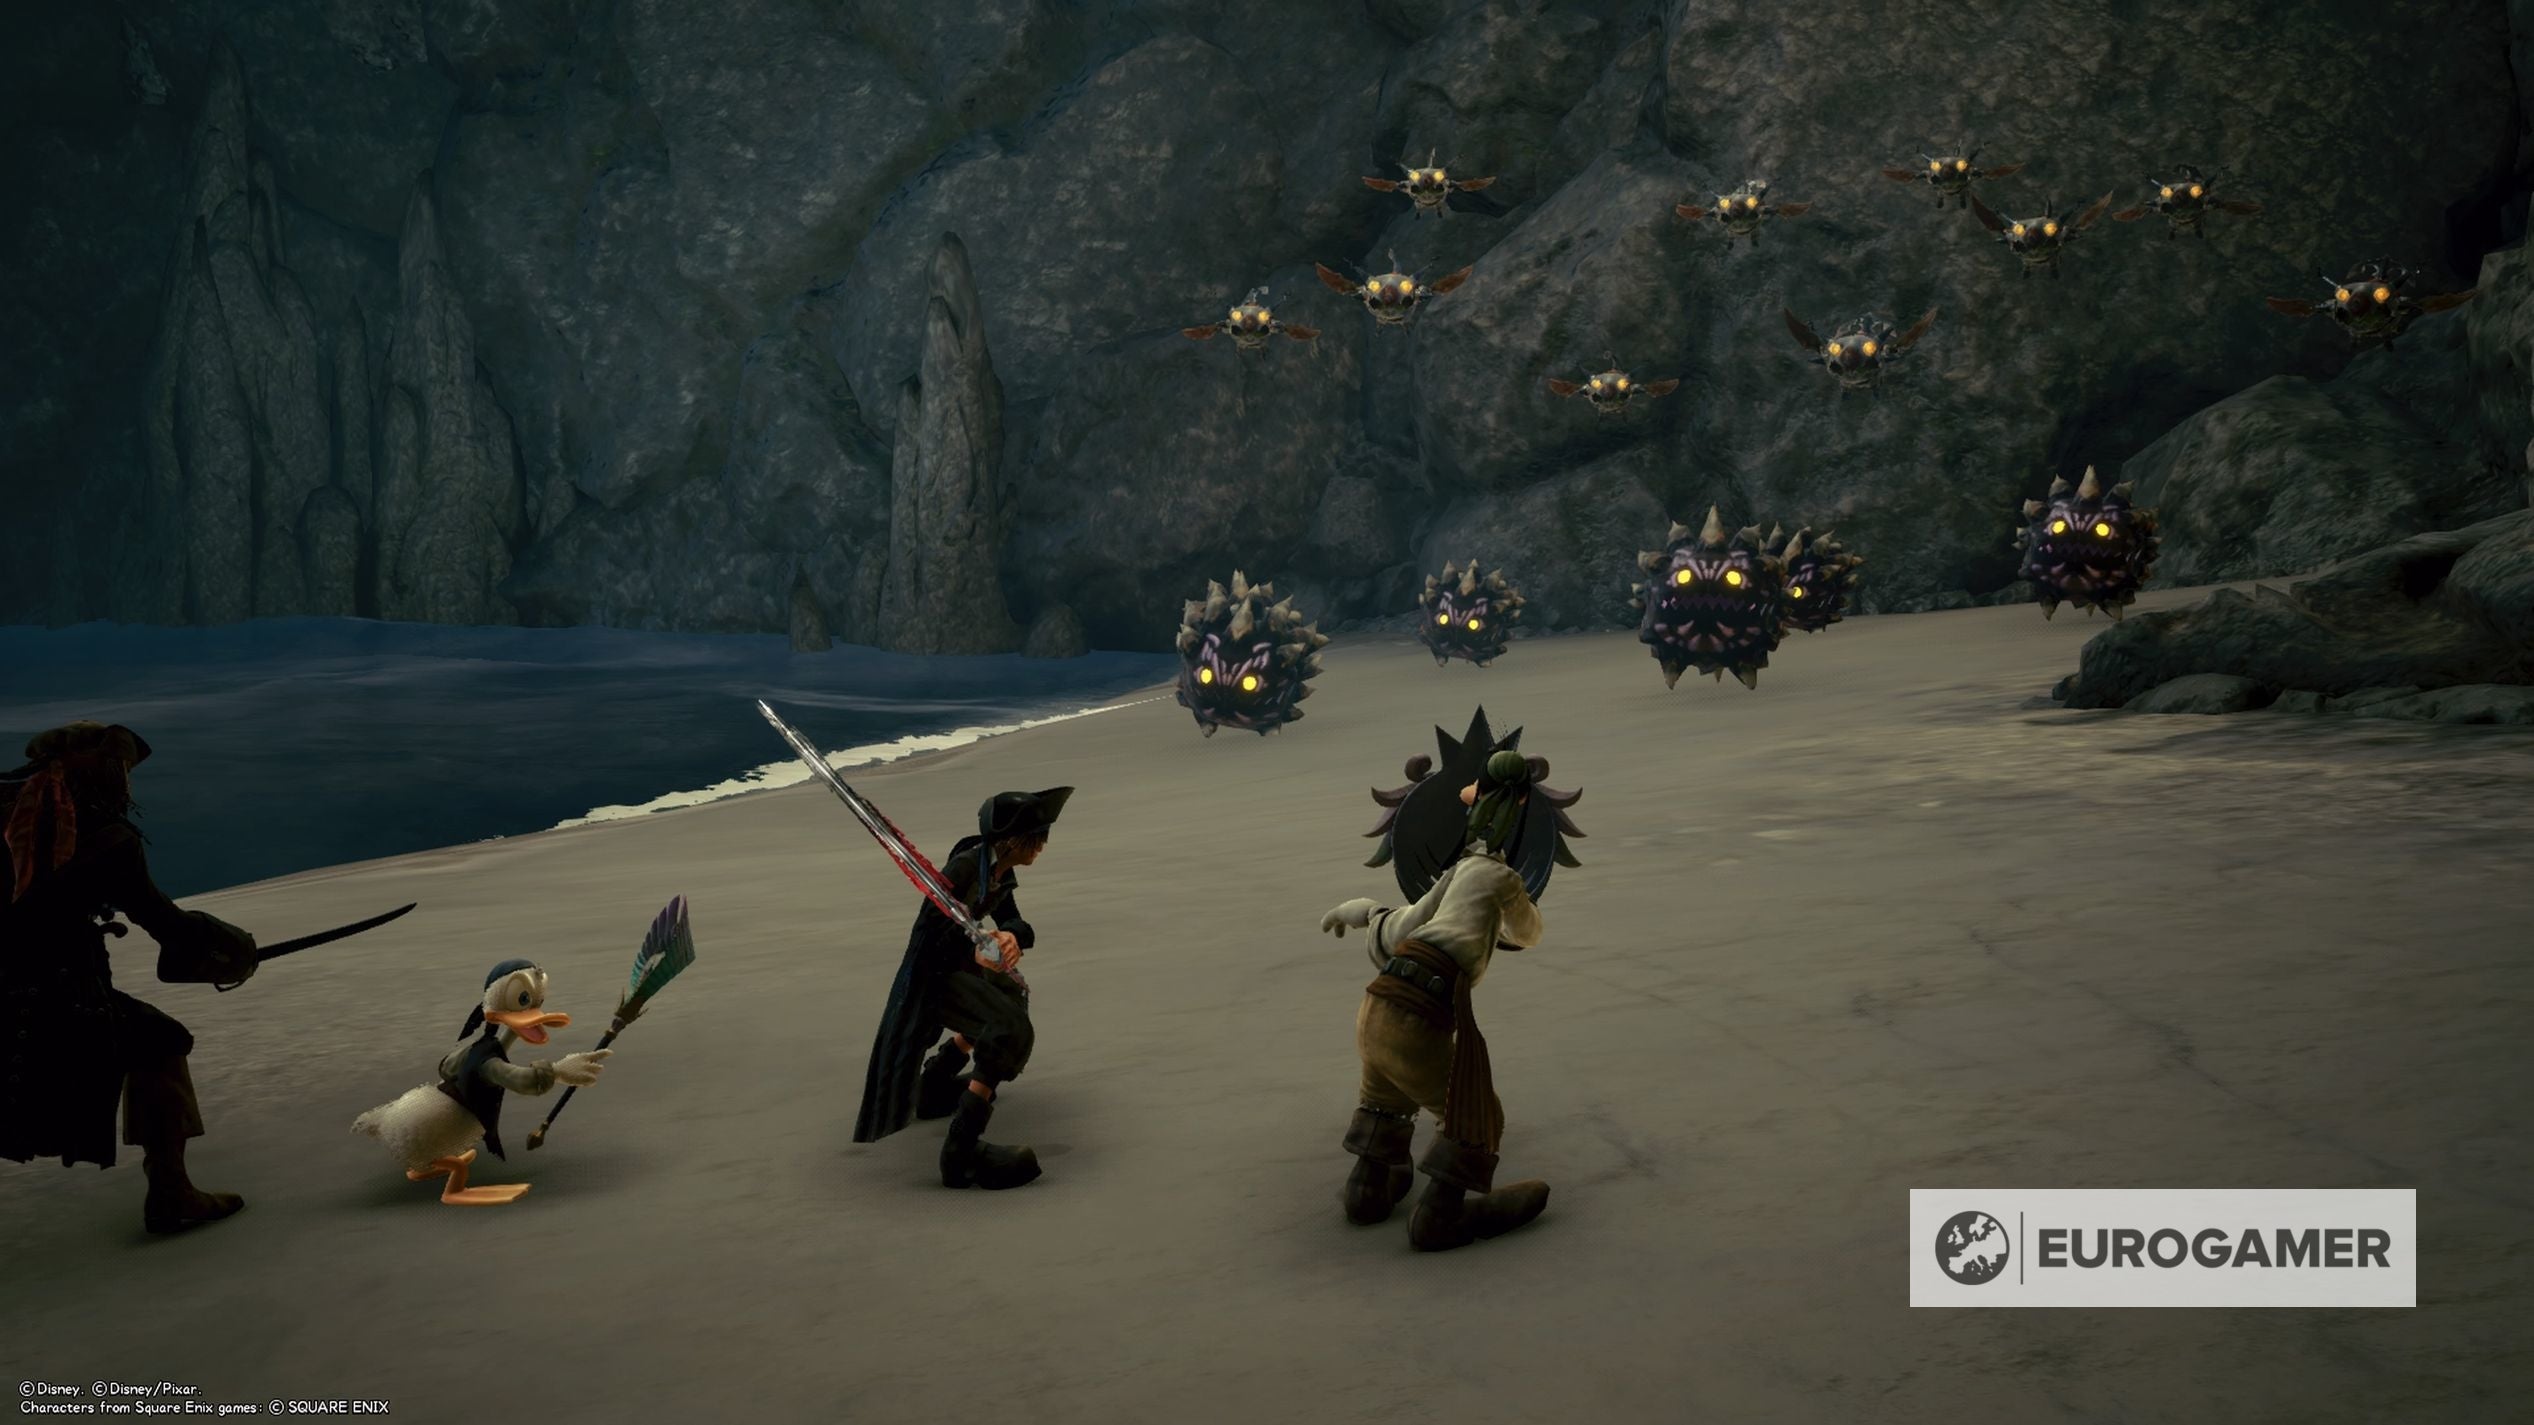
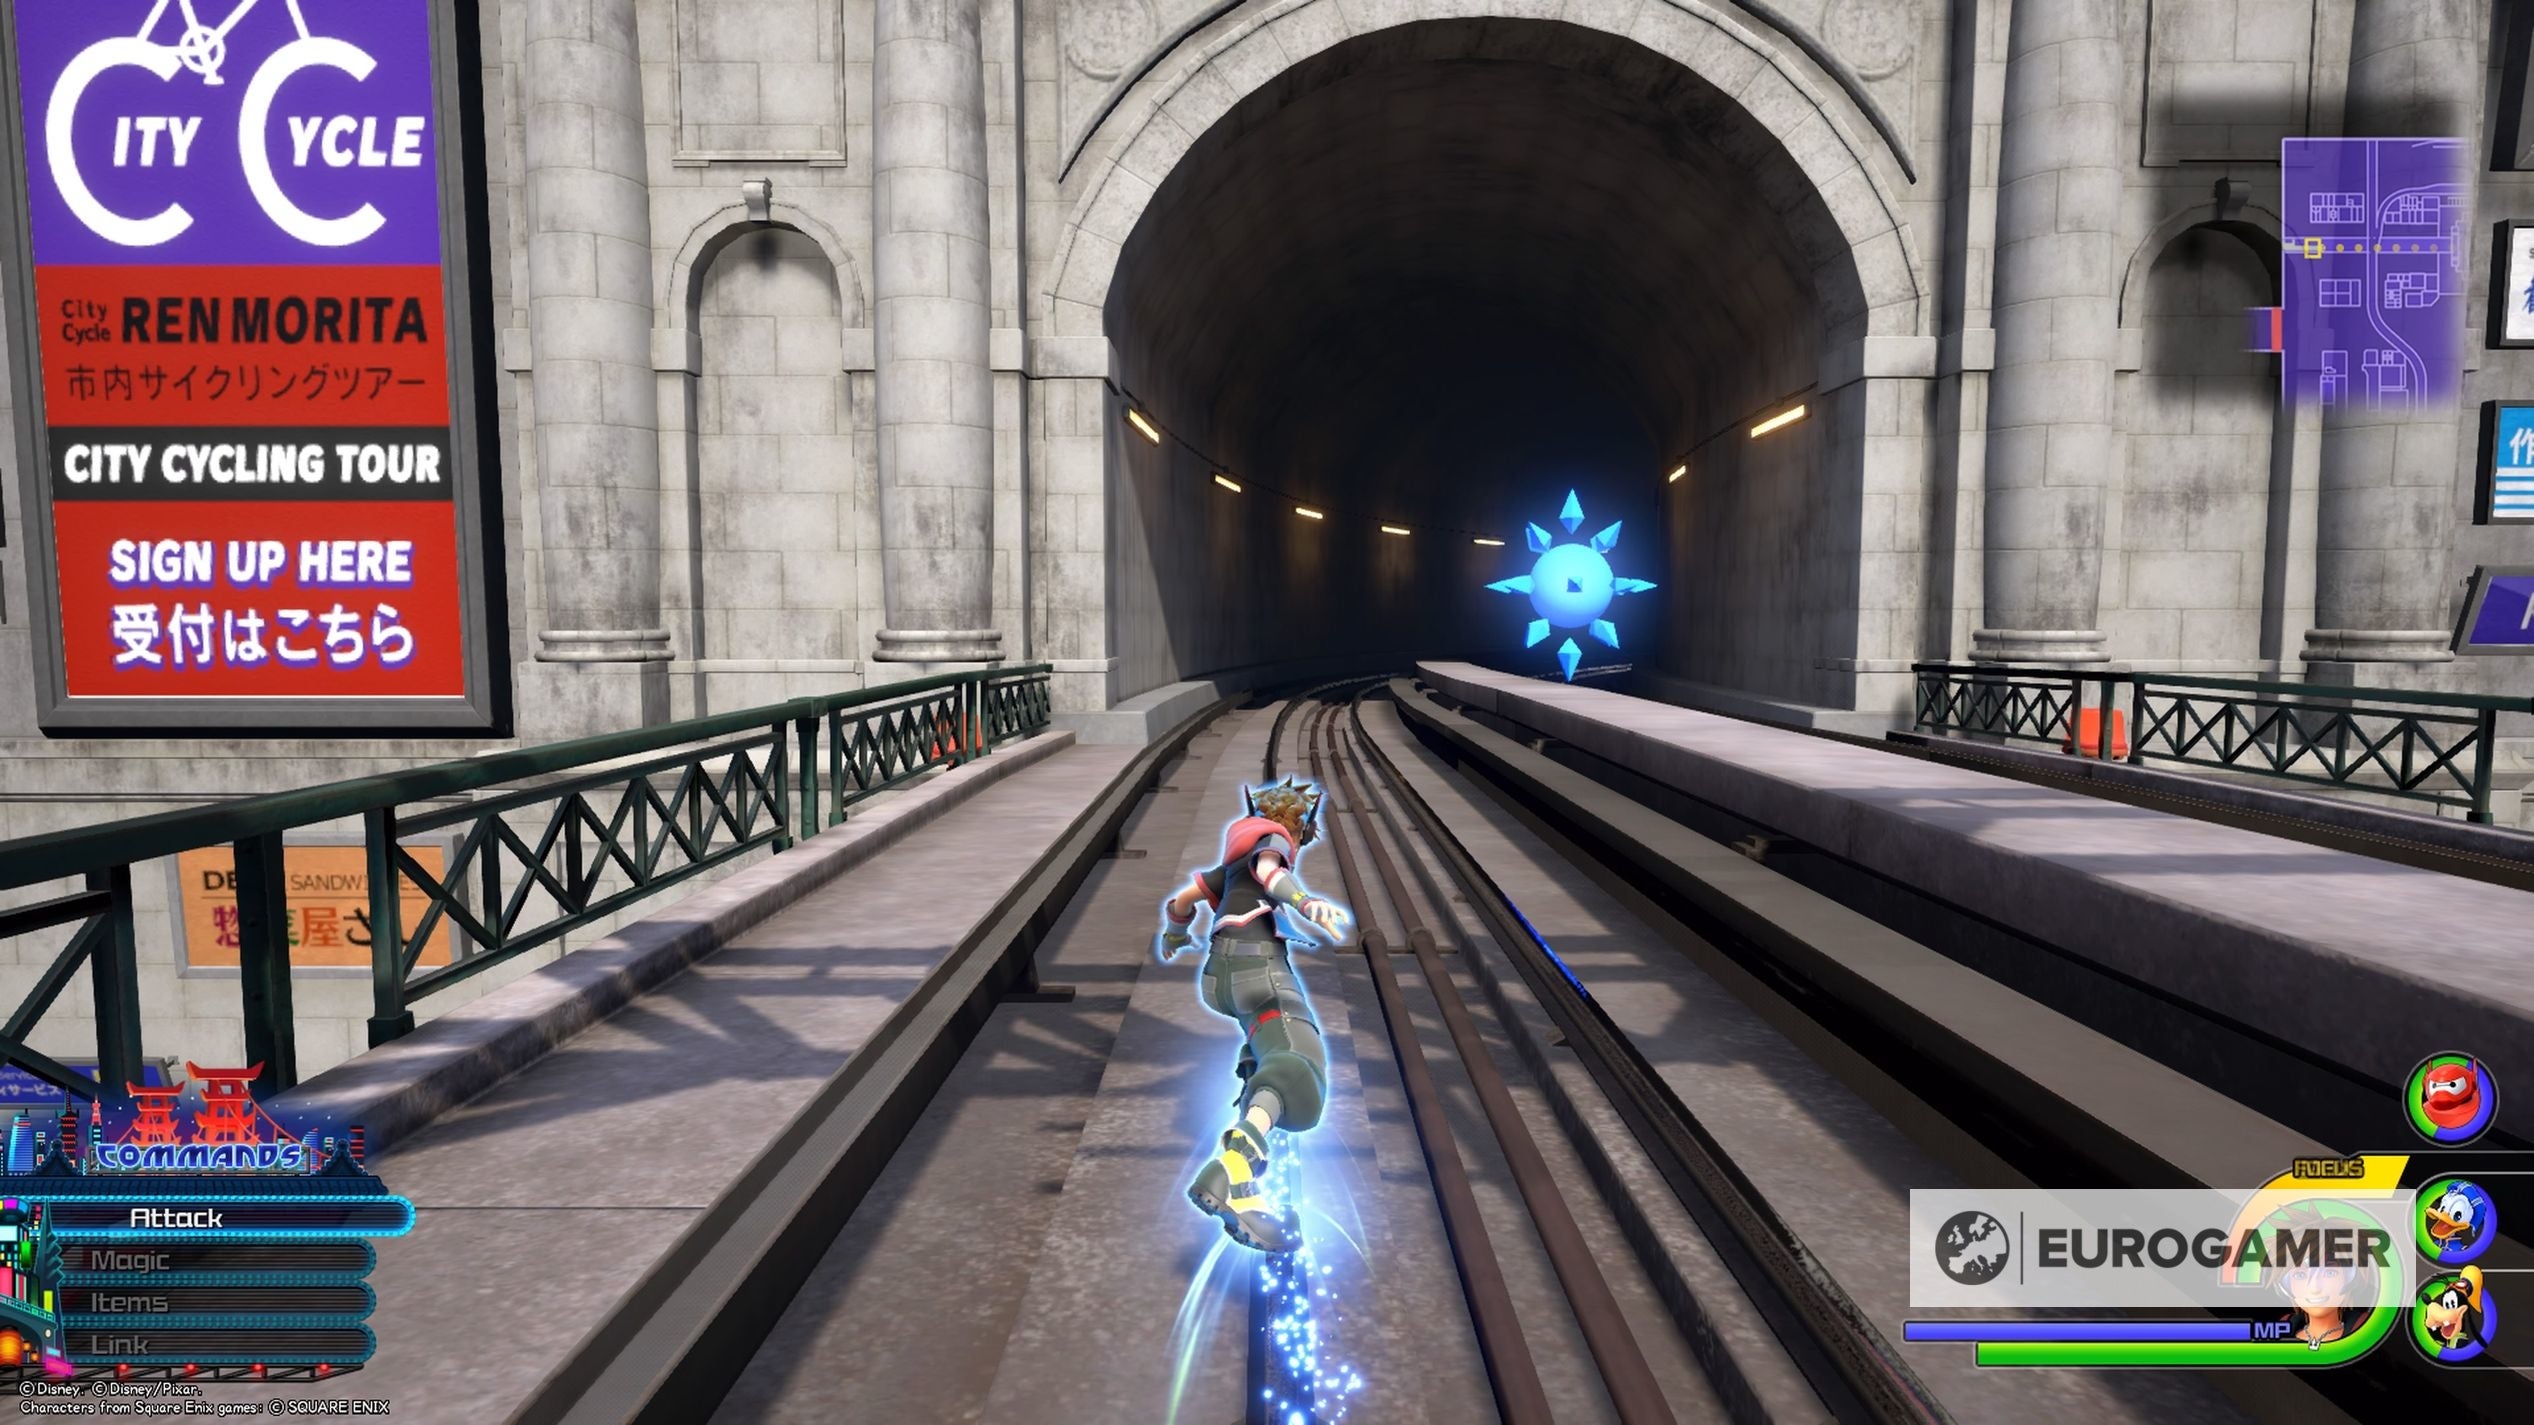
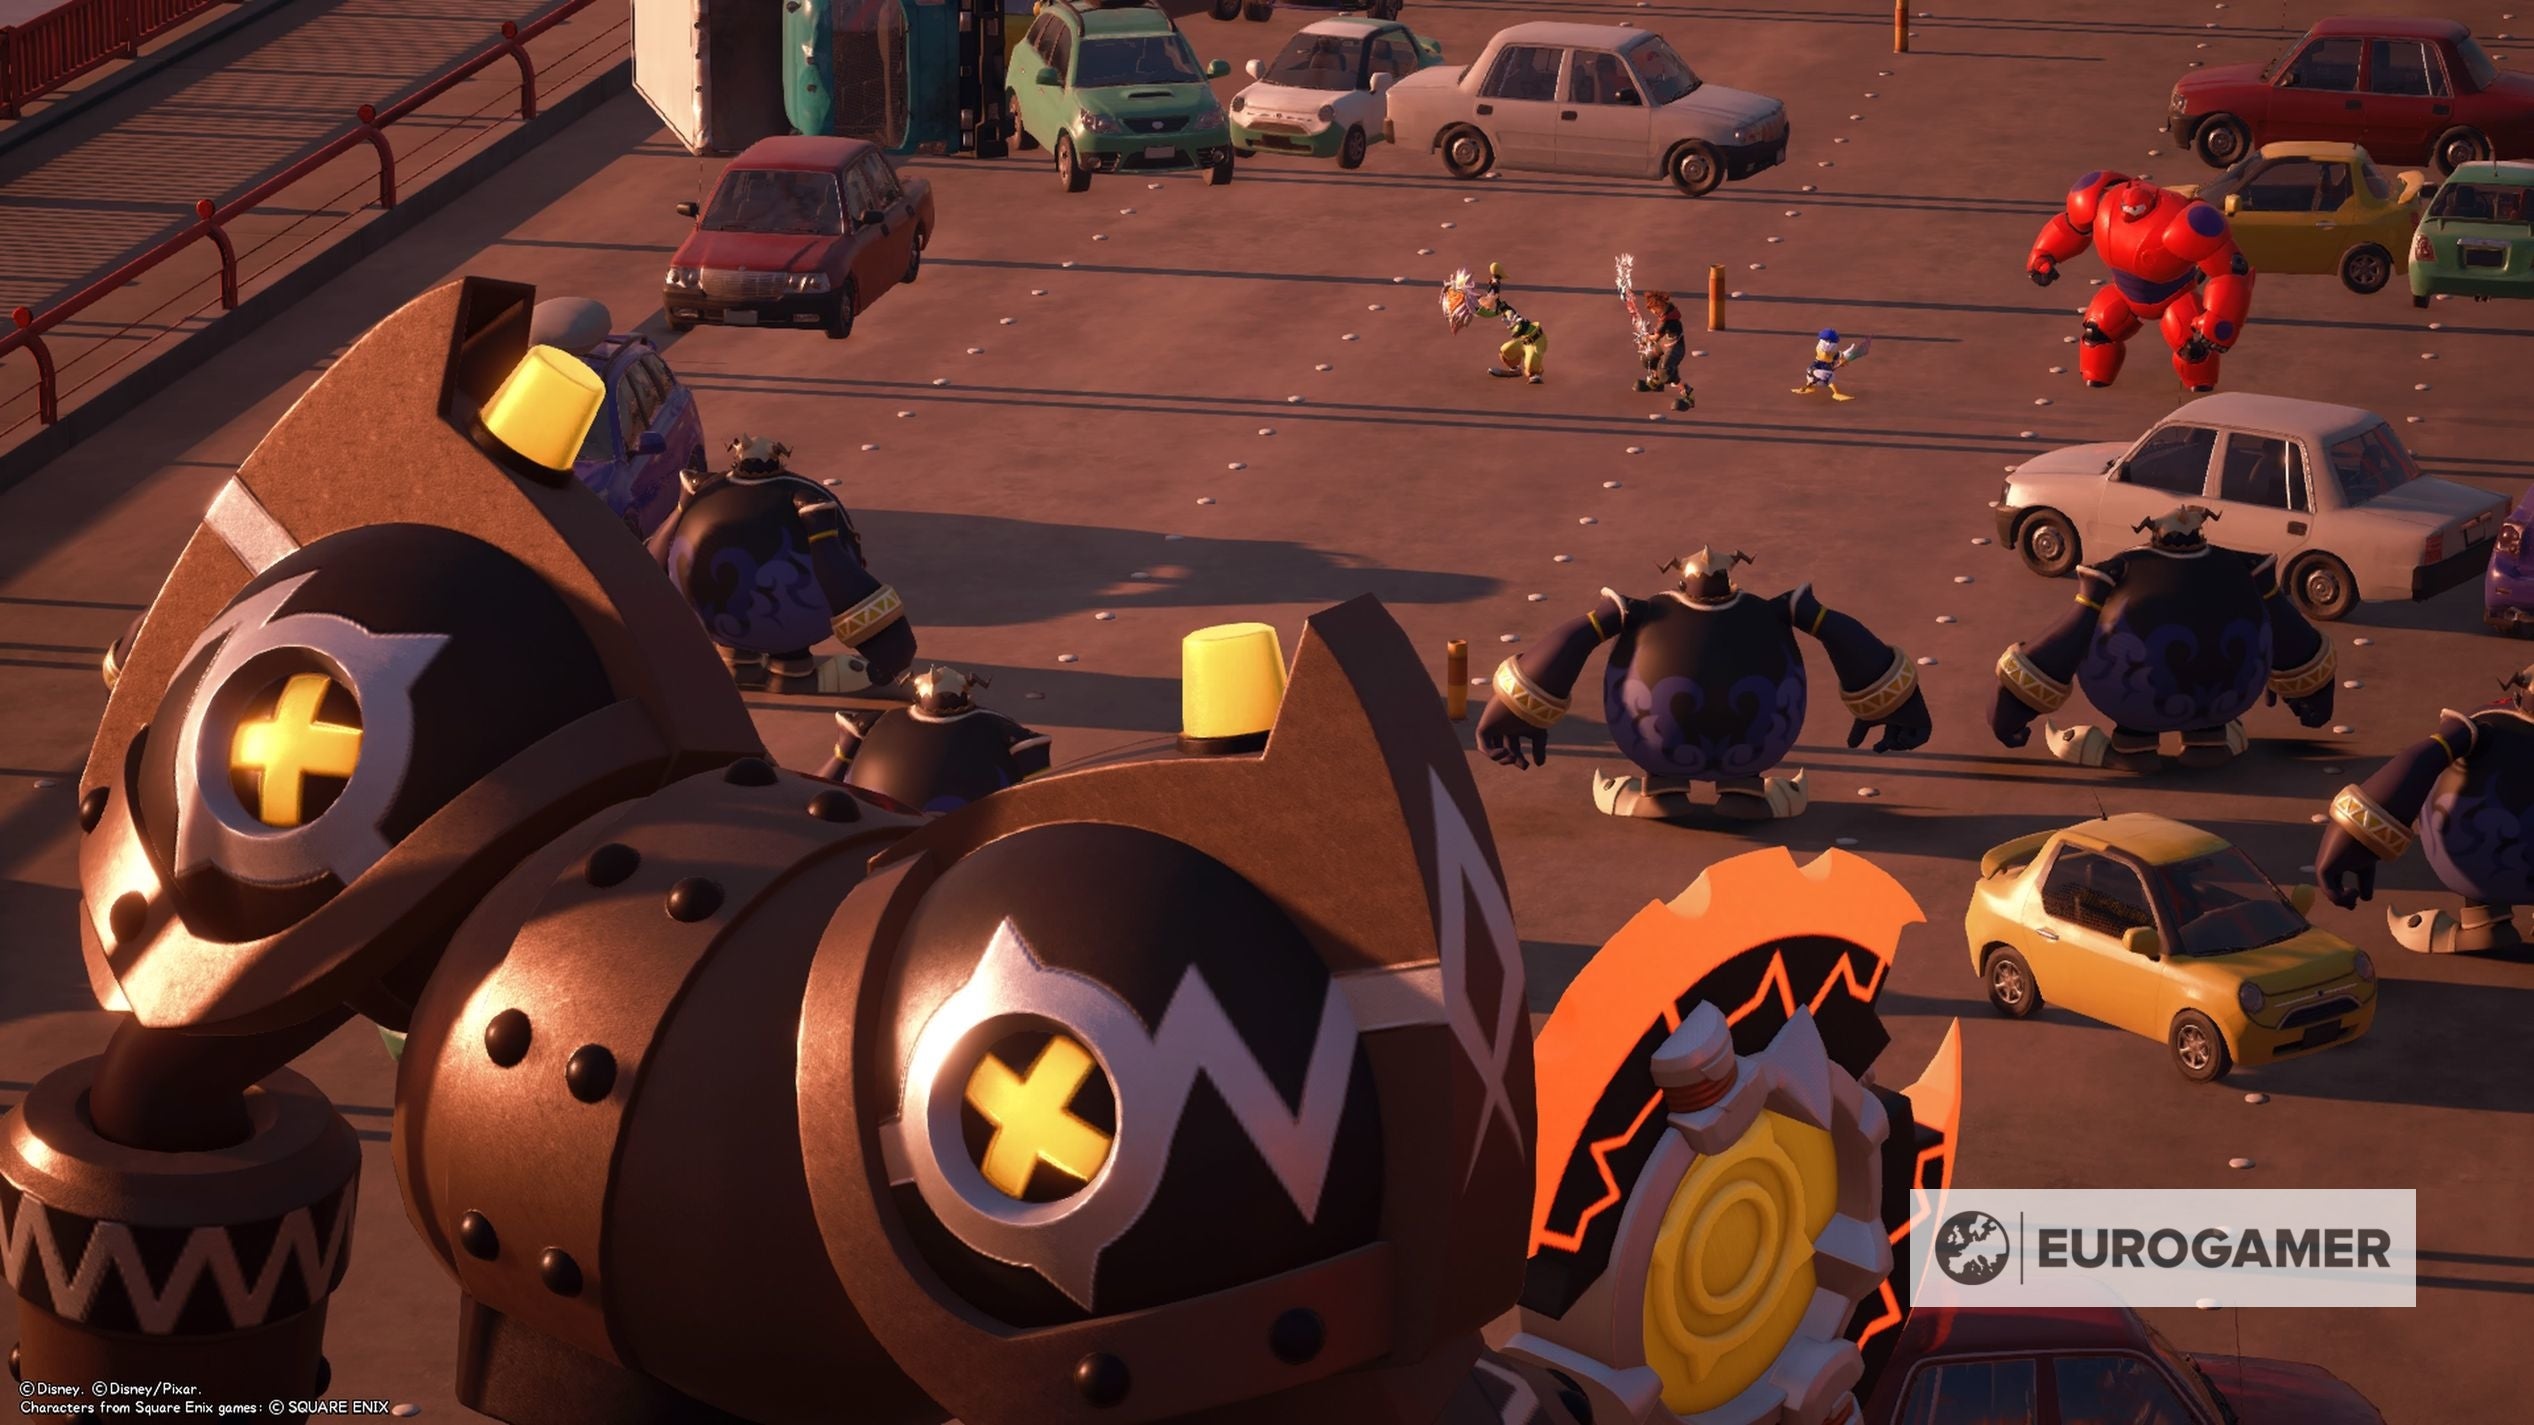
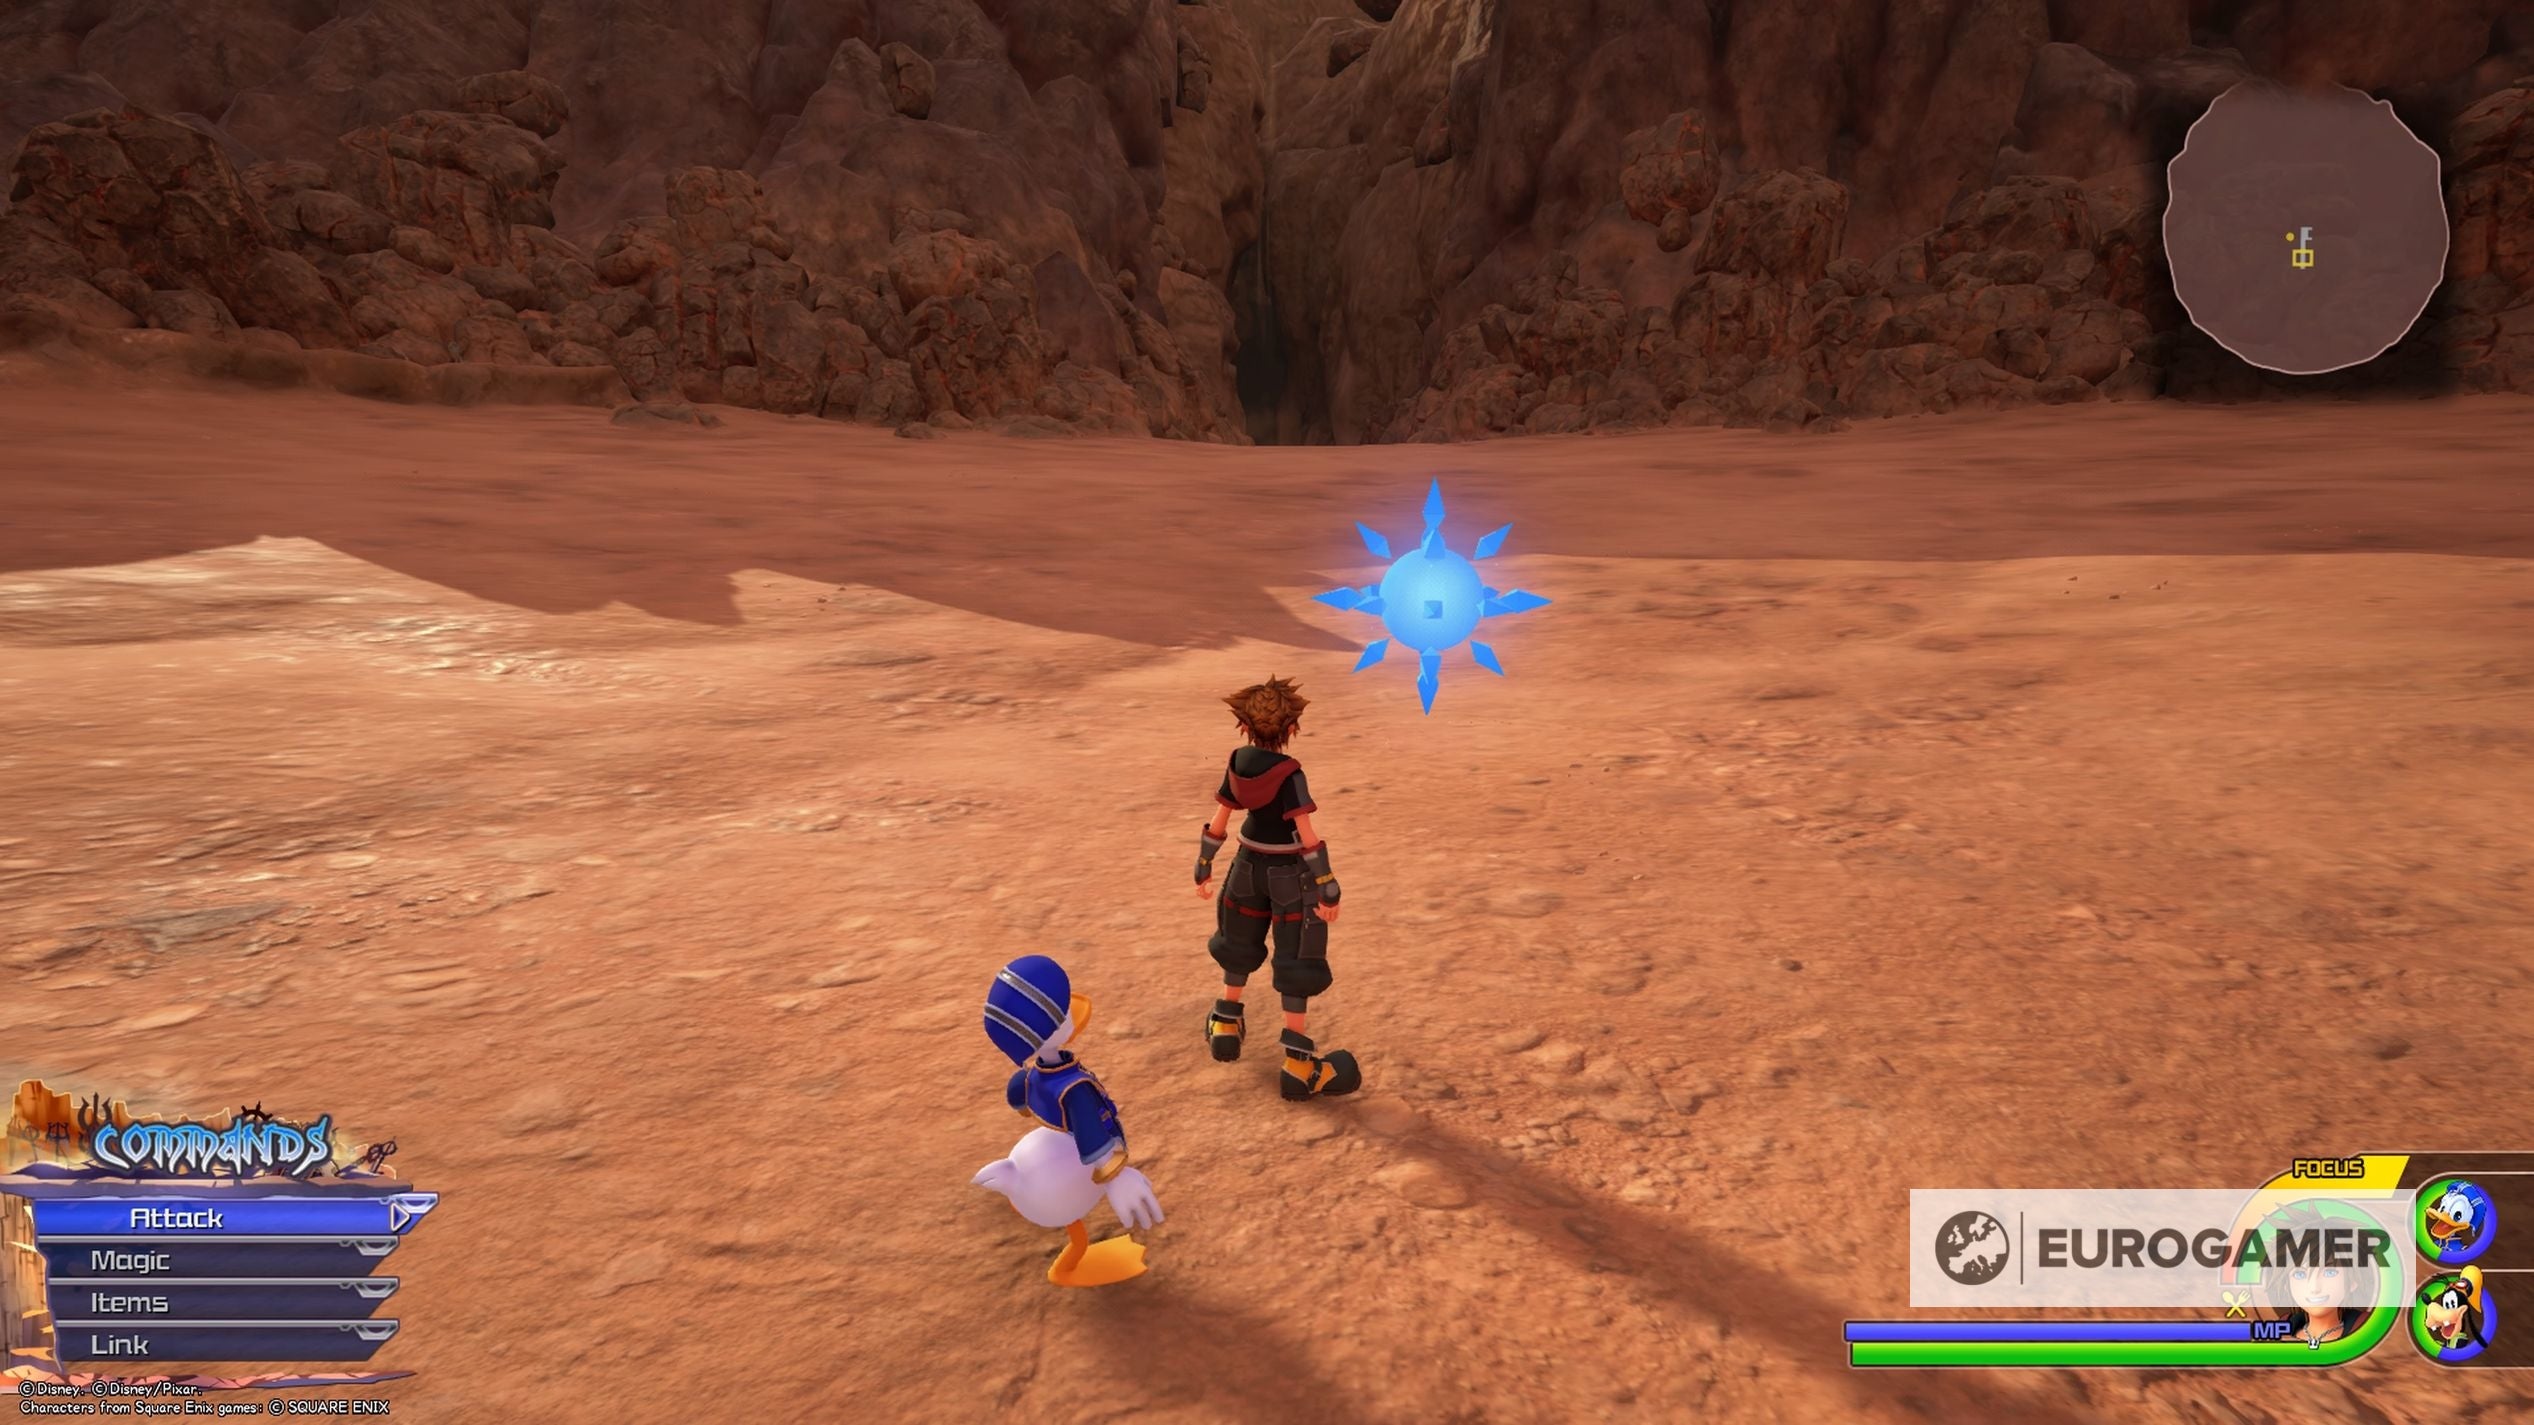
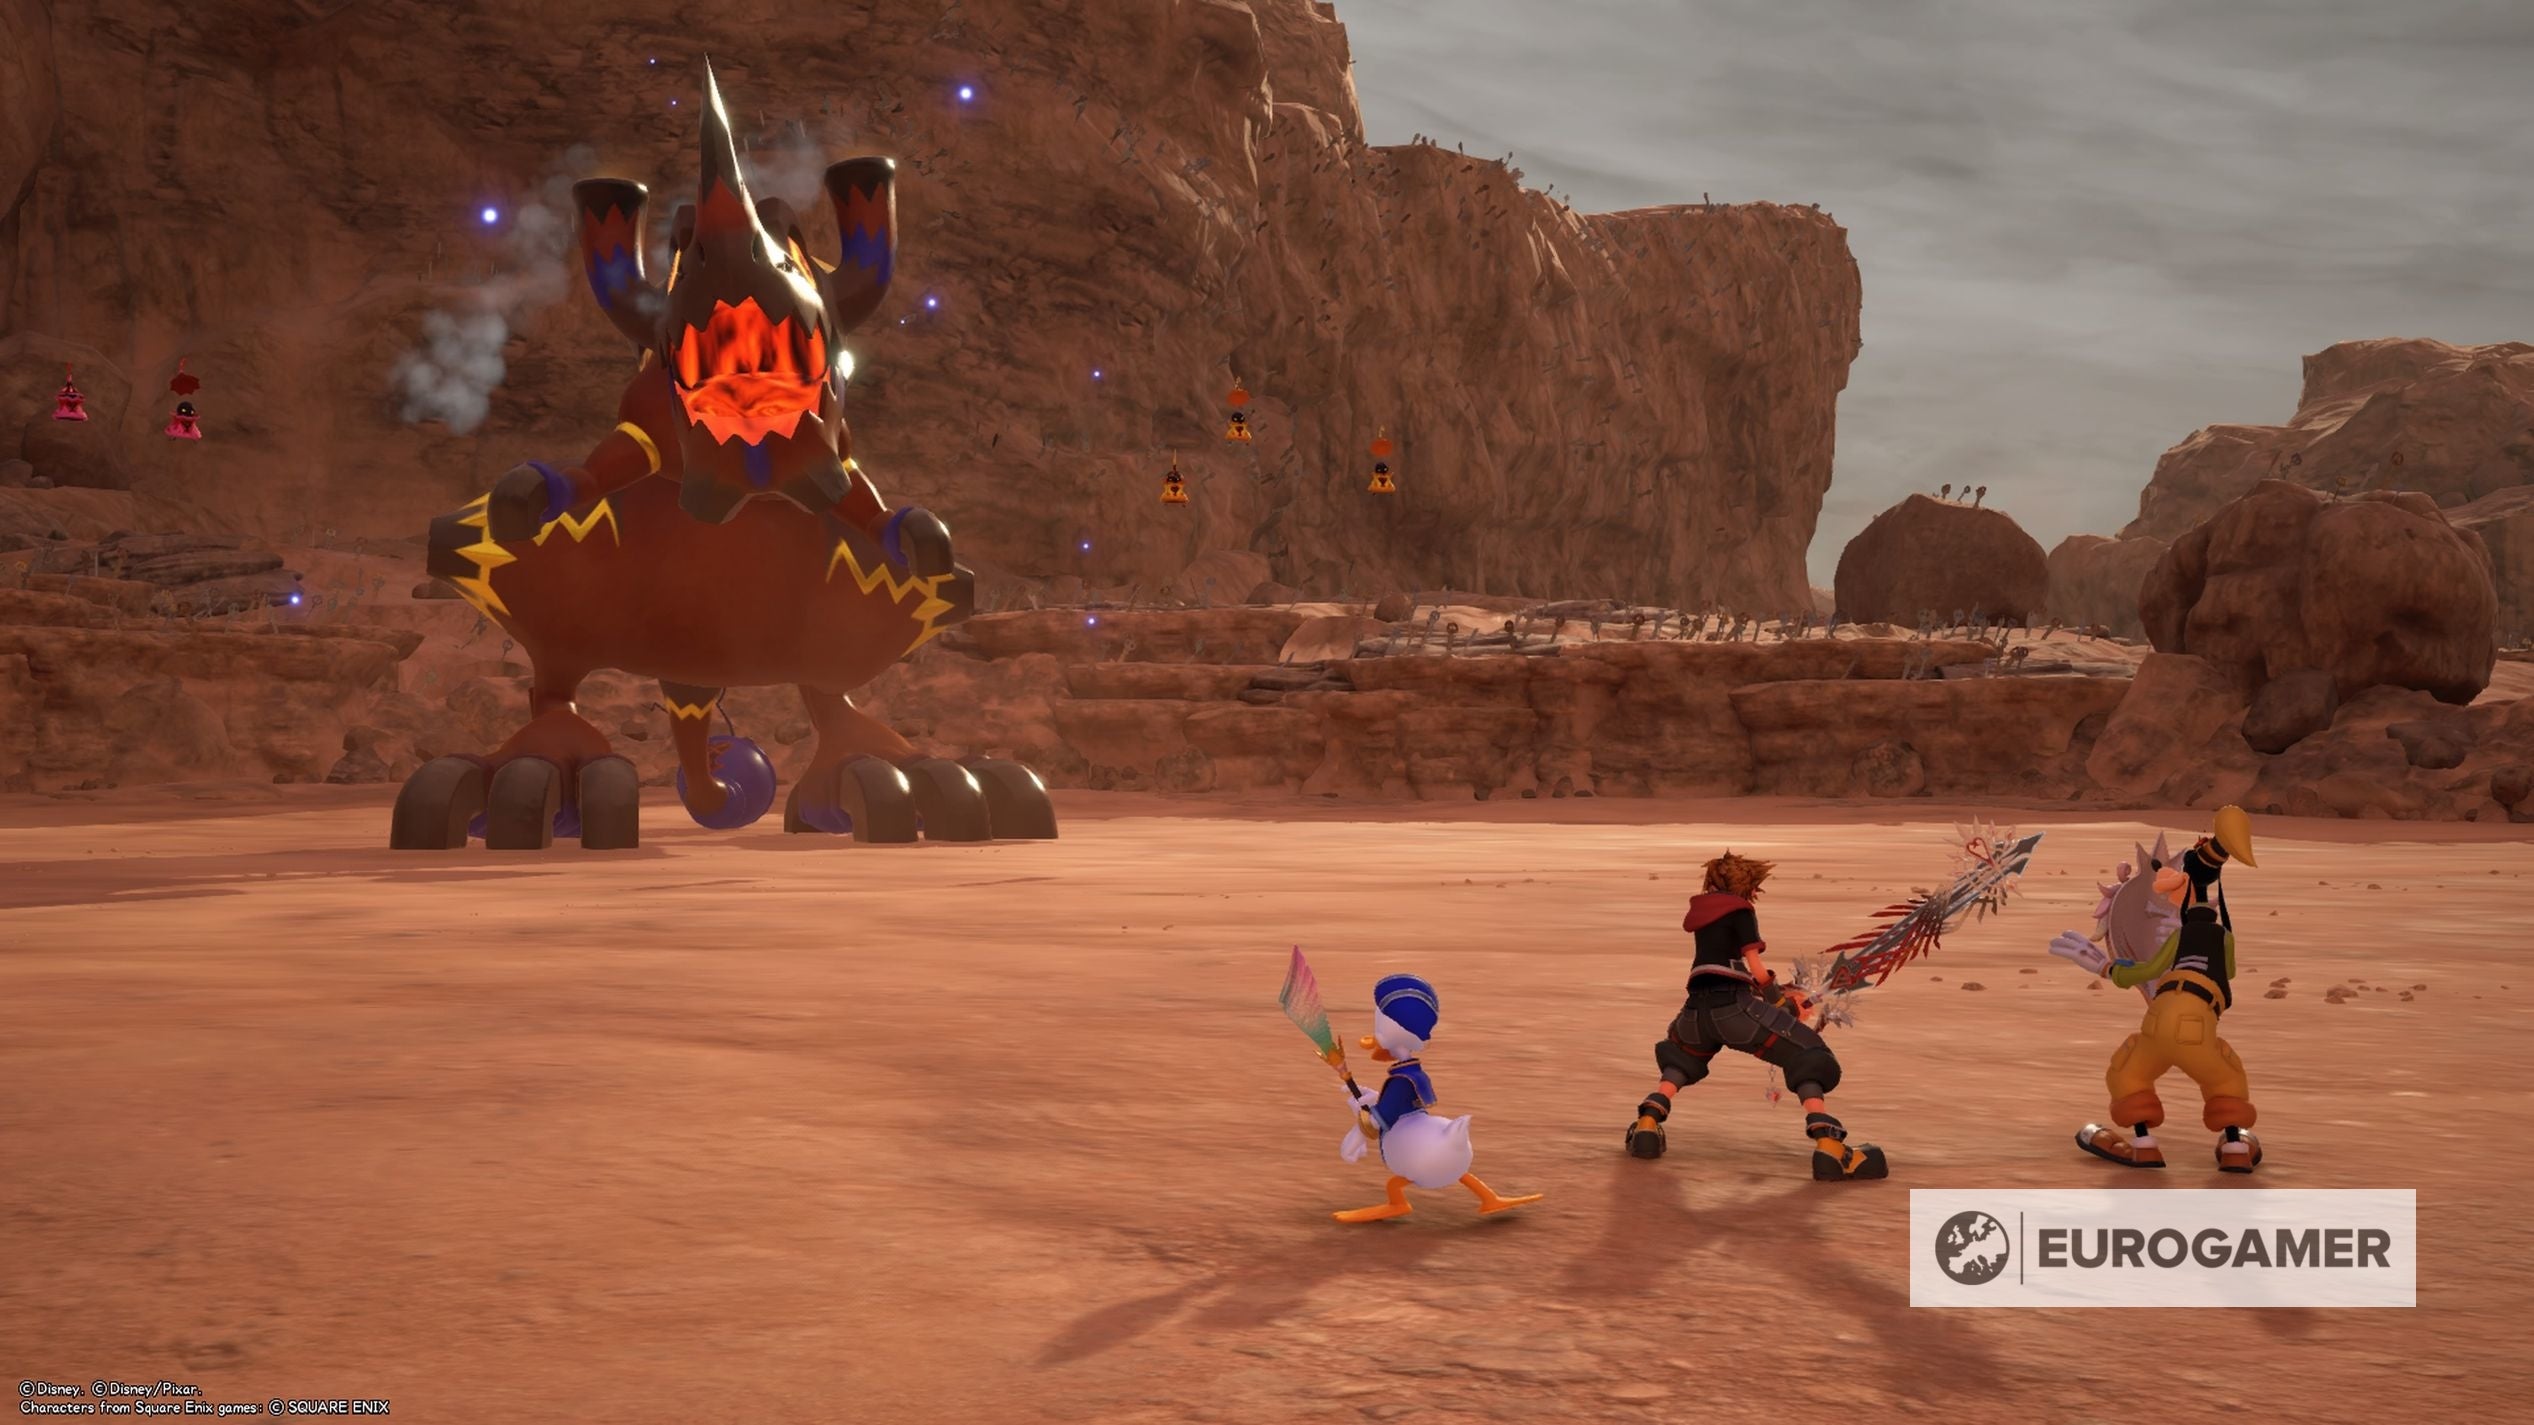
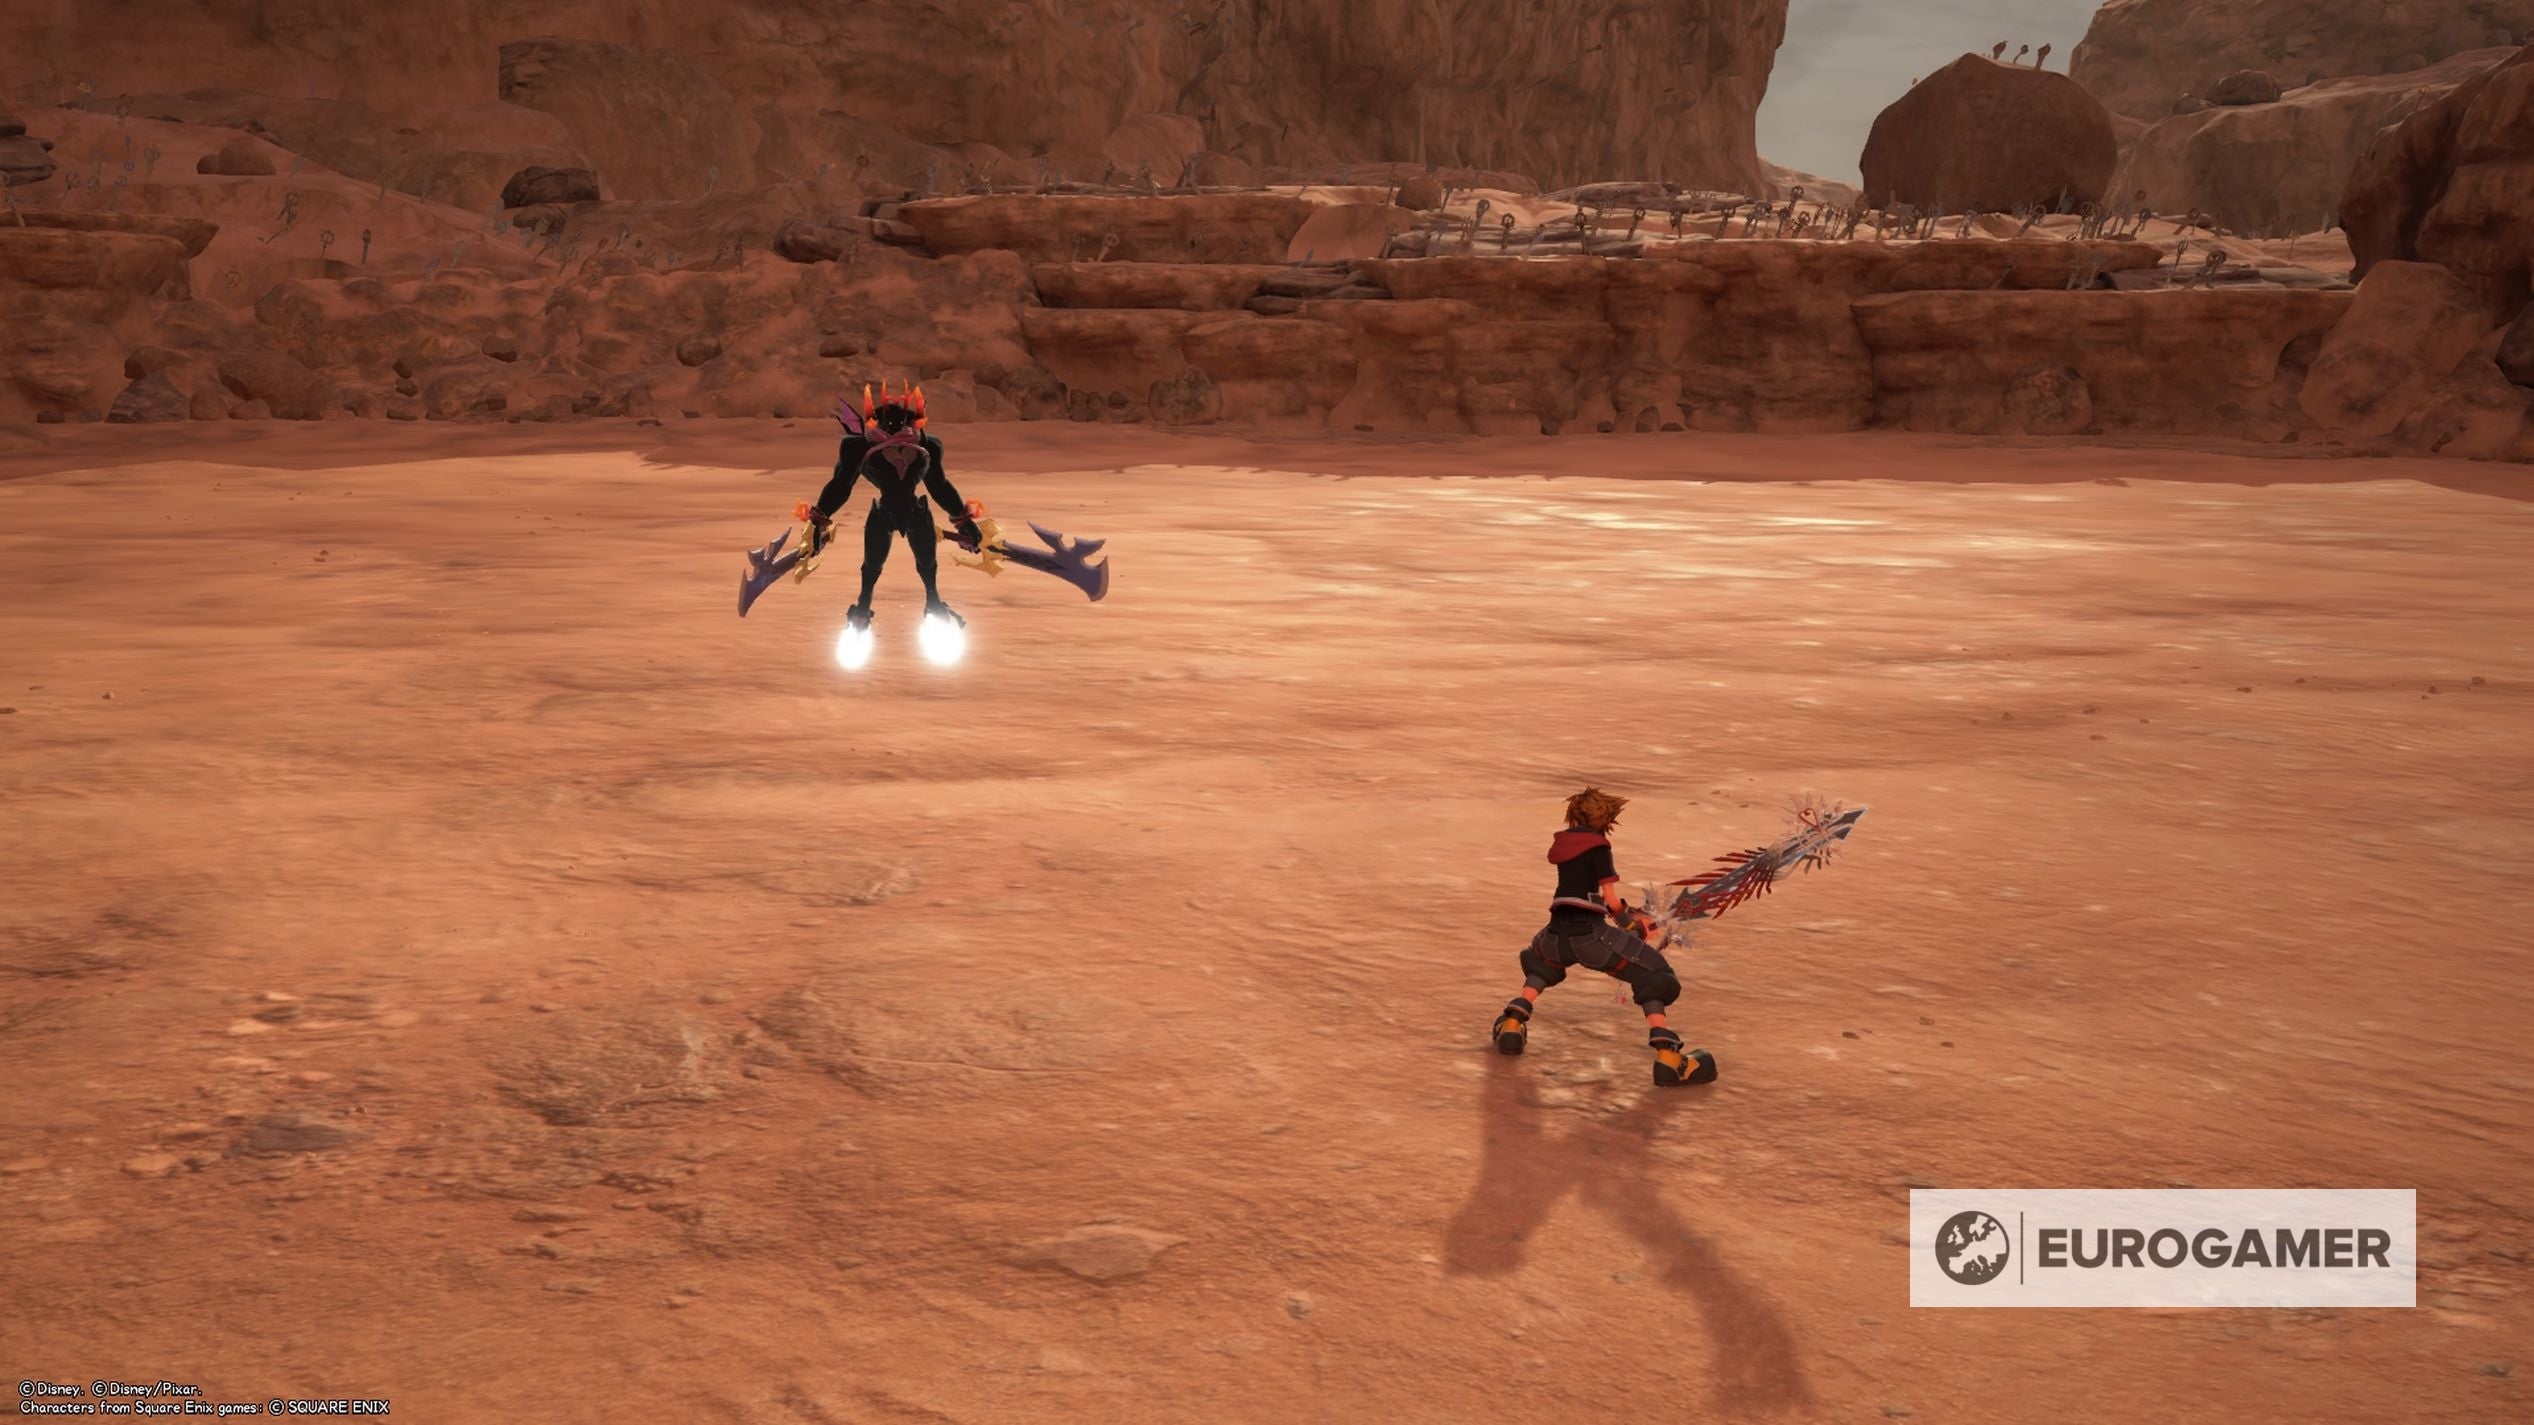
Inside each one resides a unique challenge, and the rewards completing them can be extremely useful. Looking for more help? Our Ultima Weapon guide can help you create the best weapon to take on these Battlegates, while there are also Lucky Emblems to help you unlock the Kingdom Hearts 3’s secret ending. Not only will you get powerful equipment and rare crafting materials for clearing each Battlegate, but you’ll also find a collection of Secret Report pages that contain intriguing information about many characters in Kingdom Hearts 3 and the potential future of the series. They are definitely something you’ll want to read if you’re heavily invested in the story, alongside the game’s secret ending. Here are their many locations: Strategy: Battlegate 0 will first appear as you’re making your way through the maze-like Skein of Severance in the Keyblade Graveyard. It’s a very straightforward fight against three waves of Heartless and is mostly used as a way for you to farm some extra experience between the boss gauntlet at the end of the main story. Use area-of-effect spells such as Thundaga to thin out the enemies and clean up any stragglers with your keyblade. Strategy: This is another large group of Heartless including multiple waves of Satyr, Archers and Water Cores. Large area-of-effect spells are extremely effective once again but otherwise, this is another easy fight. Strategy: This is the toughest of the fights so far but still shouldn’t be too much of a challenge. You’ll need to take on a couple of Rock Trolls alongside some smaller foes, so eliminate the easier stragglers first then start whittling down the bigger targets second. Strategy: You’ll face two waves in this fight. The first is a large group of basic Nobody creatures that you can wipe out quickly and easily. The second wave spawns in more of those flimsy puppets but also a more troublesome Sorcerer. Stick to physical attacks against it and dodge the red cubes it summons and you’ll be fine. Strategy: A couple of waves of low-level Heartless will spawn that you’ll have no problem wiping out. Do watch for the turrets poking out of the ground by the edges of the roads too as they are easy to miss. Strategy: This fight starts out tough as you have to take on a large group of Supreme Smashers and Gigas. Once the first lot are dealt with your best option is to focus on a single Gigas and jump inside it to take out the rest of your foes from relative safety. Strategy: This is the trickiest one so far. Clear out all the irritating monkey Heartless so they stop jumping on the cannon tower and stay high when possible to avoid the Chaos Carriage. Once everything has gone down, a second Chaos Carriage will spawn with three parts you need to work through. Block or dodge when it spins or dashes and take your opportunities to attack when there’s a open window. Strategy: Not a tough battle just a long one. You’ll need to chunk through the armour on a number of Chief Puffs and wipe out the little Heartless when they split with area of effect magic. A few waves of these will spawn in, alongside a trio of Parasol Beauties, so watch out for their snipe attacks. Strategy: The biggest threat in this fight is the Demon Tower. This swirling vortex of Heartless will pursue Sora for the entire fight so keep on the move and focus it down when you can. When its eyes flash red you’ll know an attack is coming your way so prepare to dodge or block. Strategy: The first two waves are some fairly basic Nobody enemies, but the fight gets trickier with the third wave. A tough Berserker spawns here too that can pack a serious punch, but he’s slow and his attacks are well telegraphed so you should be able to avoid them easily enough. Strategy: Another simple but lengthy fight. Four waves of Heartless will spawn including Anchor Raiders, Large Bodies and Water Cores. Nothing too tough then, but it’ll just take some time to cut them all down. Strategy: There are only a few enemies in this Battlegate but they are all very tough ones. You’ll probably want to thin out all the Helmed Bodies first before moving onto the more imposing Metal Trolls. You can use the cars to fire off cover shots if you like, but normal attacks and magic are probably better. Strategy: We’re back to an easy one after a couple of tough fights. You’re mobbed by a lot of basic Heartless but there’s very little they can do against your powerful area of effect attacks. Or you can just wail on them with your keyblade to thin out the pack. Strategy: The biggest threat in this fight is the massive Catastrochorus monster. Keep out of its way when it charges and land attacks on the head where possible. Once it’s health is low enough you’ll move on to attack the growth on its back while dodging some fireballs, before finishing it off with some attacks to the tail while dodging lightning. Strategy: Naturally, the final Battlegate is the hardest of the lot - especially because it’s a one-on-one battle against a Dark Inferno Hearthless that Sora must face alone. The fight is a tough challenge, but once you’ve learnt all the telegraphs and timings to his attacks you’ll have a better chance of blocking or dodging them and finding windows to land your own combos. Watch for when the Dark Inferno changes colour, though, as that means his attacks will now be getting stronger and faster. Congratulations, you’ve now beaten some of the toughest challenges in Kingdom Hearts 3! If you’re looking for anything else to do you can always hunt down all the Lucky Emblems to help you unlock the Kingdom Hearts 3’s secret ending.