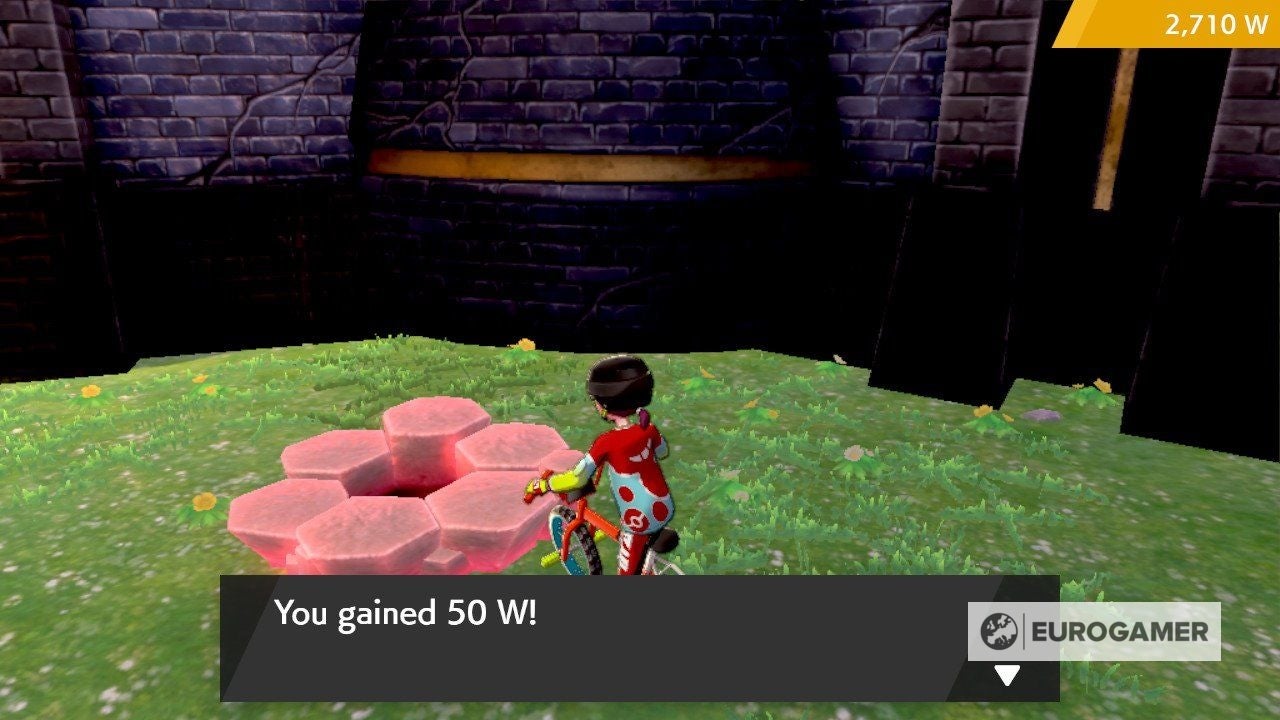
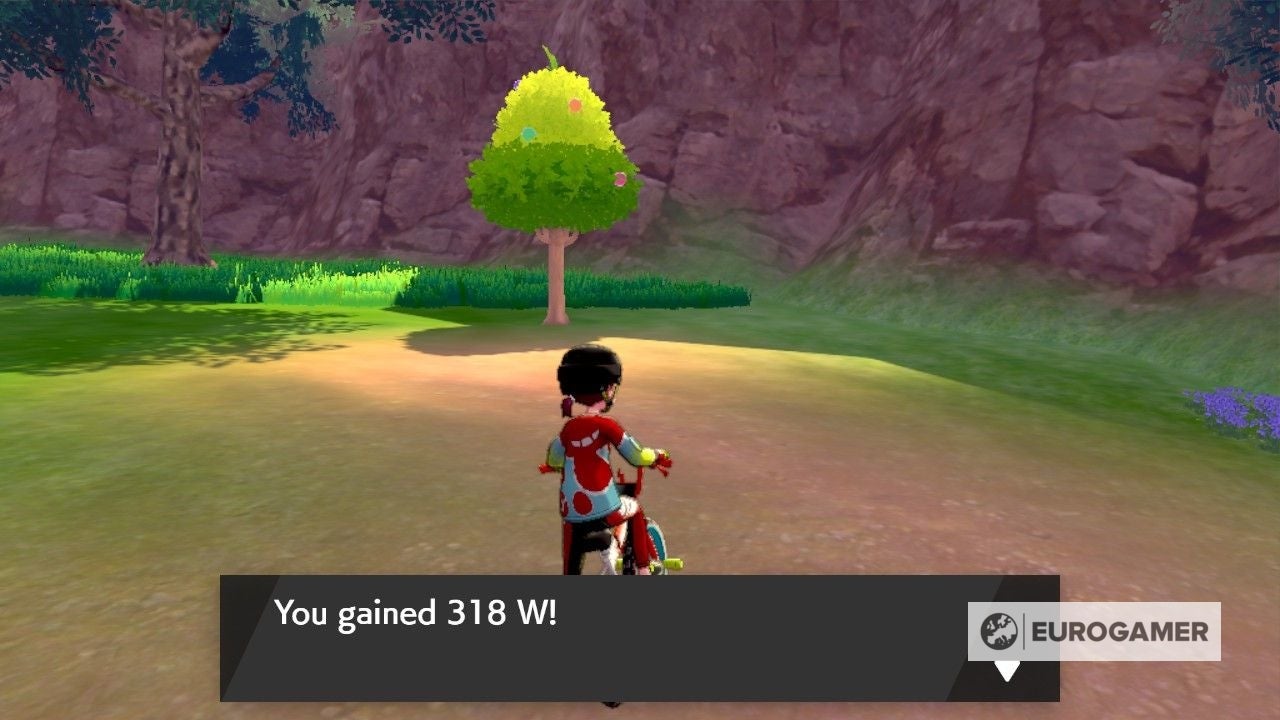
You can earn Watts by completing certain activities, like a Rotom Rally, in the Wild Area and you can also spend them there. Watts can be spent on a variety of items, including Wishing Pieces, and services, such as the Digging Duo. It’s a good idea to collect a large amount of Watts, because many of the items will help you complete the Galar Pokédex. On this page: The first is by investigating the Pokémon Dens scattered across the Wild Area. Before you complete the main storyline of the games, Pokémon Dens that contain Max Raids will give you 200 Watts and empty Dens will give you 50 Watts. After you complete the game, this will be increased to 2,000 Watts for Dens containing Max Raids and 200 Watts for empty Dens. Pokémon Dens that contain Max Raids are the one emitting pillars of red light. You don’t have to battle in these raids to collect the Watts either, simply interact with the Pokémon Den in question and the Watts will be yours. If you do decide to battle in the Max Raids and complete every one that is currently in your Wild Area, the Pokémon Den will reset. This means that you can collect more Watts from the Pokémon Dens, which will allow you to quickly stock up on Watts. You can also receive Watts by battling, defeating and catching (if you manage it) Brilliant Pokémon. Brilliant Pokémon are Pokémon that appear with a yellow aura. They are quite rare, however, so don’t be surprised if you don’t see them very often. The third and final way to earn Watts is by completely Rotom Rallies. You can start a Rotom Rally by talking to one of the seven Rotom Rallyists that can be found across the Wild Area. Each Rallyist will have between four to six races for you to choose from and each race has a different time limit. Here are the locations for each Rotom Rallyist, including the rallies they offer you:
At the Meetup Spot East Lake Axewell - 40 seconds The Bridge Field - 120 seconds The Giant’s Cap - 130 seconds The Hammerlocke Hills - 160 seconds
Near the cliff wall, between two berry trees, in Dappled Grove The Meetup Spot - 50 seconds East Lake Axewell - 50 seconds The Bridge Field - 130 seconds The Giant’s Cap - 160 seconds The Hammerlocke Hills - 190 seconds
By the entrance to Motostoke The Meetup Spot - 40 seconds The Dappled Grove - 50 seconds The Bridge Field - 80 seconds The Giant’s Cap - 110 seconds The Hammerlocke Hills - 140 seconds
Next to the bridge in Giant’s Seat The Meetup Spot - 50 seconds East Lake Axewell - 50 seconds The Dappled Grove - 80 seconds The Bridge Field - 90 seconds The Giant’s Cap - 100 seconds The Hammerlocke Hills - 130 seconds
In front of the Pokémon Nursery in Bridge Field The Giant’s Cap - 60 seconds The Hammerlocke Hills - 60 seconds East Lake Axewell - 80 seconds The Giant’s Seat - 90 seconds The Meetup Spot - 120 seconds The Dappled Grove - 130 seconds
Underneath a tree, near the lake, in Giant’s Cap The Hammerlocke Hills - 30 seconds The Bridge Field - 60 seconds East Lake Axewell - 110 seconds The Giant’s Seat - 100 seconds The Meetup Spot - 130 seconds The Dappled Grove - 160 seconds
By the entrance to Hammerlocke The Giant’s Cap - 30 seconds The Bridge Field - 60 seconds East Lake Aexwell - 140 seconds The Giant’s Seat - 130 seconds The Meetup Spot - 160 seconds The Dappled Grove - 190 seconds
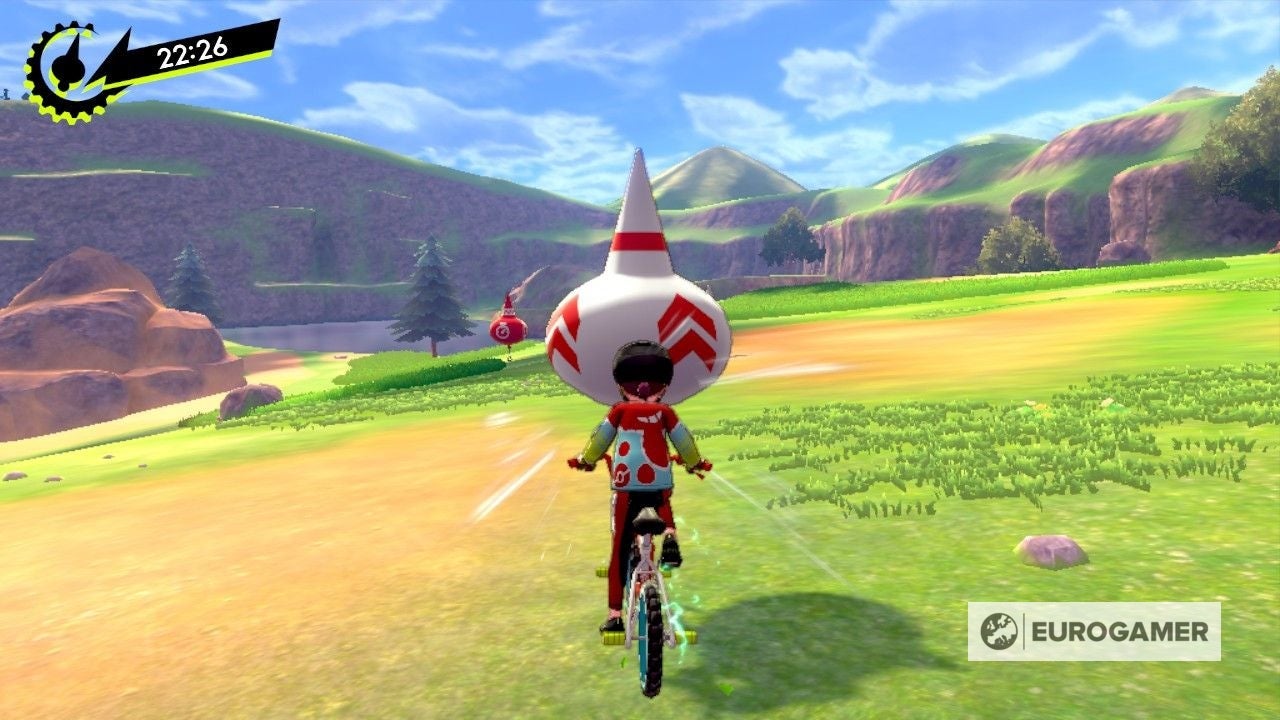
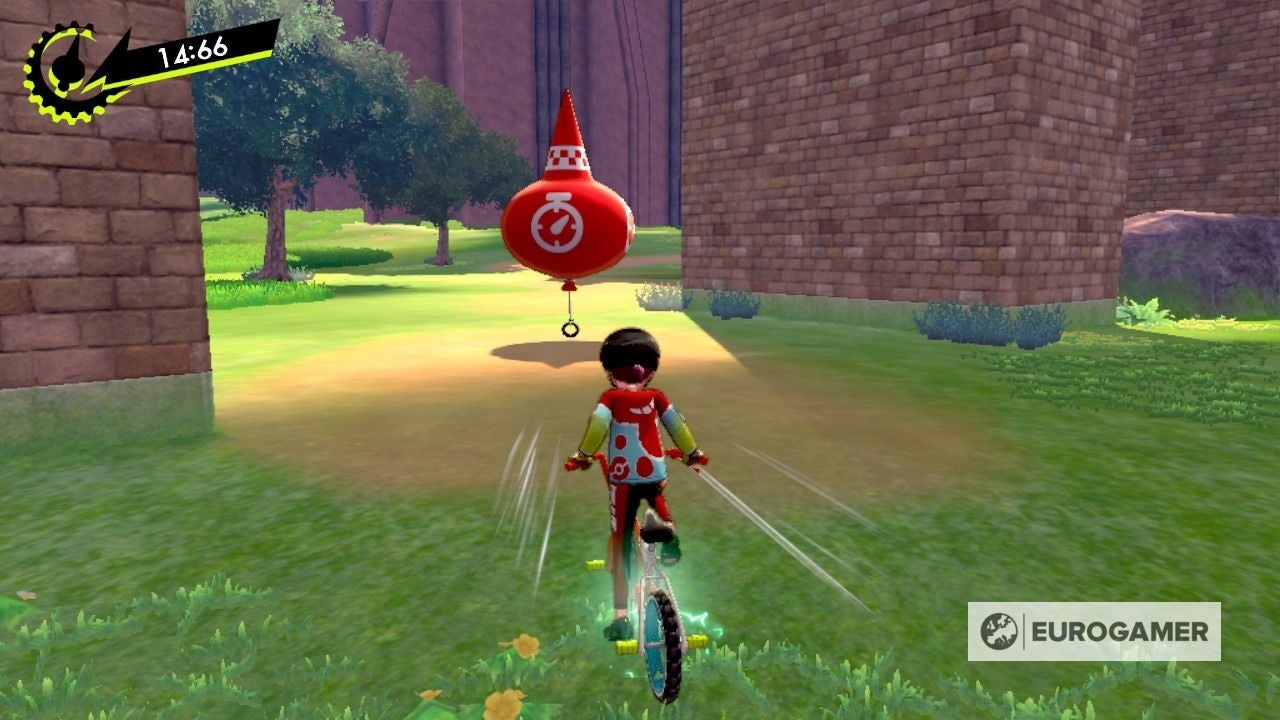
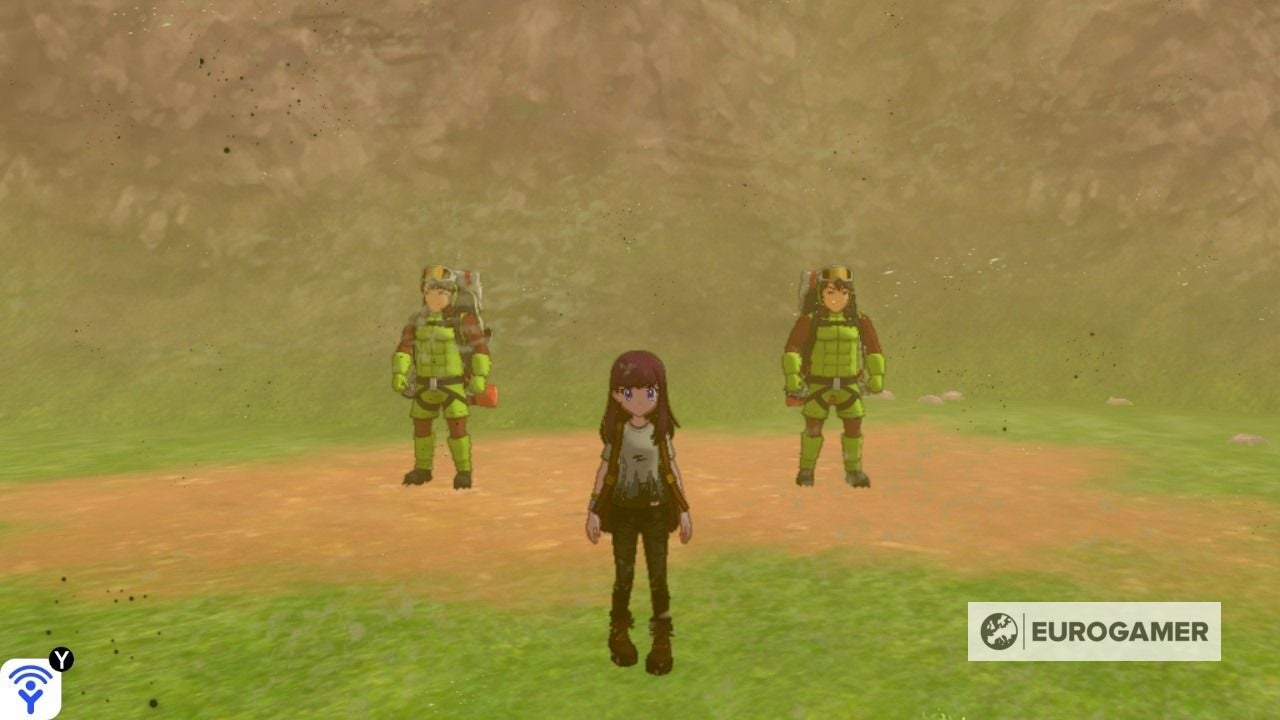
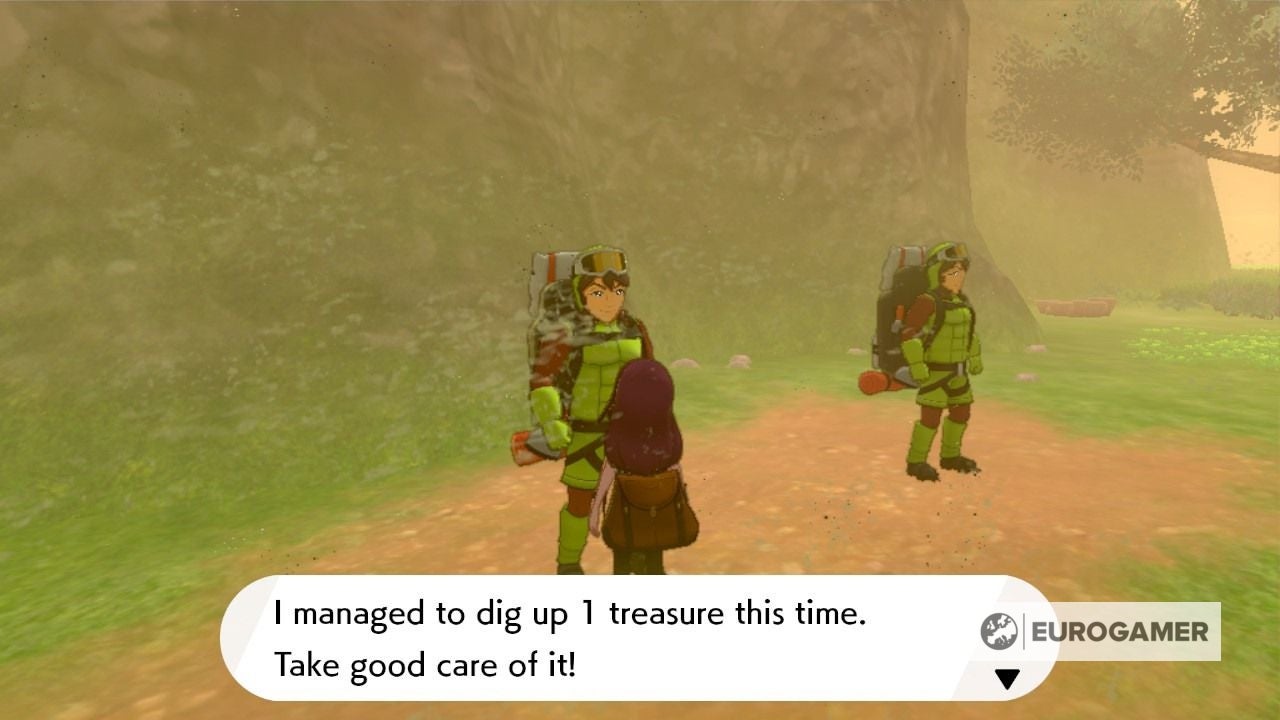
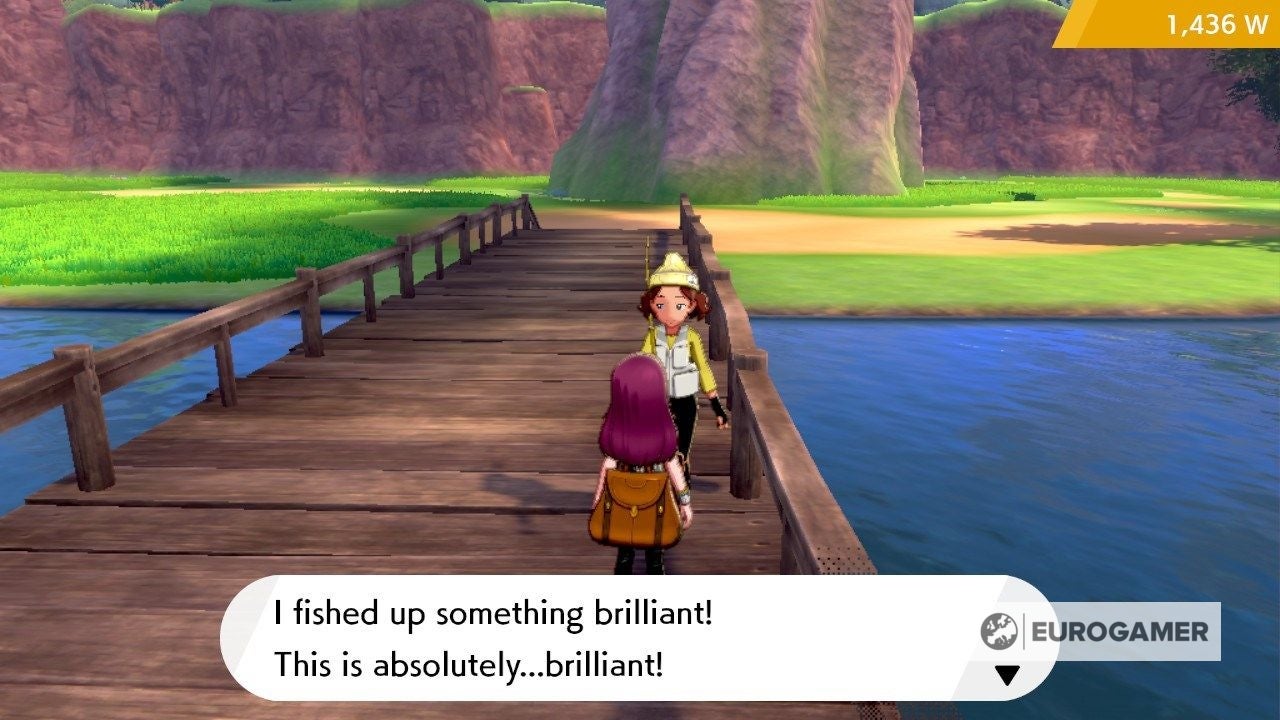
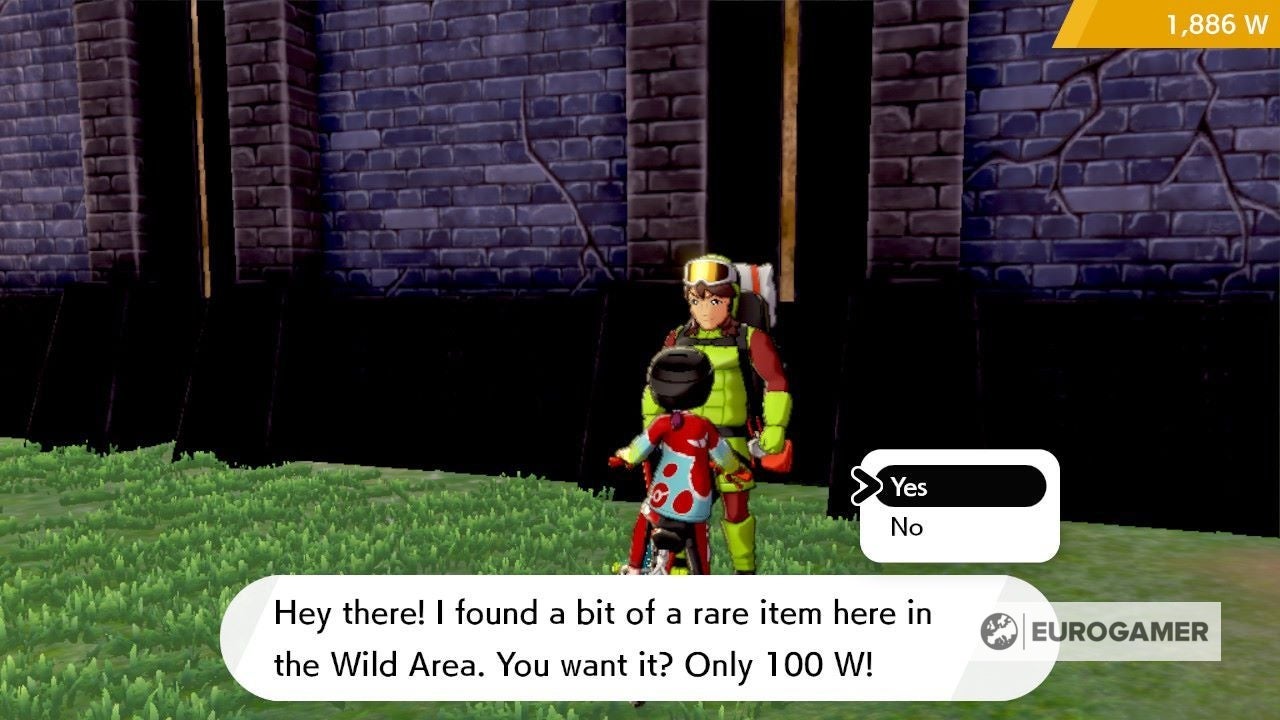
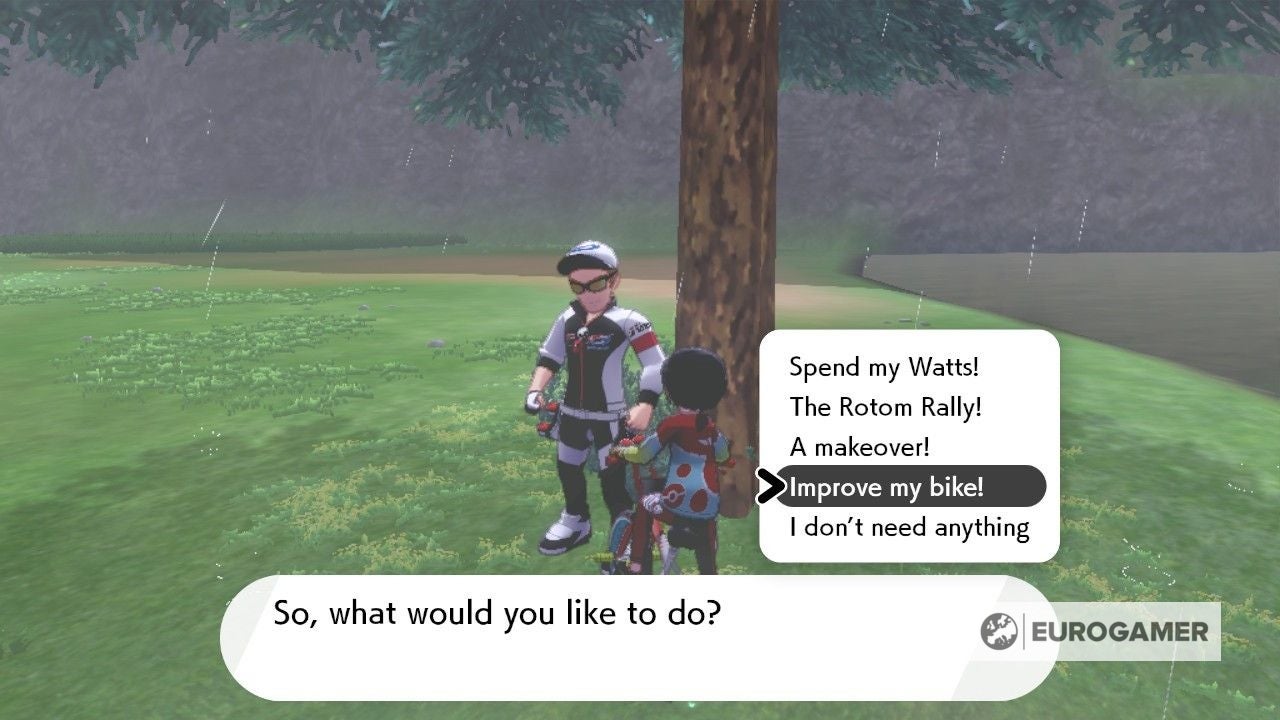
After picking your rally of choice, you’ll find yourself on your Rotom Bike, waiting for the countdown to end. When you see the word ‘Go’ it’s time to get to the finish line as quickly as possible. To help you along your way, a number of balloons will appear in front of you. These balloons will both guide you to your destination and provide a variety of helpful boosts. The white balloons provide speed boosts, though will still be able to use your Rotom Bike’s turbo boost, while also guiding you through the Wild Area. You don’t need to burst these balloons, but they will certainly help you complete the race faster. The red balloons will increase your time limit. Do not miss these balloons, because, even if your bike is fully upgraded, it’s very unlikely that you’ll be able to complete the rally without them. Make sure that you avoid any and all Pokémon during your rally. You can’t enter a Pokémon battle, but, if you hit a Pokémon, your bike will spin out of control for a few seconds, lowering your rally score. Once you complete the rally, you’ll be given your score, based off how long it took you to complete it, and your rewards. You will always be rewarded with a certain number of Watts, depending on your rally score, but there are three rewards that you can only receive after completing a special condition. These rewards are: With it finally in the wild, here’s how to start the Crown Tundra DLC and our full Pokémon Crown Tundra walkthrough. Plus, here’s how to catch Calyrex, Glastrier and Spectrier, the Regieleki and Regidrago puzzle solution and Regirock, Regice, Registeel locations, details on how to catch Legendary Birds Articuno, Zapdos and Moltres in the Crown Tundra, the Ultra Beasts and Necrozma adventure, Dynamax Adventures, including the legendries you can catch on these adventures, and the new Crown Tundra Pokédex and returning Pokémon explained. For Isle of Armor players, here’s how to find the Slowpoke, where to find Max Mushroom locations, and how to get Kubfu, become best friends and evolve it, plus all Diglett locations too! For the base game, here’s info on the ability to transfer Pokémon to Pokémon Home, the Wild Area, lists of all TM locations and TRs, all Galarian forms and finally our main Pokémon Sword and Shield walkthrough for the whole game. Digging Duo Near the Pokémon Nursery in the Bridge Field location of the Wild Area, you’ll find the Digging Duo. For 500 Watts, these two brothers will dig into the ground to uncover a variety of special items for you. These could be anything from Evolution Stones, such as Dusk Stones, to the fossils needed to create fossil Pokémon. The brother on the left is known for his skill, meaning that he can find far rarer items than his sibling. While the right-hand brother has far more stamina, meaning he can bring you more items, but they won’t be as rare. Every time you use the brother’s service, they will save your game. This means you can’t save your Watts by reloading the game if you don’t get the item you want. Instead, it’s a good idea to save a large amount of Watts, before visiting the brothers. The brothers also have a different item pool depending on their level of skill. Here’s the item pool, including the level of rarity, for the skilled (left-hand) brother: Here’s the item pool, including the level of rarity, for the stamina (right-hand) brother: Fishers During your adventures in the Wild Area, you may encounter a Fisher standing near one of the many bodies of water. If you talk to the Fisher, they will offer to sell you the treasures they’ve fished from the lakes for 100 Watts. Don’t worry - it’s not a Magikarp. Instead, you’ll receive a random treasure, which could be anything from a pearl to a Wishing Piece. A Fisher will vanish once you buy an item from them, appearing in a new location the next day. Here is the full list of treasures, including their level of rarity, that you can receive from the Fishers: Hikers There are a number of Hikers roaming the Wild Area, who, for 100 Watts, will give you an item that will help raise your Pokémon. These items are all experience based, either raising your Pokémon’s level completely or increasing the amount of experience they currently have. The item the Hiker gives you is random and the item pool itself changes as you earn more badges, allowing you to receive more effective items. Once you purchase the Hiker’s item, they will vanish, only reappearing in a new location the next day. Here is the full list of items, including their rarity and when they’re unlocked, that you can receive from the Hikers: Rotom Rallyists The Rotom Rallyists don’t just reward you for speeding around the Wild Area, they also allow you to spend your stock of Watts. Each Rotom Rallyist has a Watt Store, where you can buy a variety of TRs, special Poké Balls and Wishing Piece. Here are the other items, and their Watt cost, which you can purchase from the Rotom Rallyists shop: In exchange for Watts, the Rotom Rallyists will also upgrade your Rotom Bike’s turbo boost, which will allow you to complete the Rotom Rallys faster. There are three upgrades the Rallyists can apply to bike, each one shortening the amount of time it takes for your turbo boost to charge. The Watt cost of the upgrades are:
First upgrade - 1,000 Watts Second upgrade - 3,000 Watts Third upgrade - 5,000 Watts
Upgrading your bike is a great way to earn more Watts from completing Rotom Rallys.