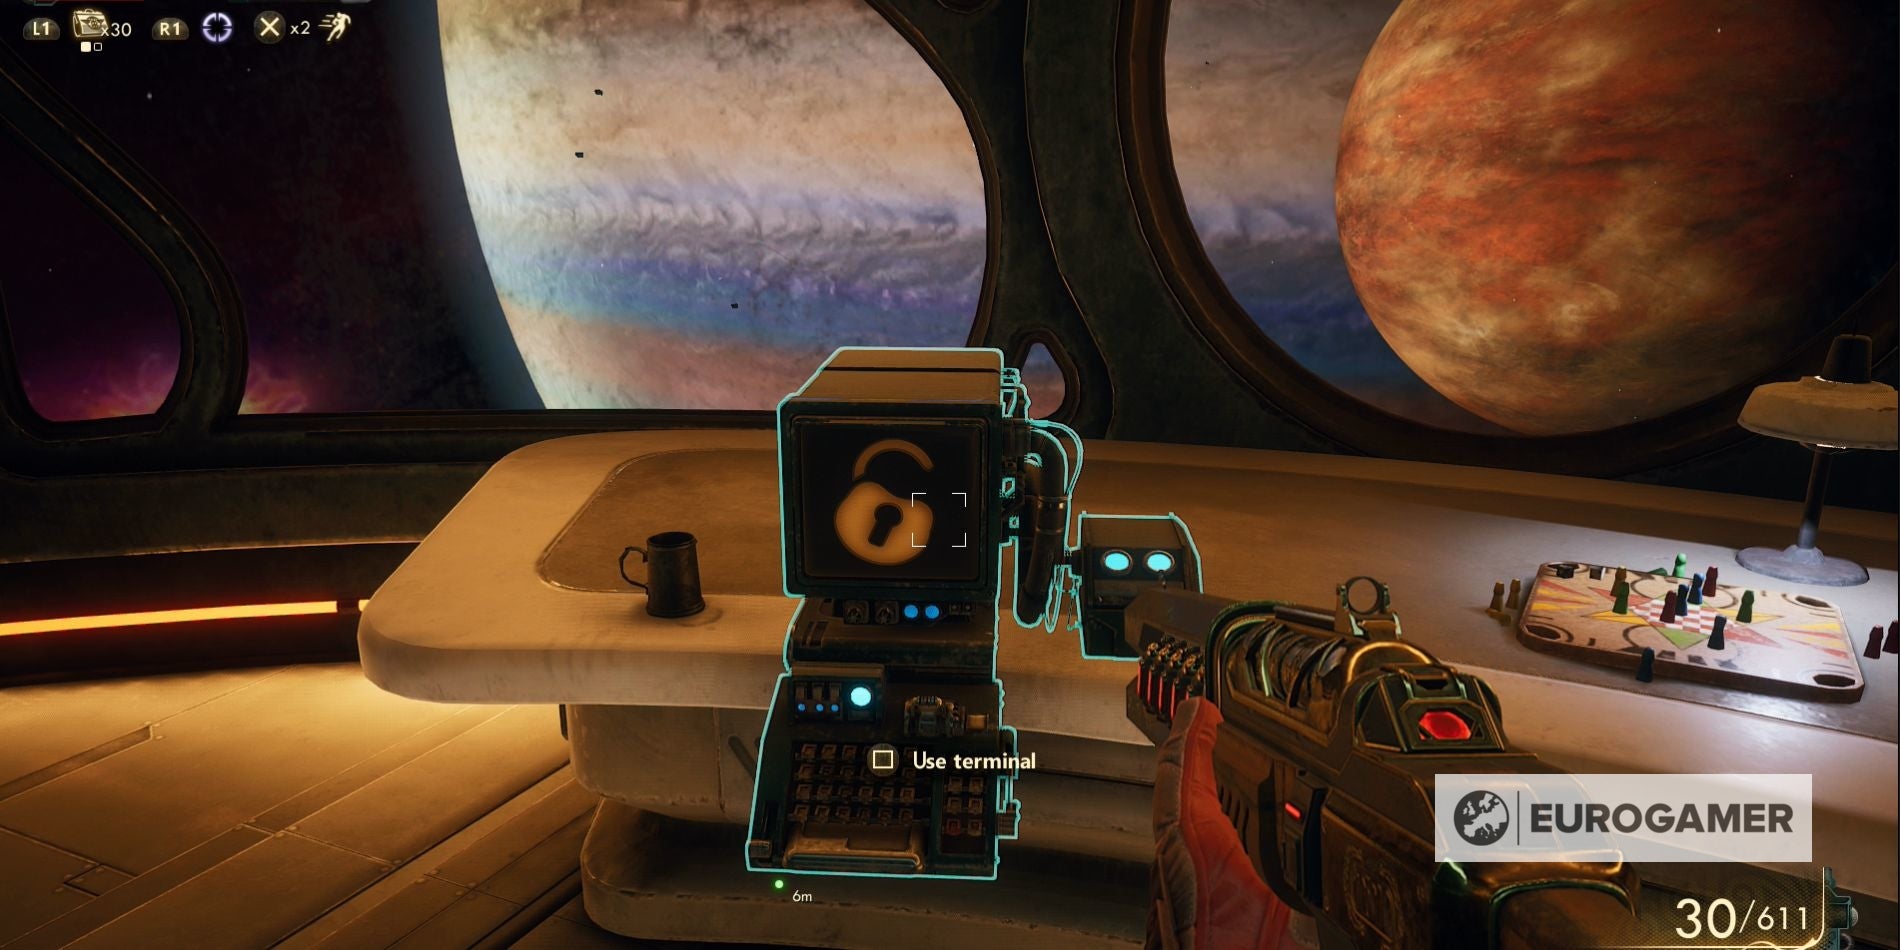
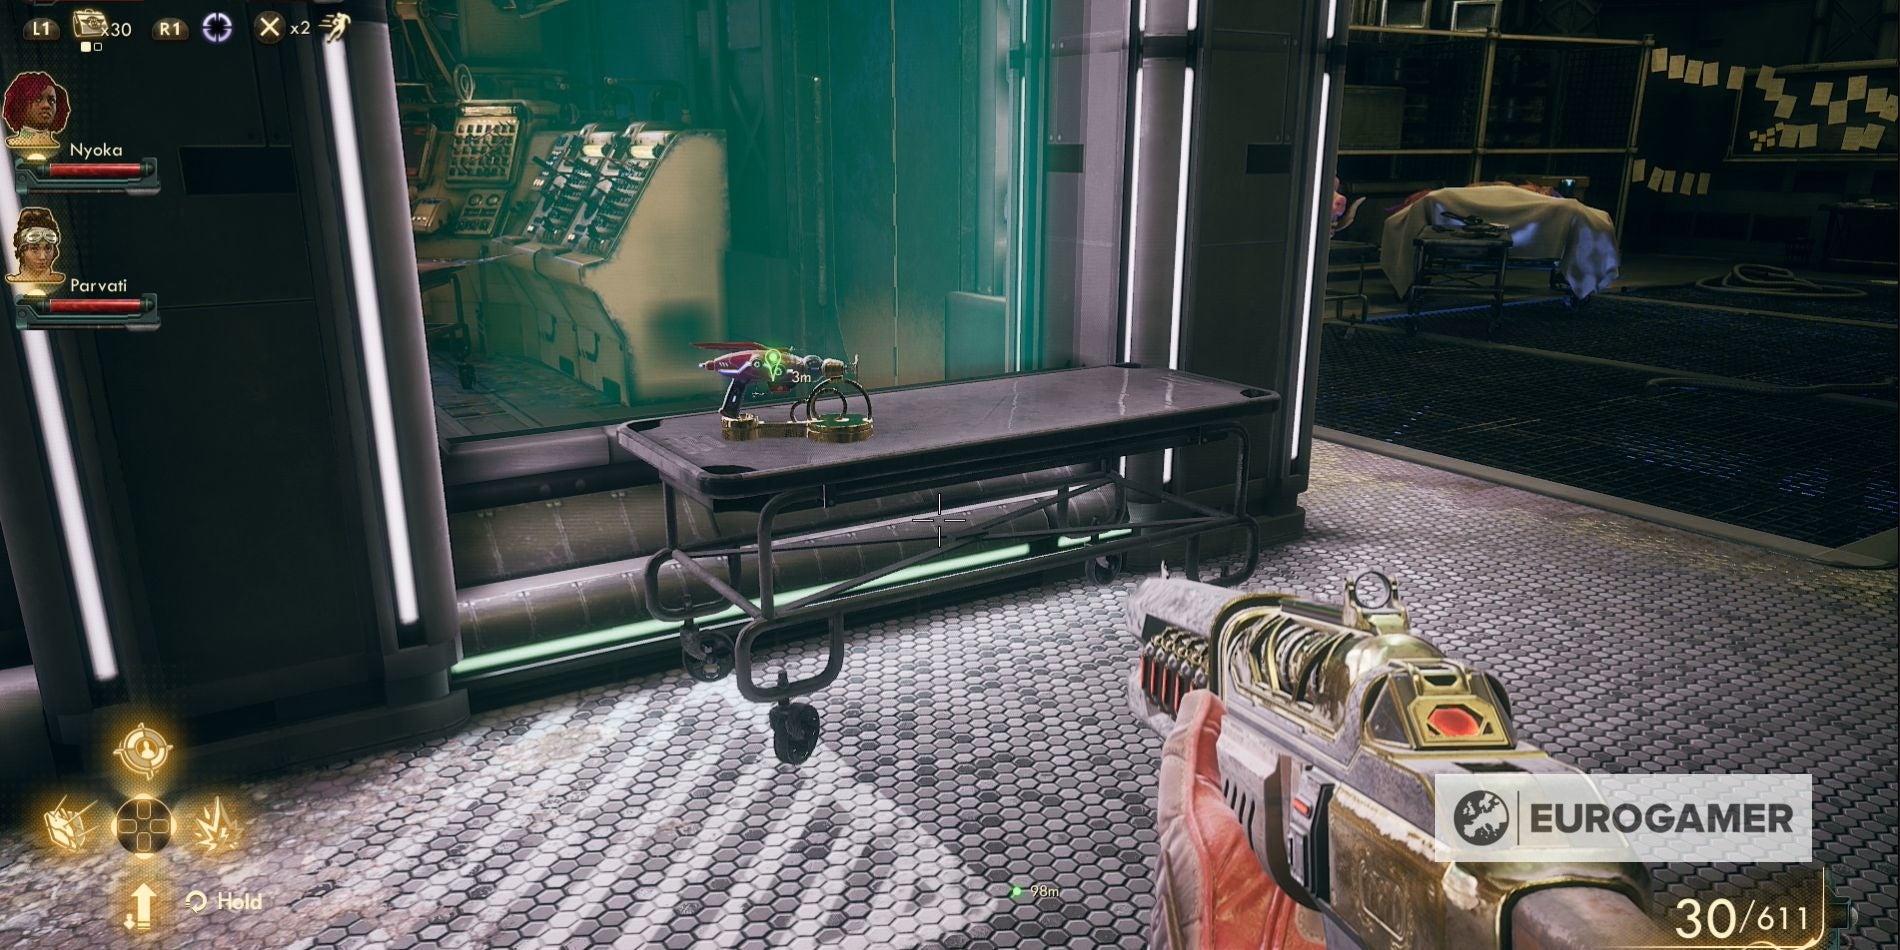
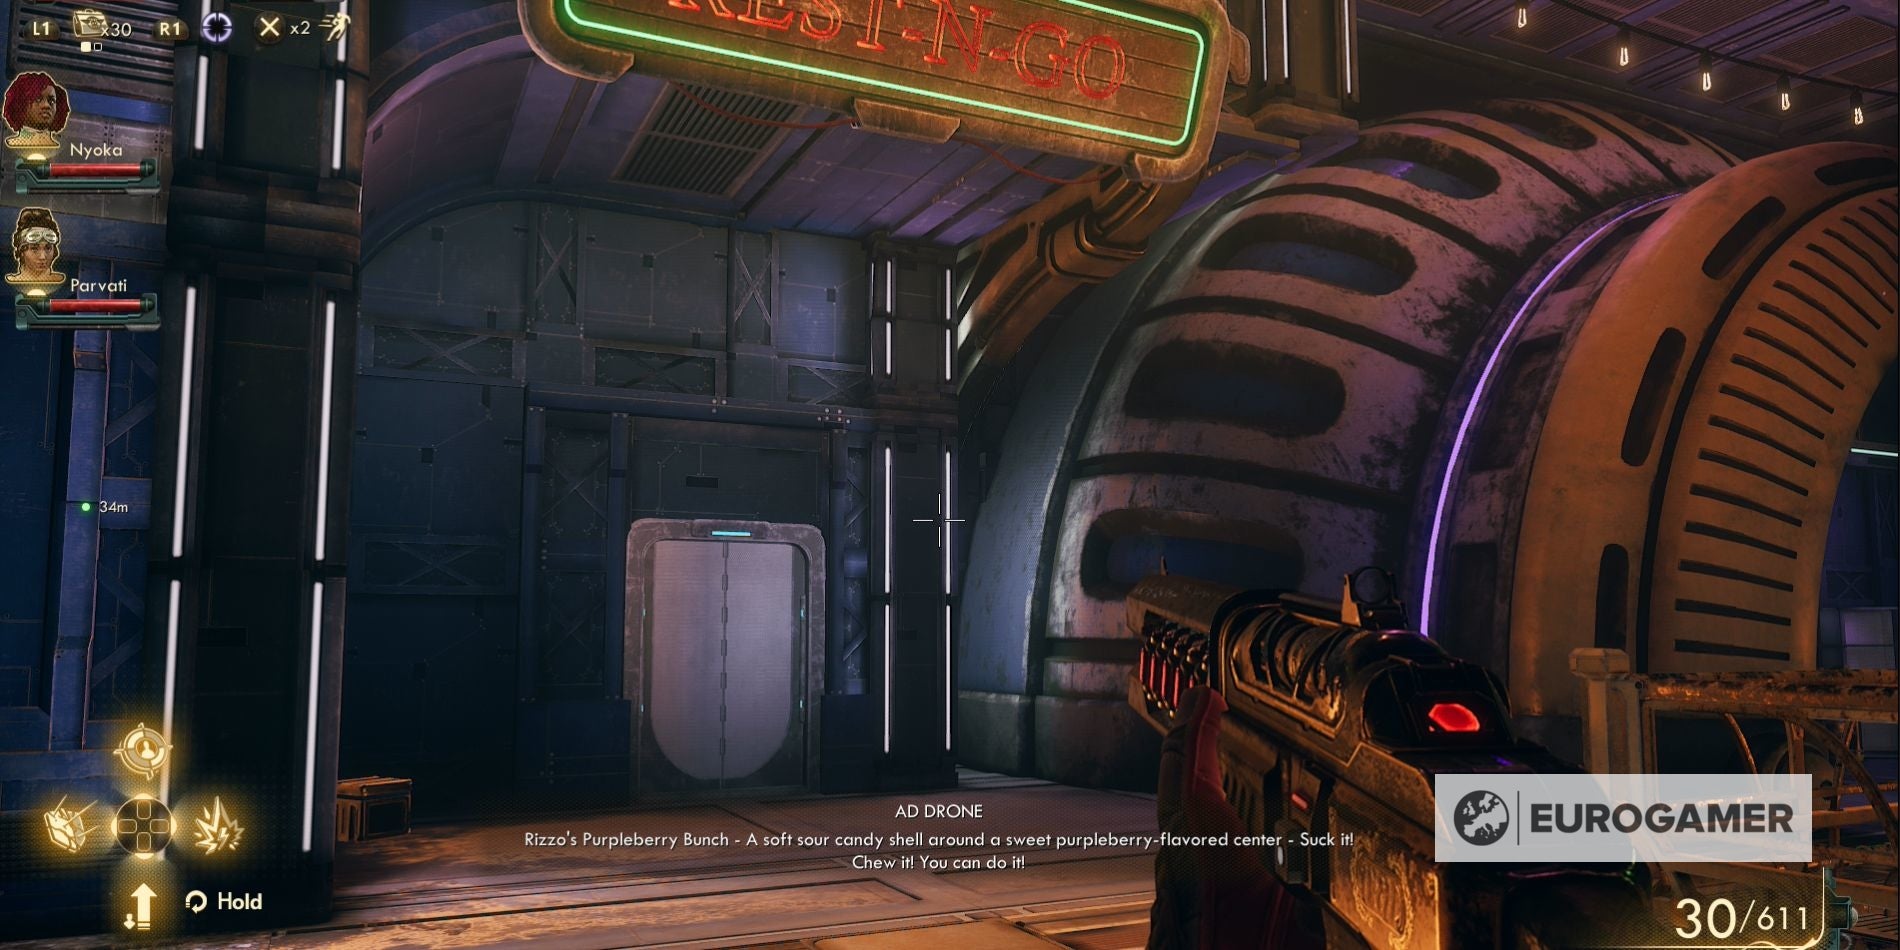
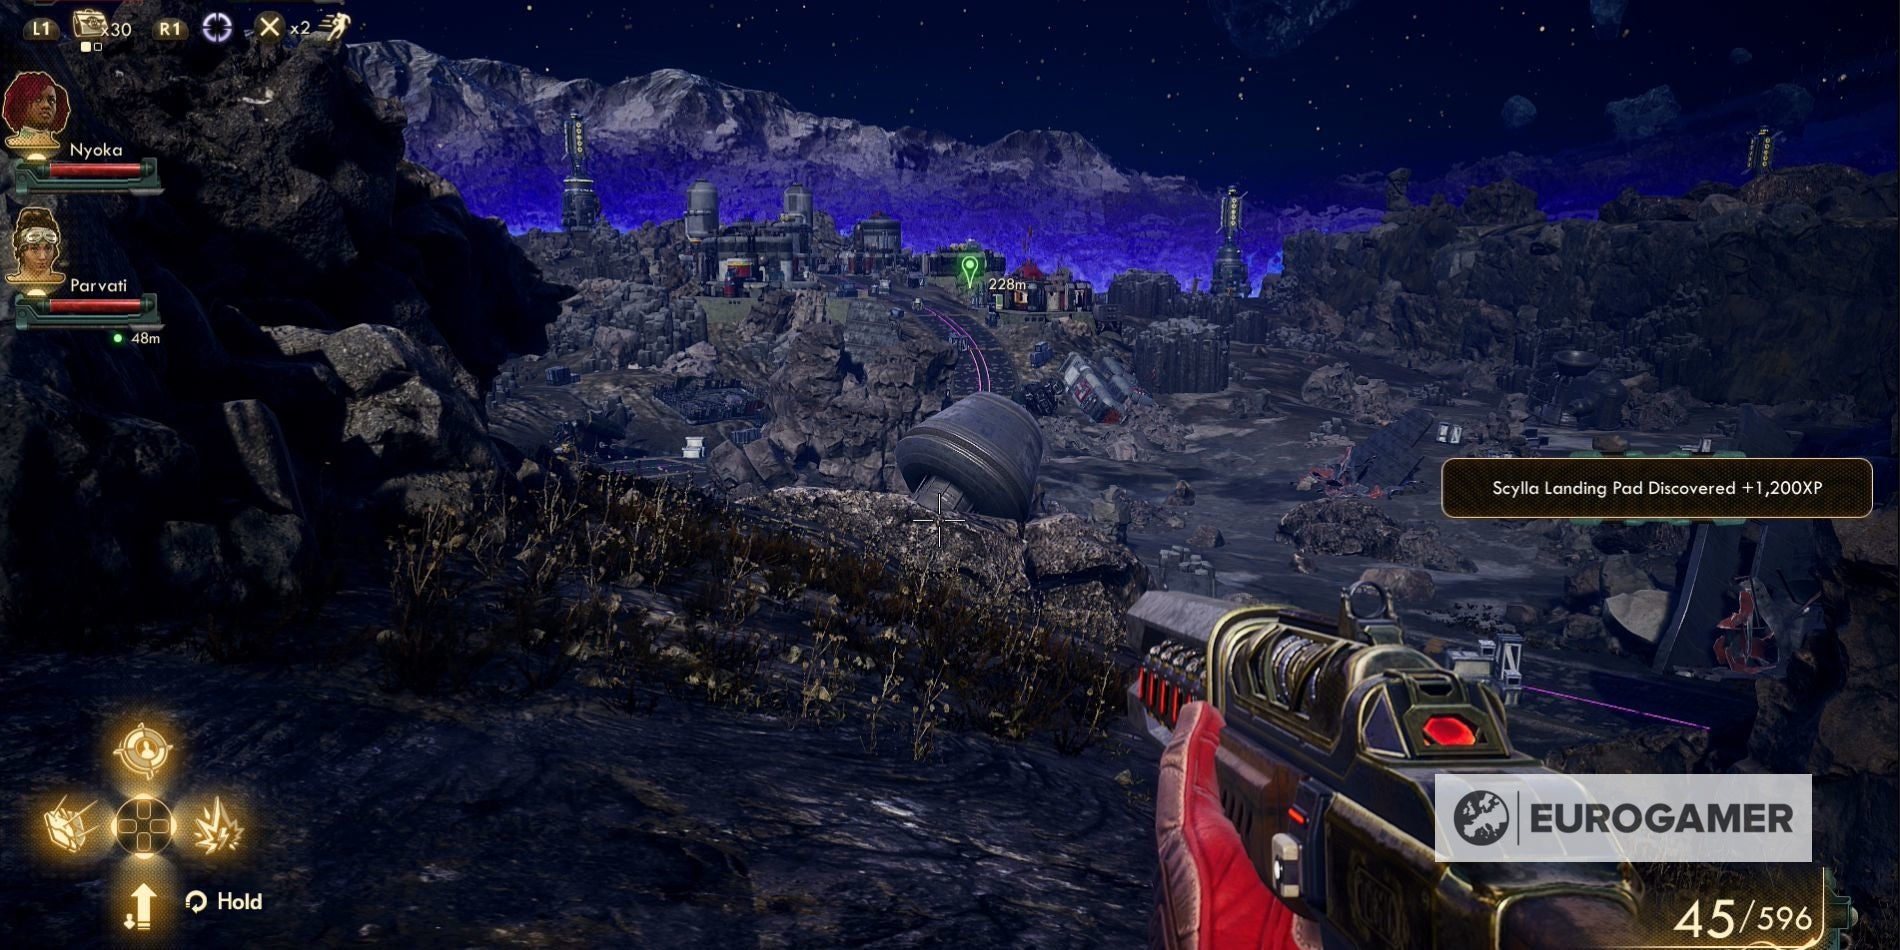
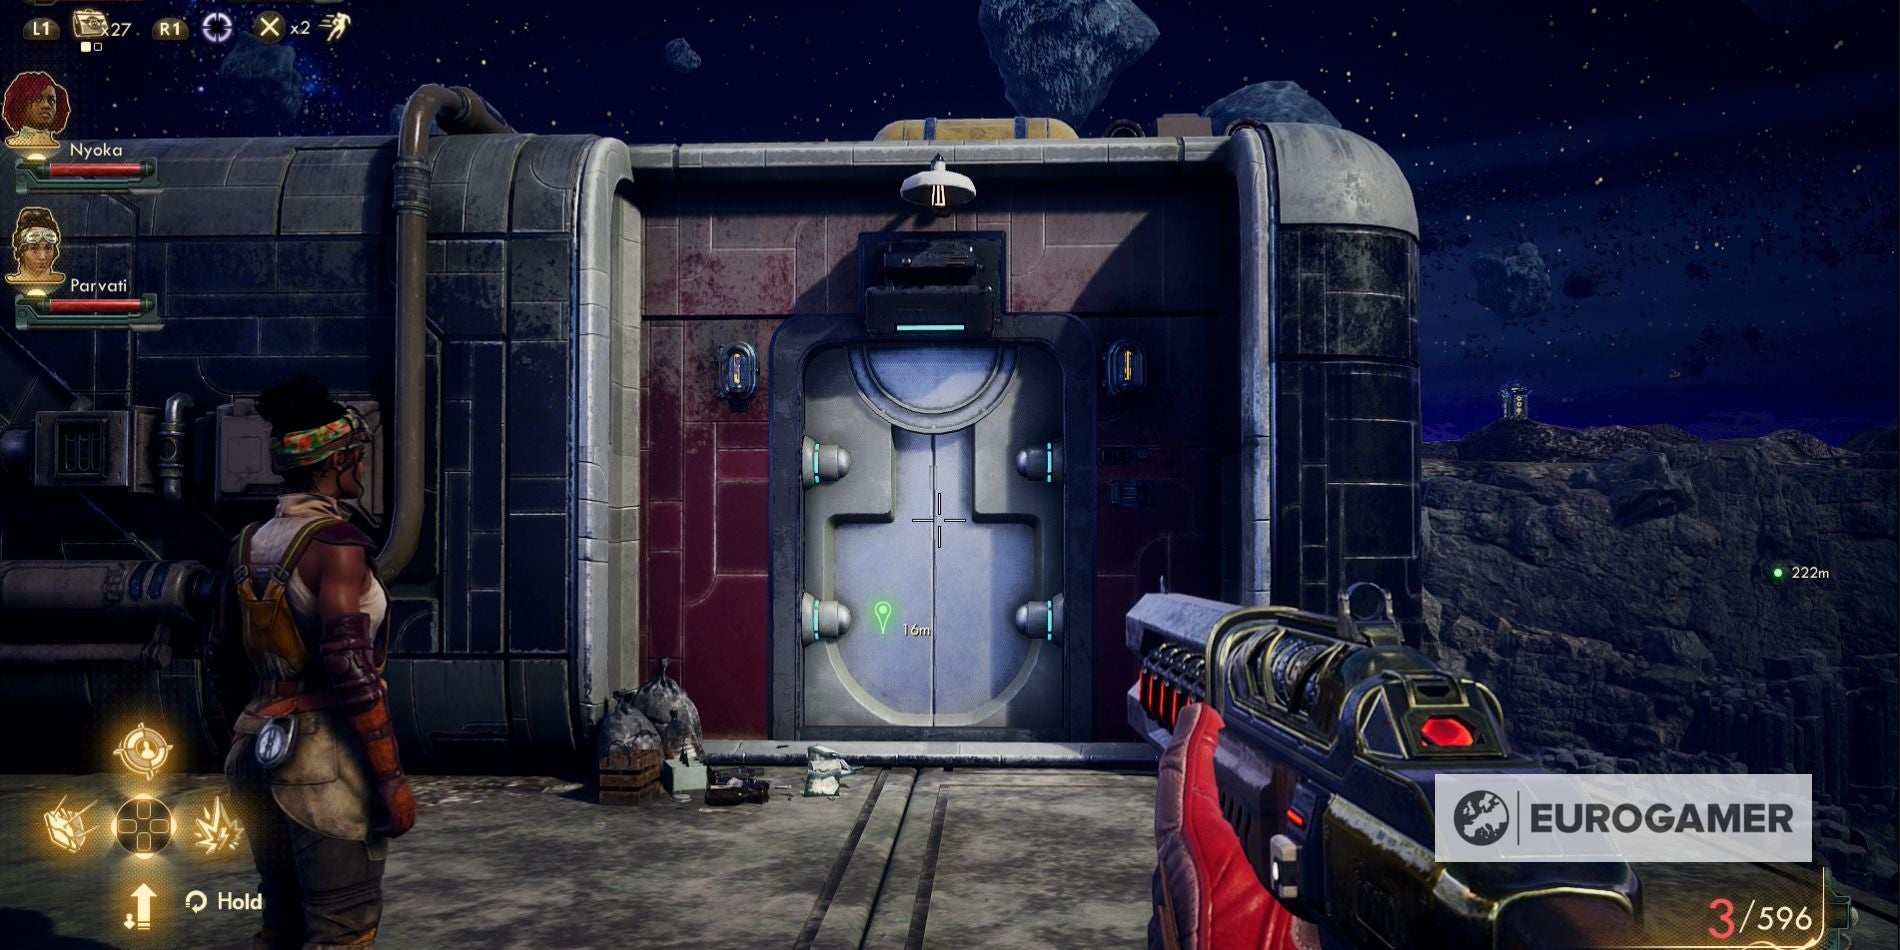
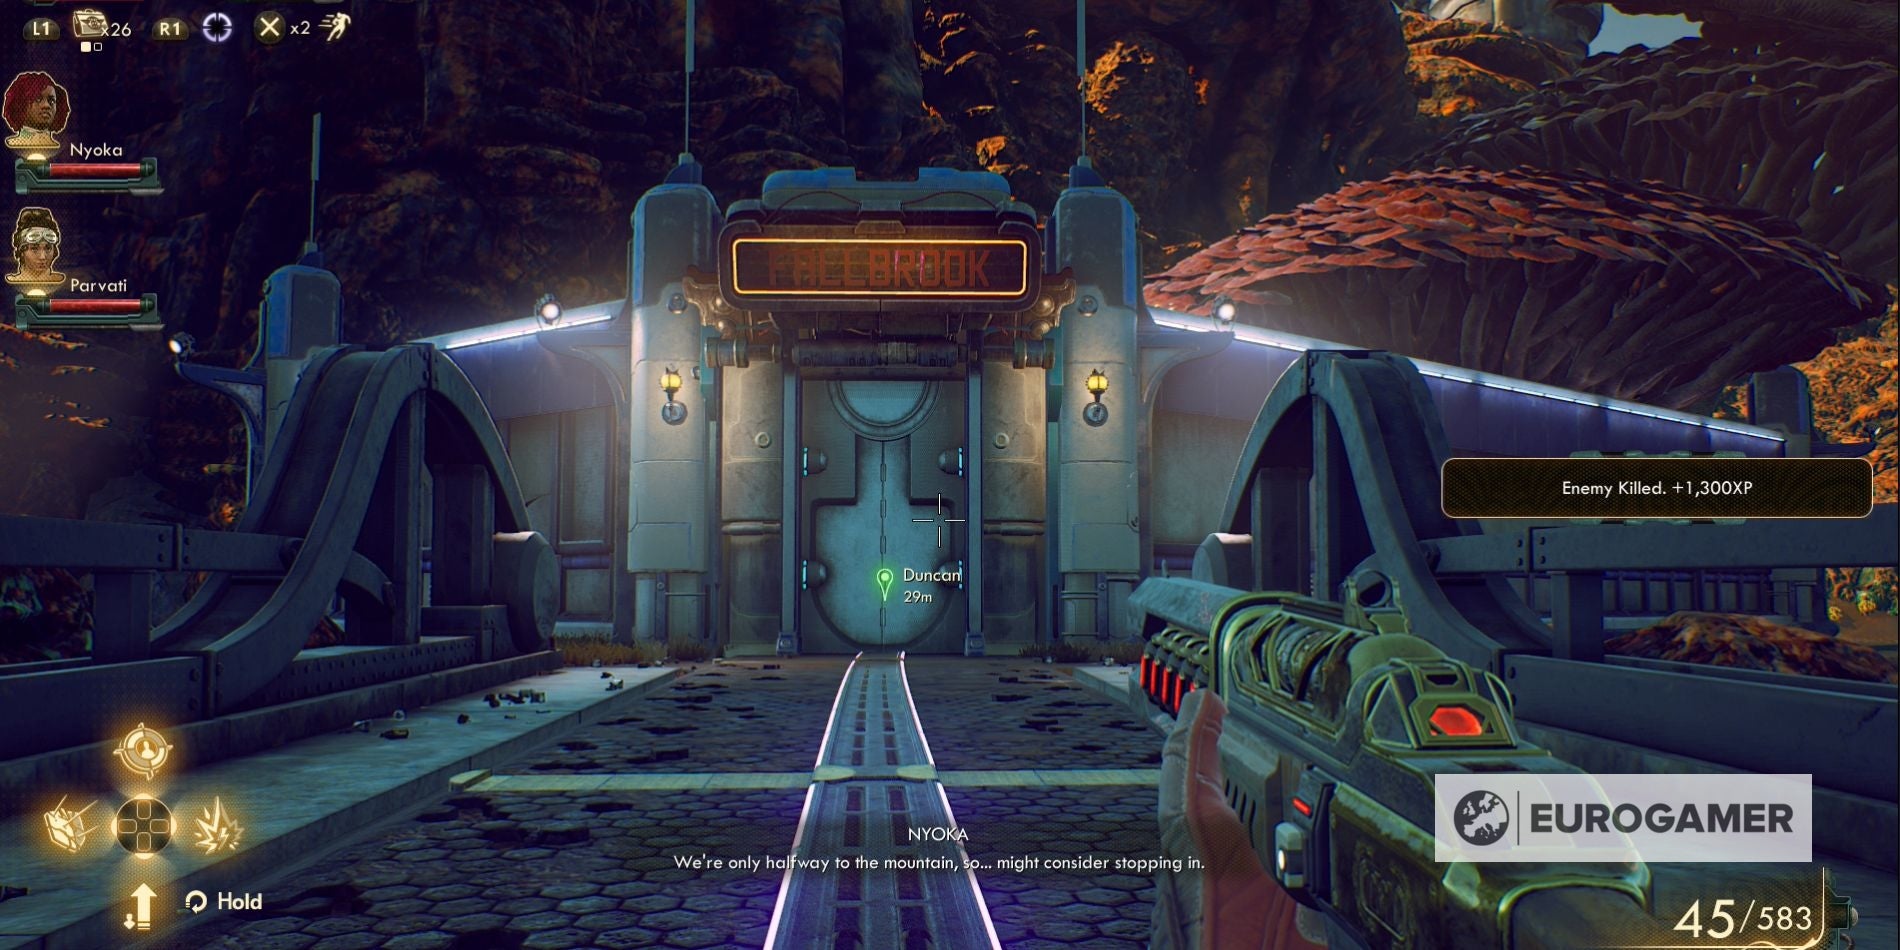
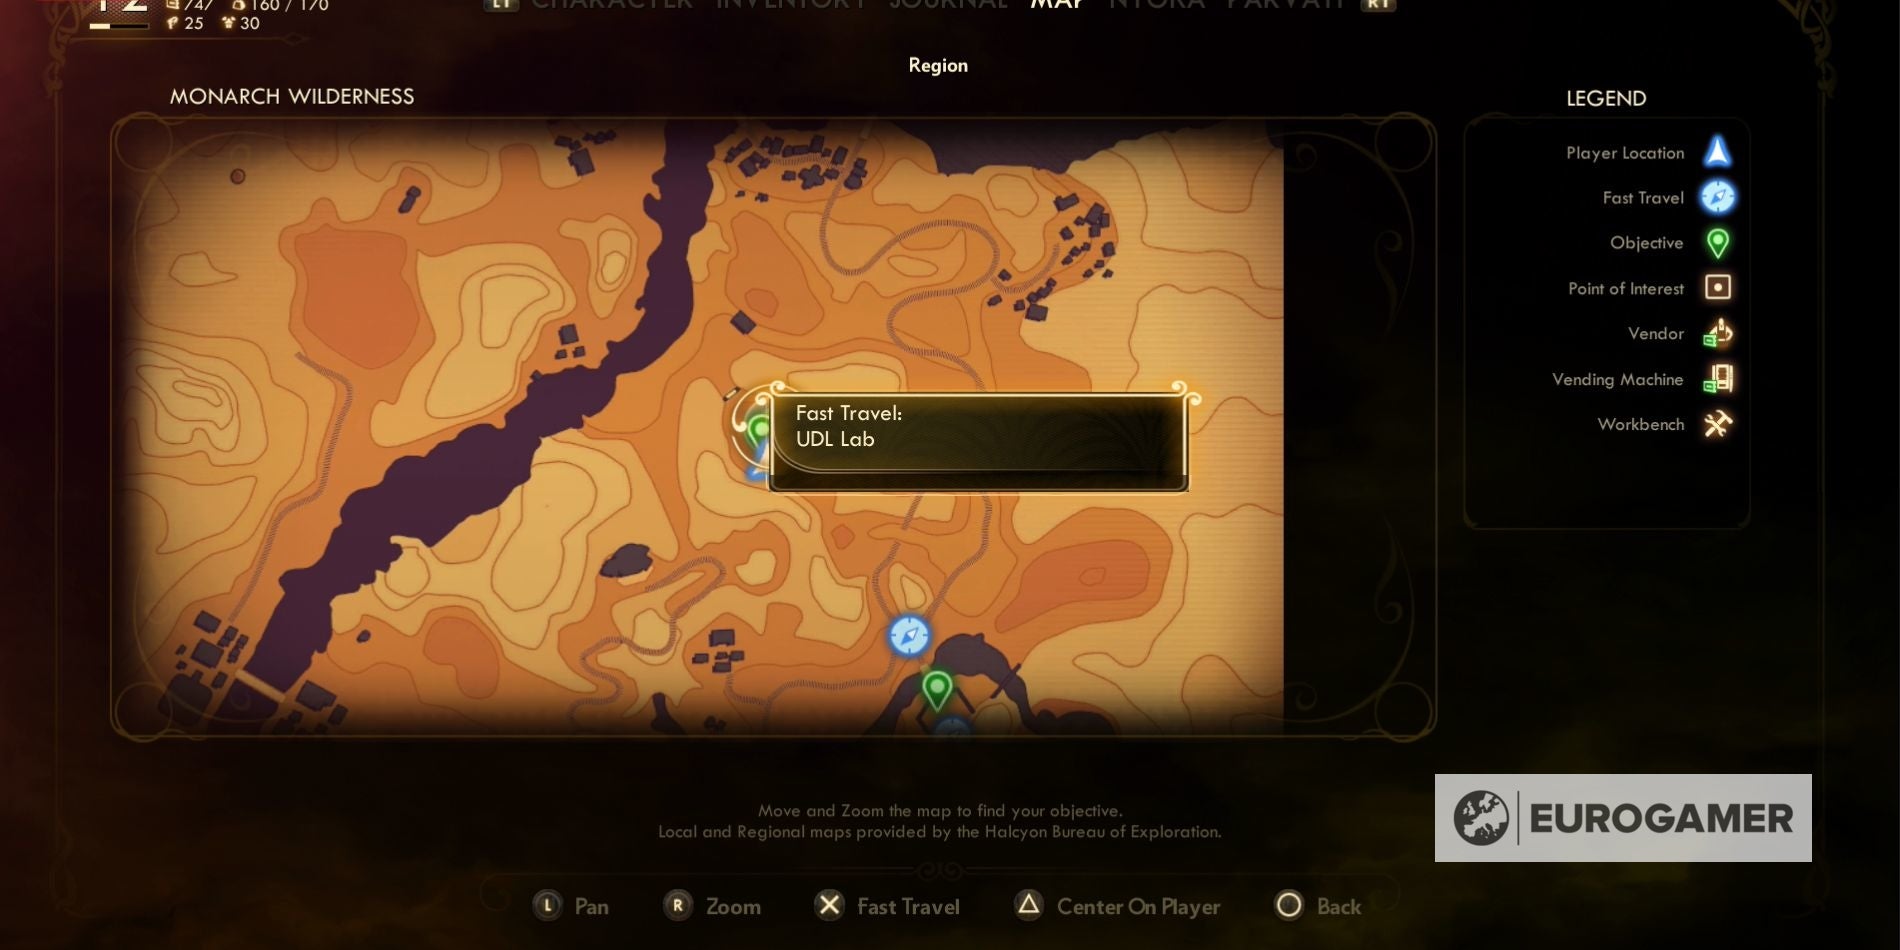
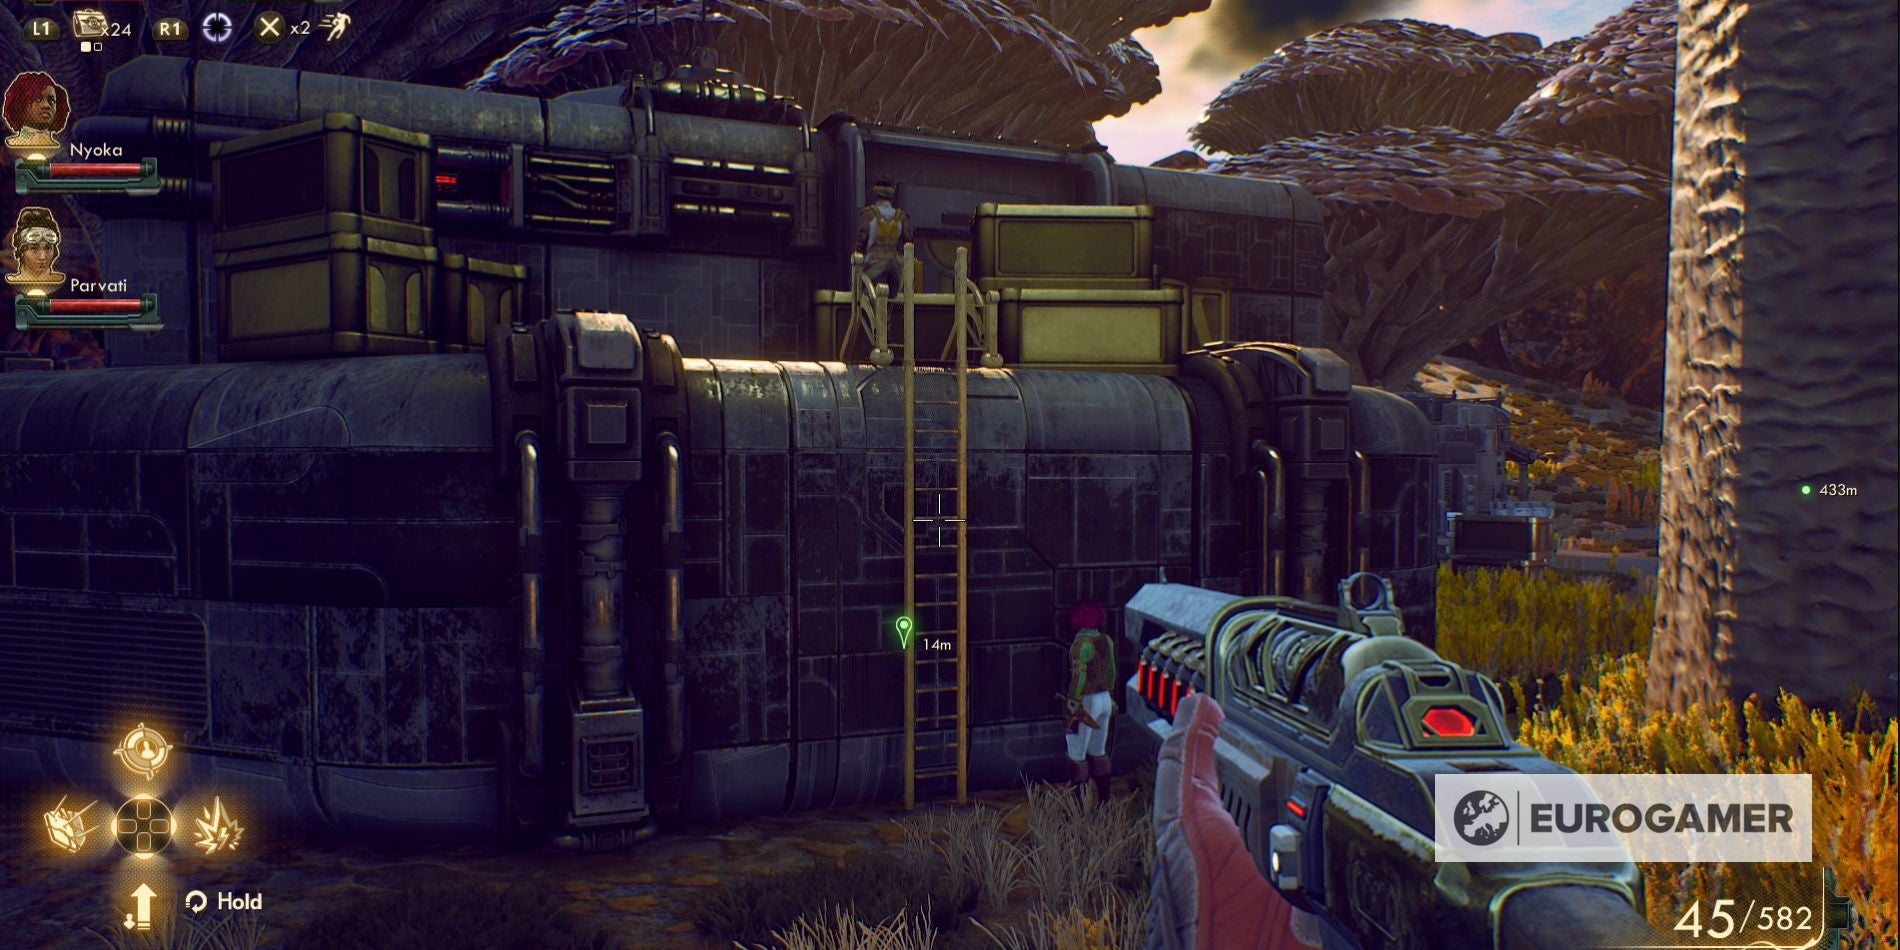
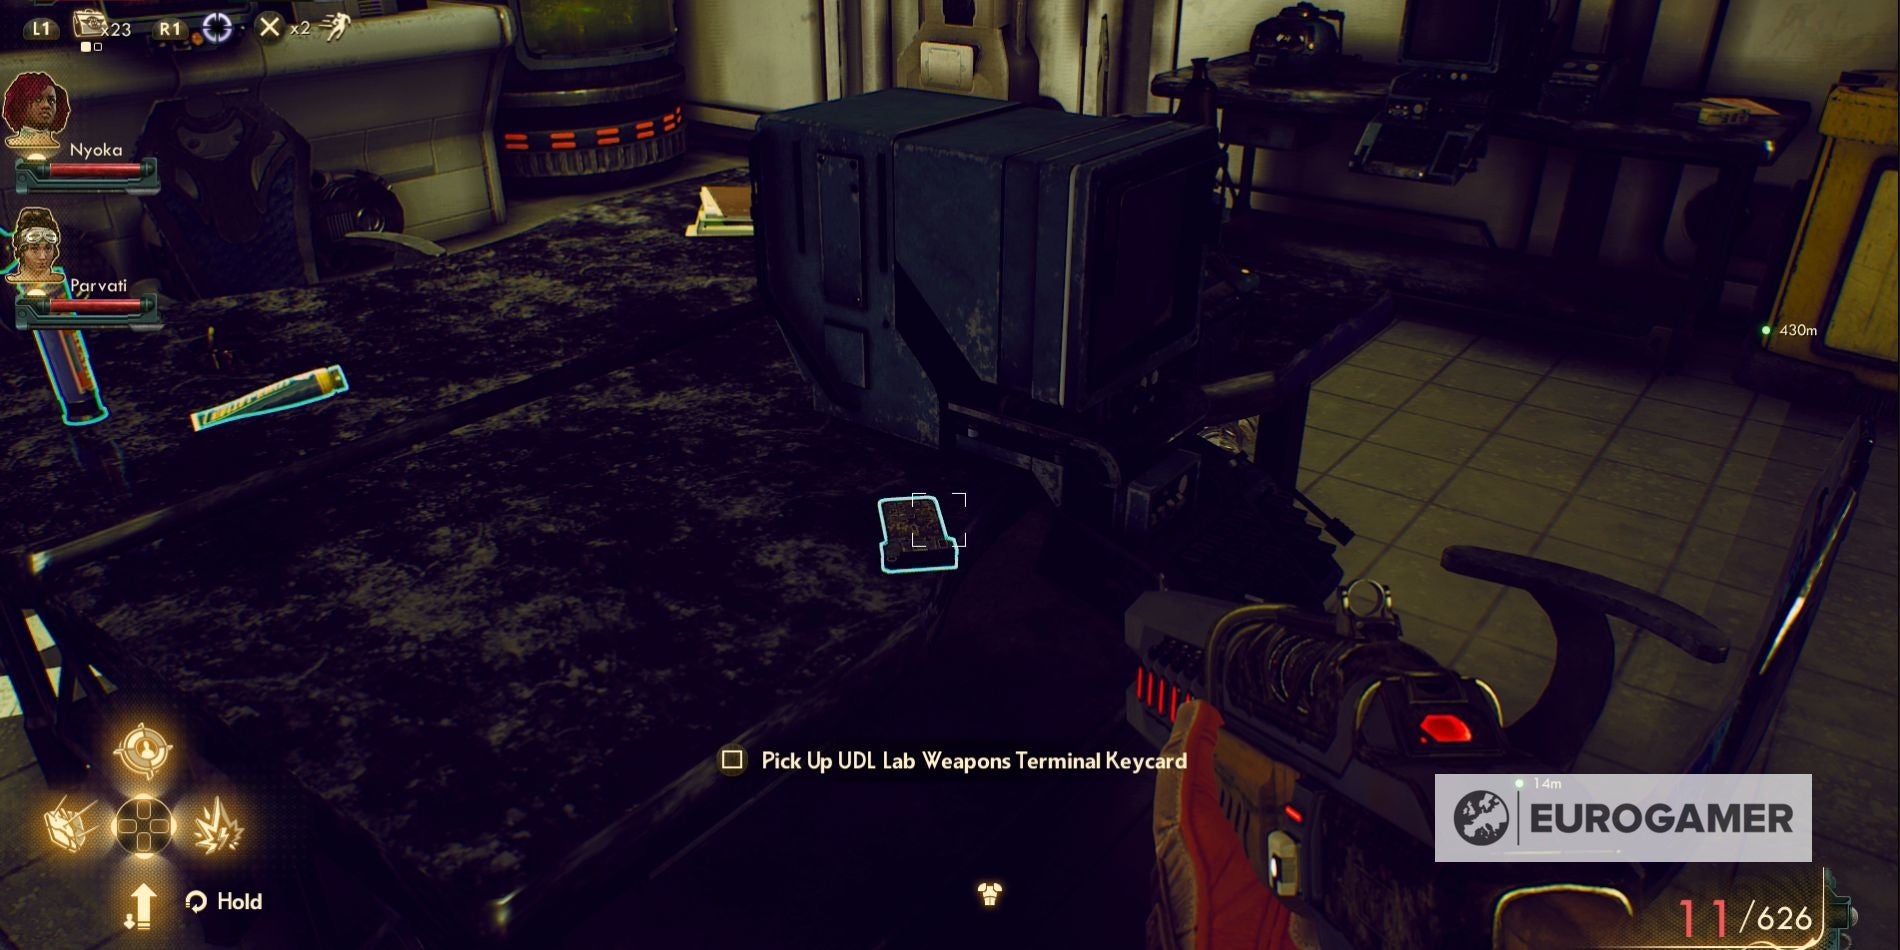
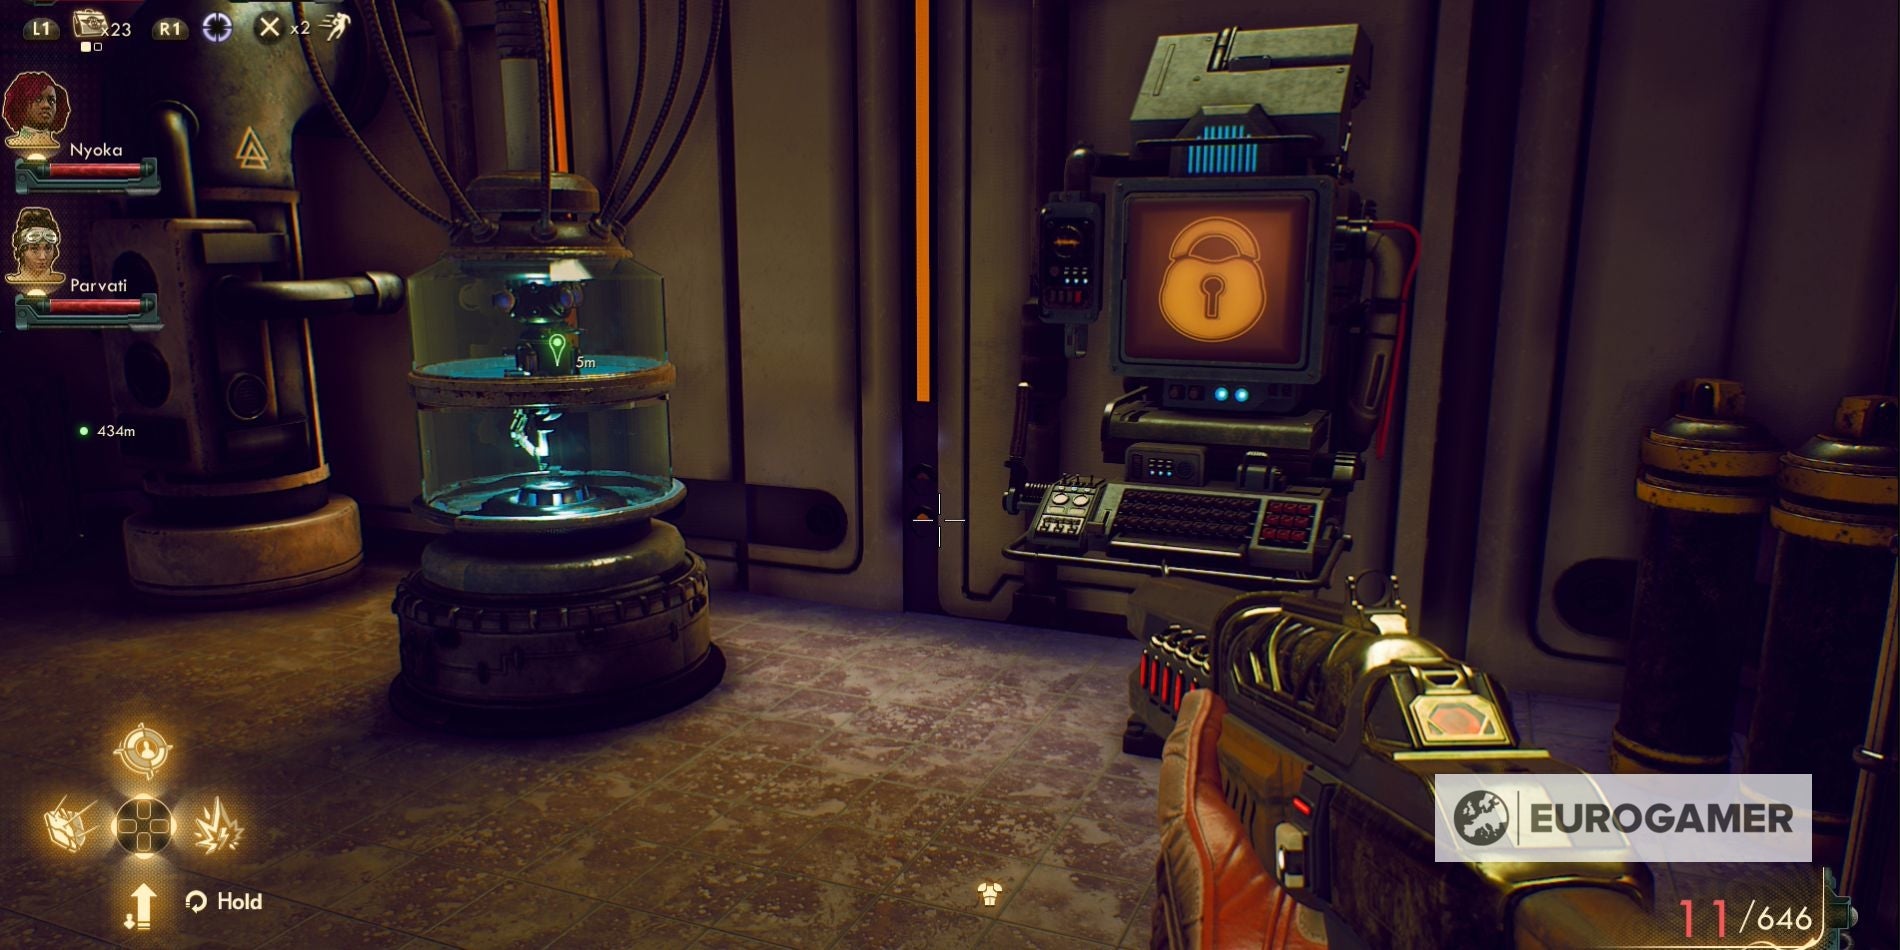
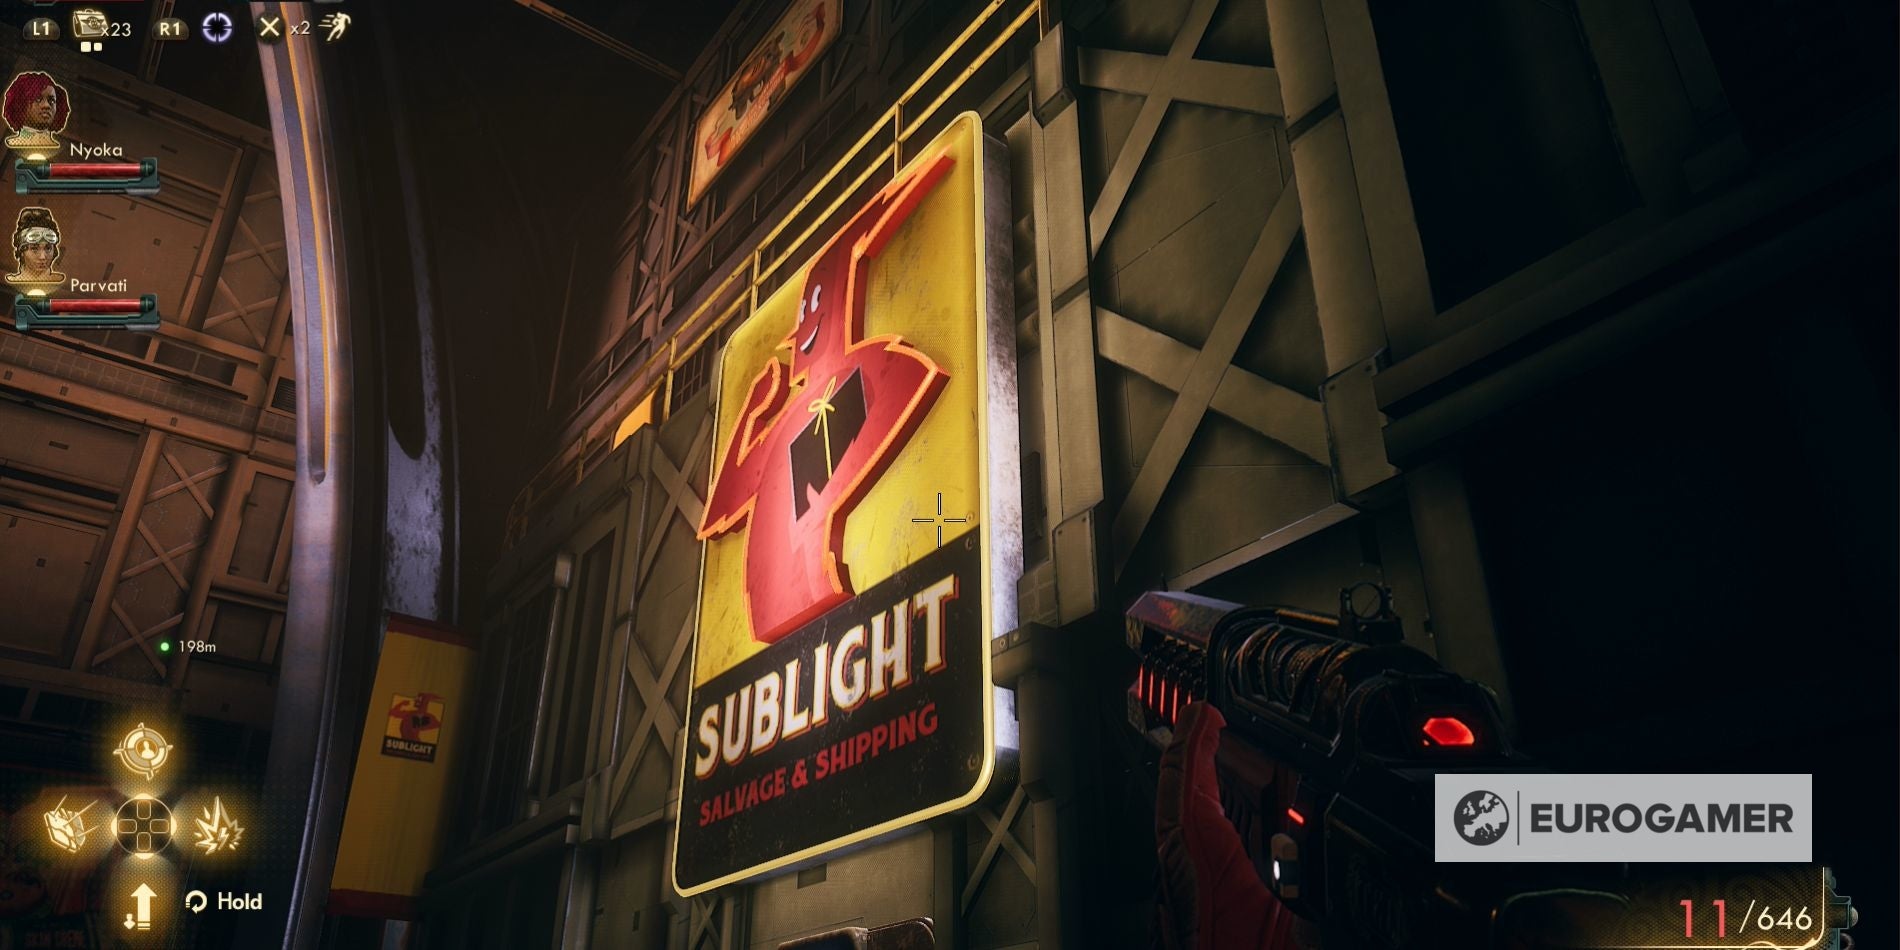
These weapons have been hidden across the Halcyon system, including on the Groundbreaker and the dangerous planet, Monarch. Science Weapons have unique abilities, which can cause great damage to your foes. Though this all depends on how high your Science Level is. On this page: The logs will inform you of some bizarre Science Weapons that are apparently located on the Groundbreaker and in Phineas’s Lab. Sounds like the kind of thing that could be very useful in your space adventures. Once you arrive in this lab, take the first walkway to your right, then the first left and through the door at the end of this walkway. In the next room, you’ll want to continue on through the door opposite you. You’ll find yourself in a room where Phineas himself is standing behind a sheet of glass. If you look to your left, you’ll see the Science Weapon. Simply pick it up and you’ll receive the Shrink Ray, you’ll also complete this stage of the mission. Your search for the Science Weapon begins by talking to Gladys. You might have already met her in the story mission, Passage to Anywhere. If you don’t know where Gladys is, head into the Groundbreaker Promenade and then head through the door into the Rest-n-Go. Her office is located through the door directly on your left when you enter this area. From Gladys you need to purchase both the Battered Mardet Datapad and the Hephaestus Mining - Archive Cartridge Hephaestus both for 180 Bits. Don’t exit through Customs though, instead turn to the right and go through the door into a small rest area. Use the crates you find directly on your left when you enter this room to climb on top of the beds. Walk along these beds and then crouch down so that you can slip through the hole in the wall. You’ll find yourself in an area lived with robots and outlaws. Kill all of these enemies and from looting one of the outlaws bodies you’ll find a Repair Hanger Keycard. Use this to open the door next to the Workbench. Inside this room, in a safe, you’ll find the Prismatic Hammer. You can leave this area by exiting through the barred doors, which are down a small corridor, in the same room where you fought the outlaws. This corridor will take you back to the area just before Customs. Using the computer, select the option for ‘[Search Hephaestus Mining - Archive Cartridge for Keyword: “weapon”].’ Once you’ve read through the computer files, run down to the Navigation Terminal and set a route for Scylla. When you arrive on Scylla, take the elevator down to ground level and then head west, towards the settlement. Get ready for a fight at the settlement, because there are a couple of robots standing guard. Once the robots are dead, head into the building on the right-hand side and investigate the safe you find inside to receive the Mandibular Rearranger. To reach Fallbrook, leave Stellar Bay and follow the road directly south. Keep going until you reach Fallbrook and head into the settlement. Once there visit Duncan Elley in the Sublight Dry Good & Sundry. Here you need to buy both the Damaged UDL Datapad and the SubLight Datapad for 326 Bits. Keep travelling through the wilderness until you reach the UDL Lab. Walk around the outside of the lab, until you find a ladder for you to climb. Once you’ve climbed the ladder, you can enter the lab through the door on this small roof area. Kill the Marauder Ringleader and Goon you find inside. Before you head downstairs, pick up the UDL Lab Weapons Terminal Keycard. Now you can head down the stairs, kill any enemies waiting for you, and enter the room containing the Science Weapon. To unlock the case containing the Gloop Gun you need to use the keycard on the terminal and select the option, ‘[Unlock Gloop Gun Containment Unit]’. You will now need to answer a number of security questions to prove that you’re a Universal Defence Logistic security specialist. In case you get stuck, there are the answers:
Question 1 - Answer: Protect the Chairman Question 2 - Answer: Berate him relentlessly to defend the Chairman’s honor Question 3 - Answer: Arrest your spouse and admit your children to a reeducation program
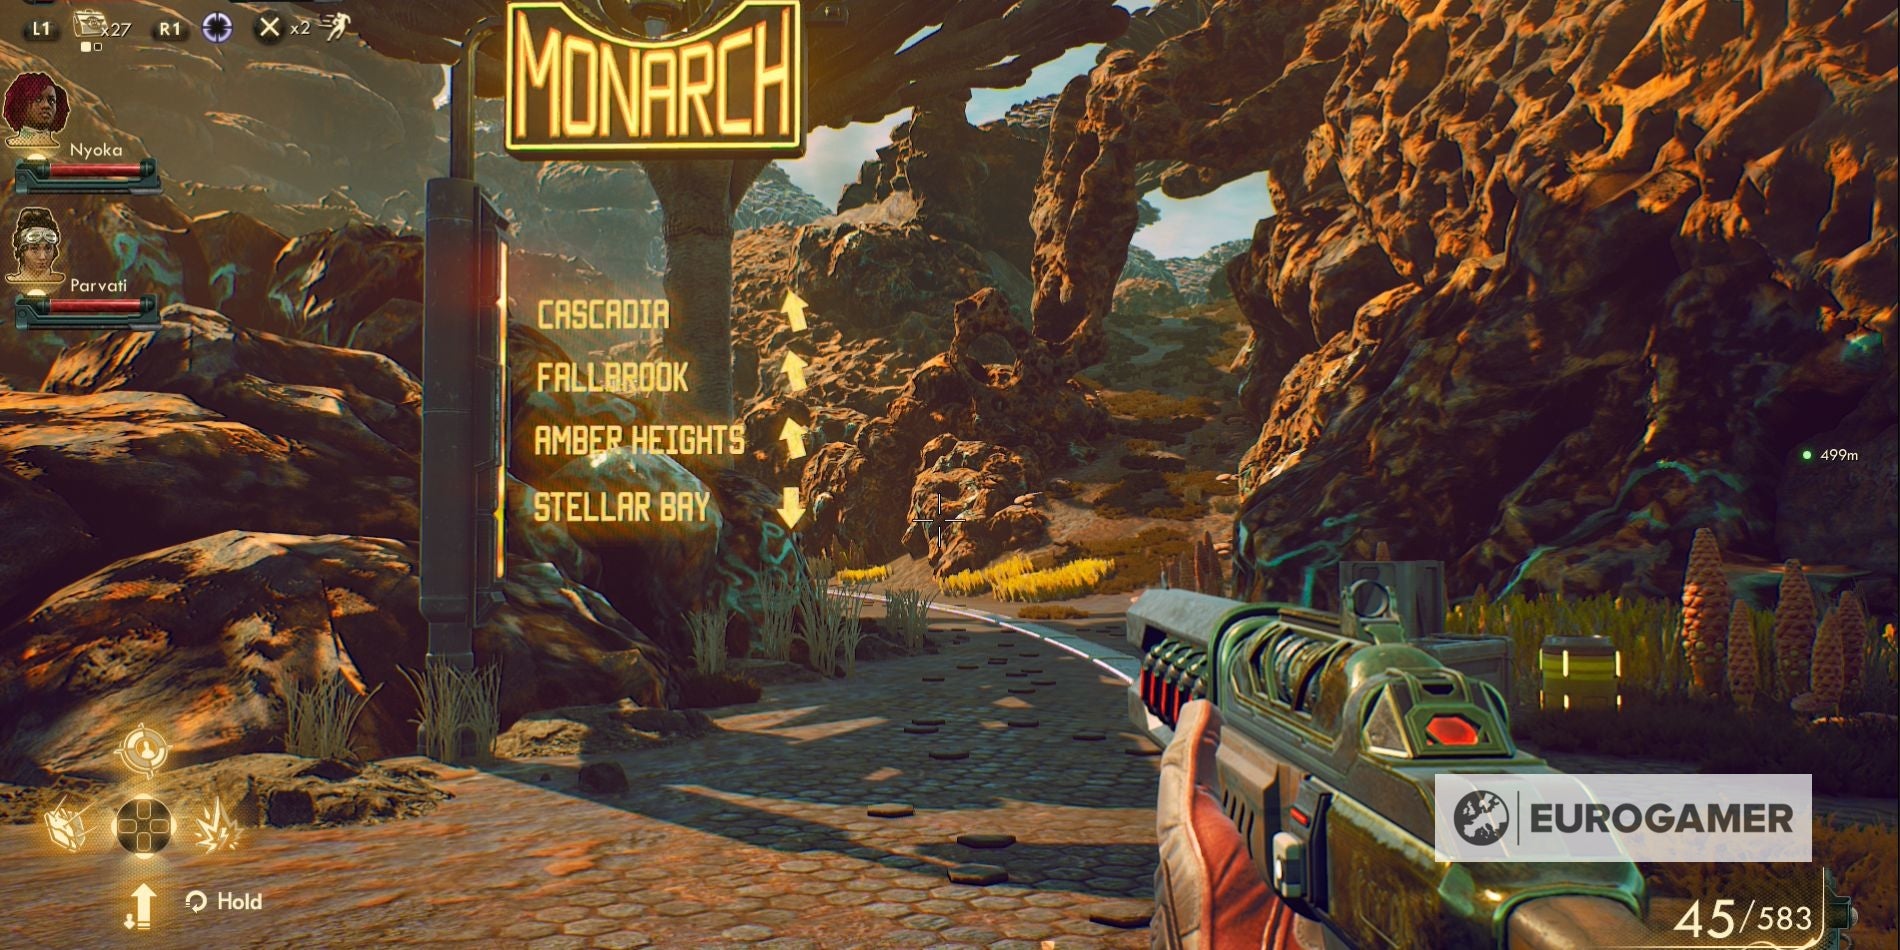
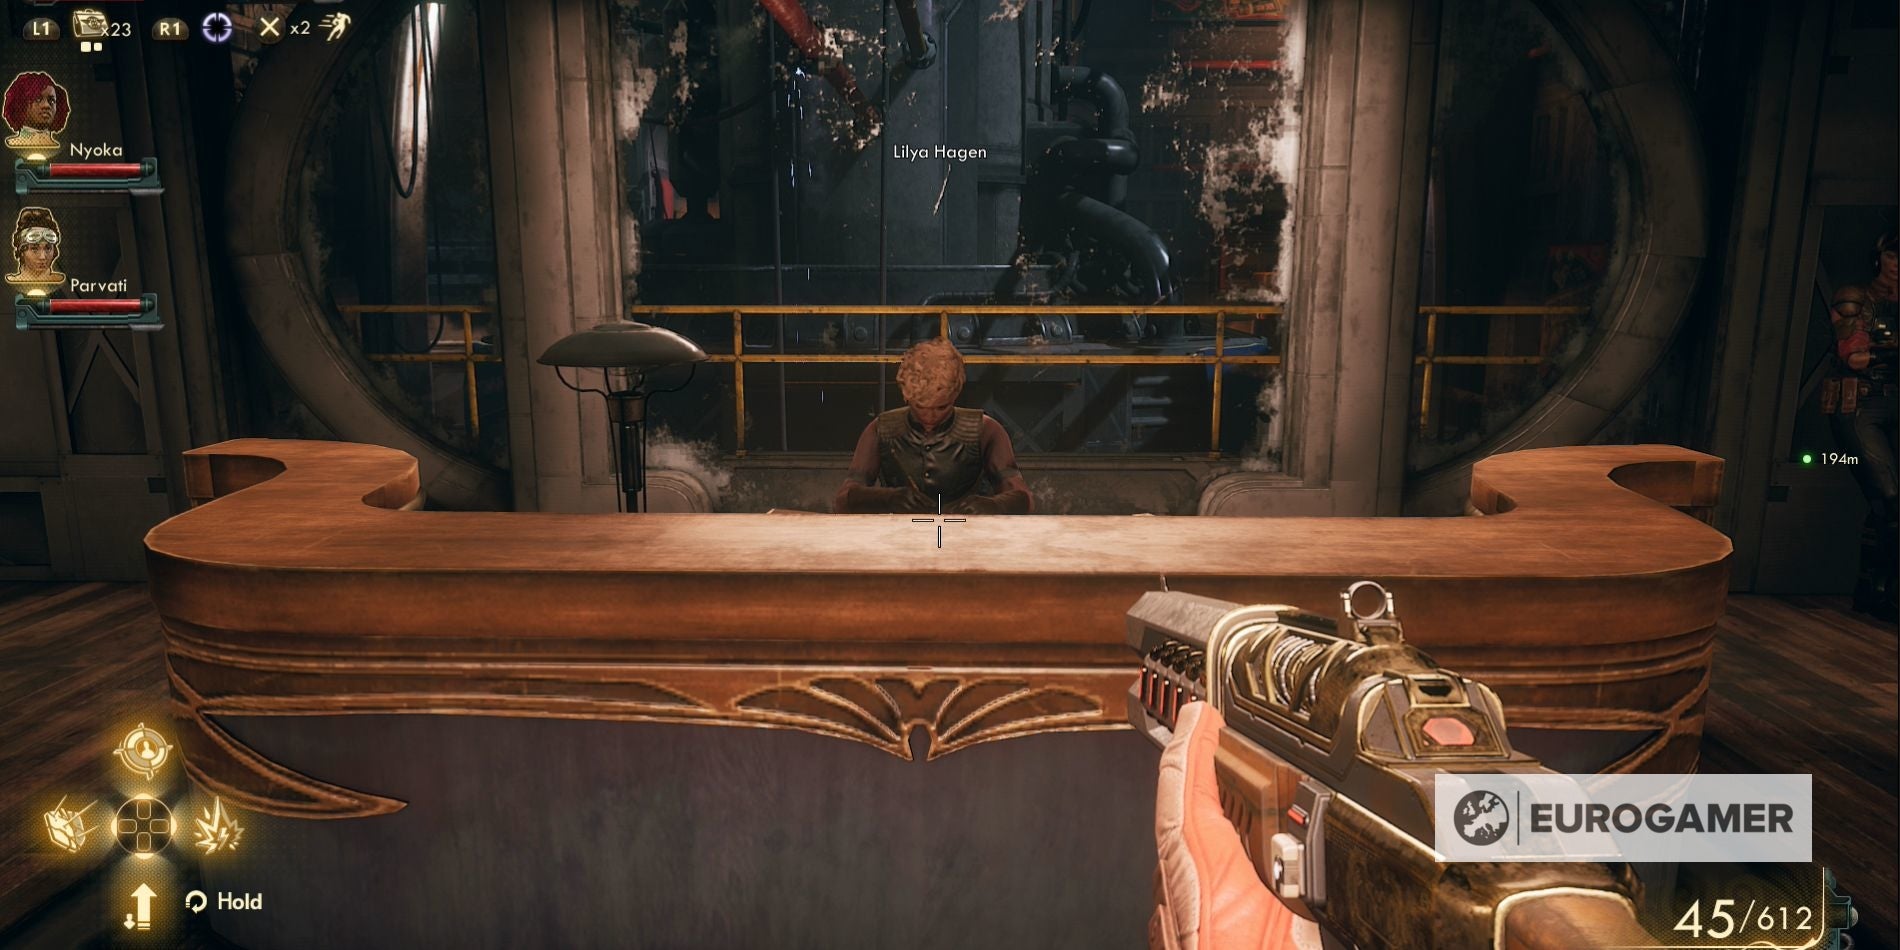
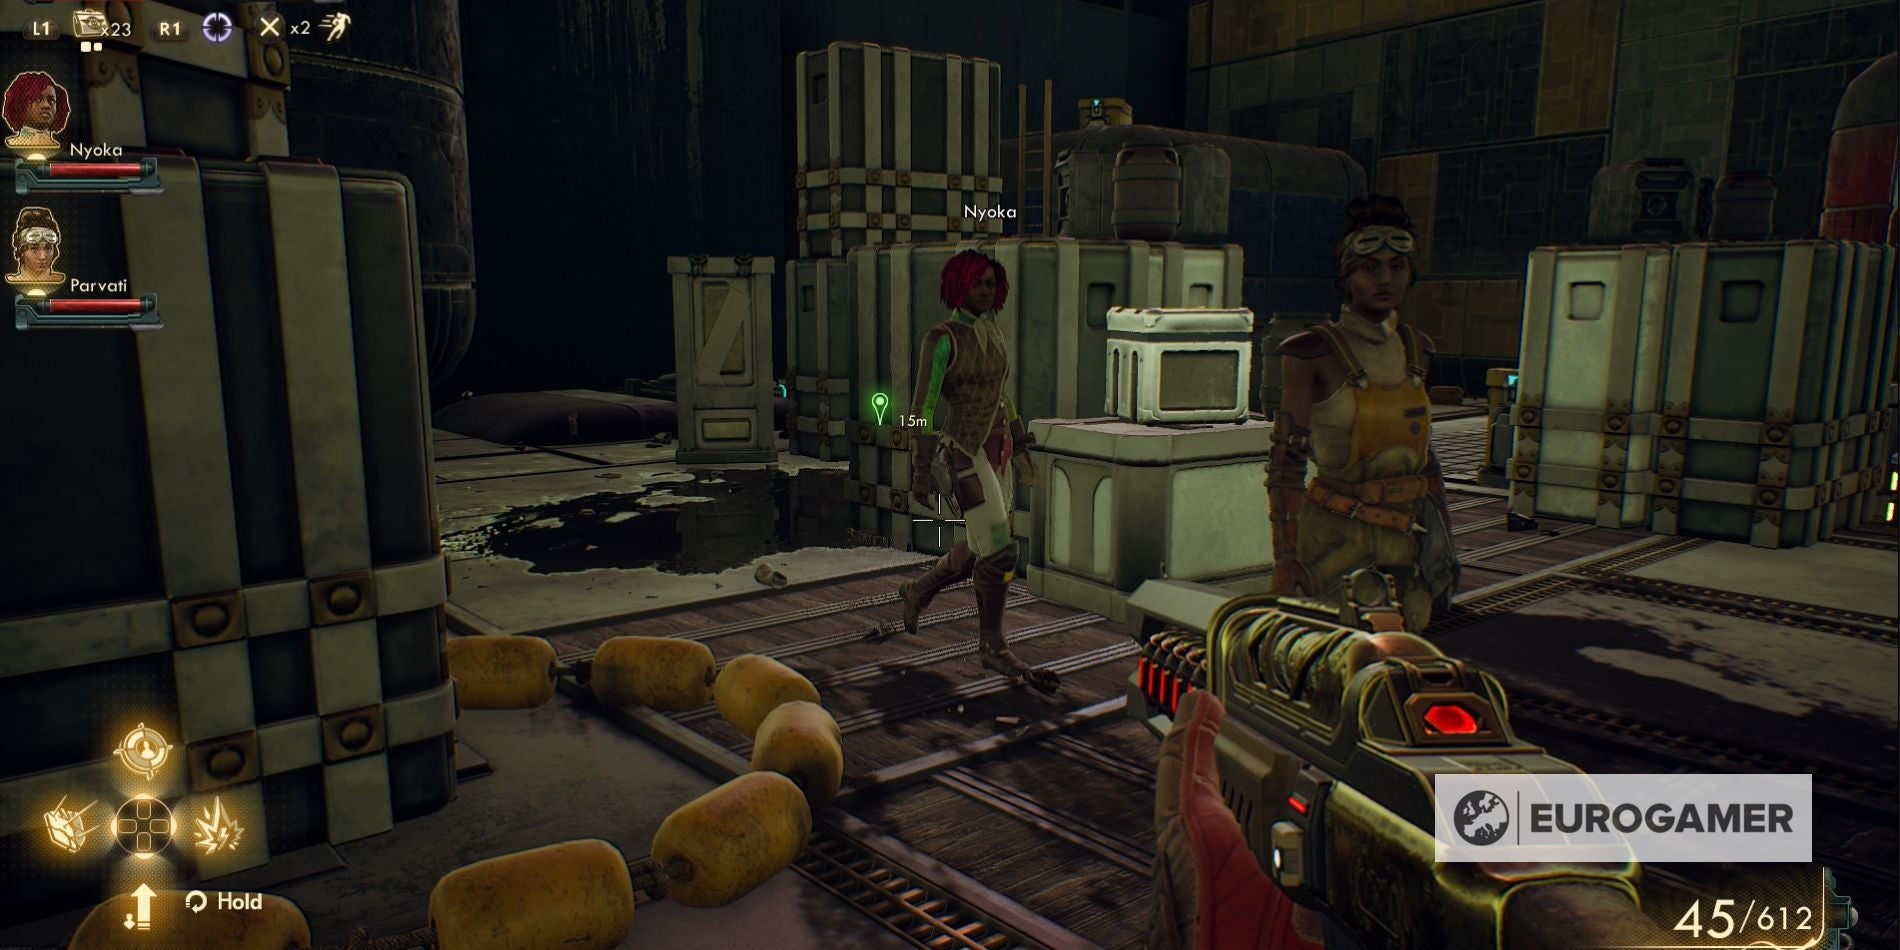
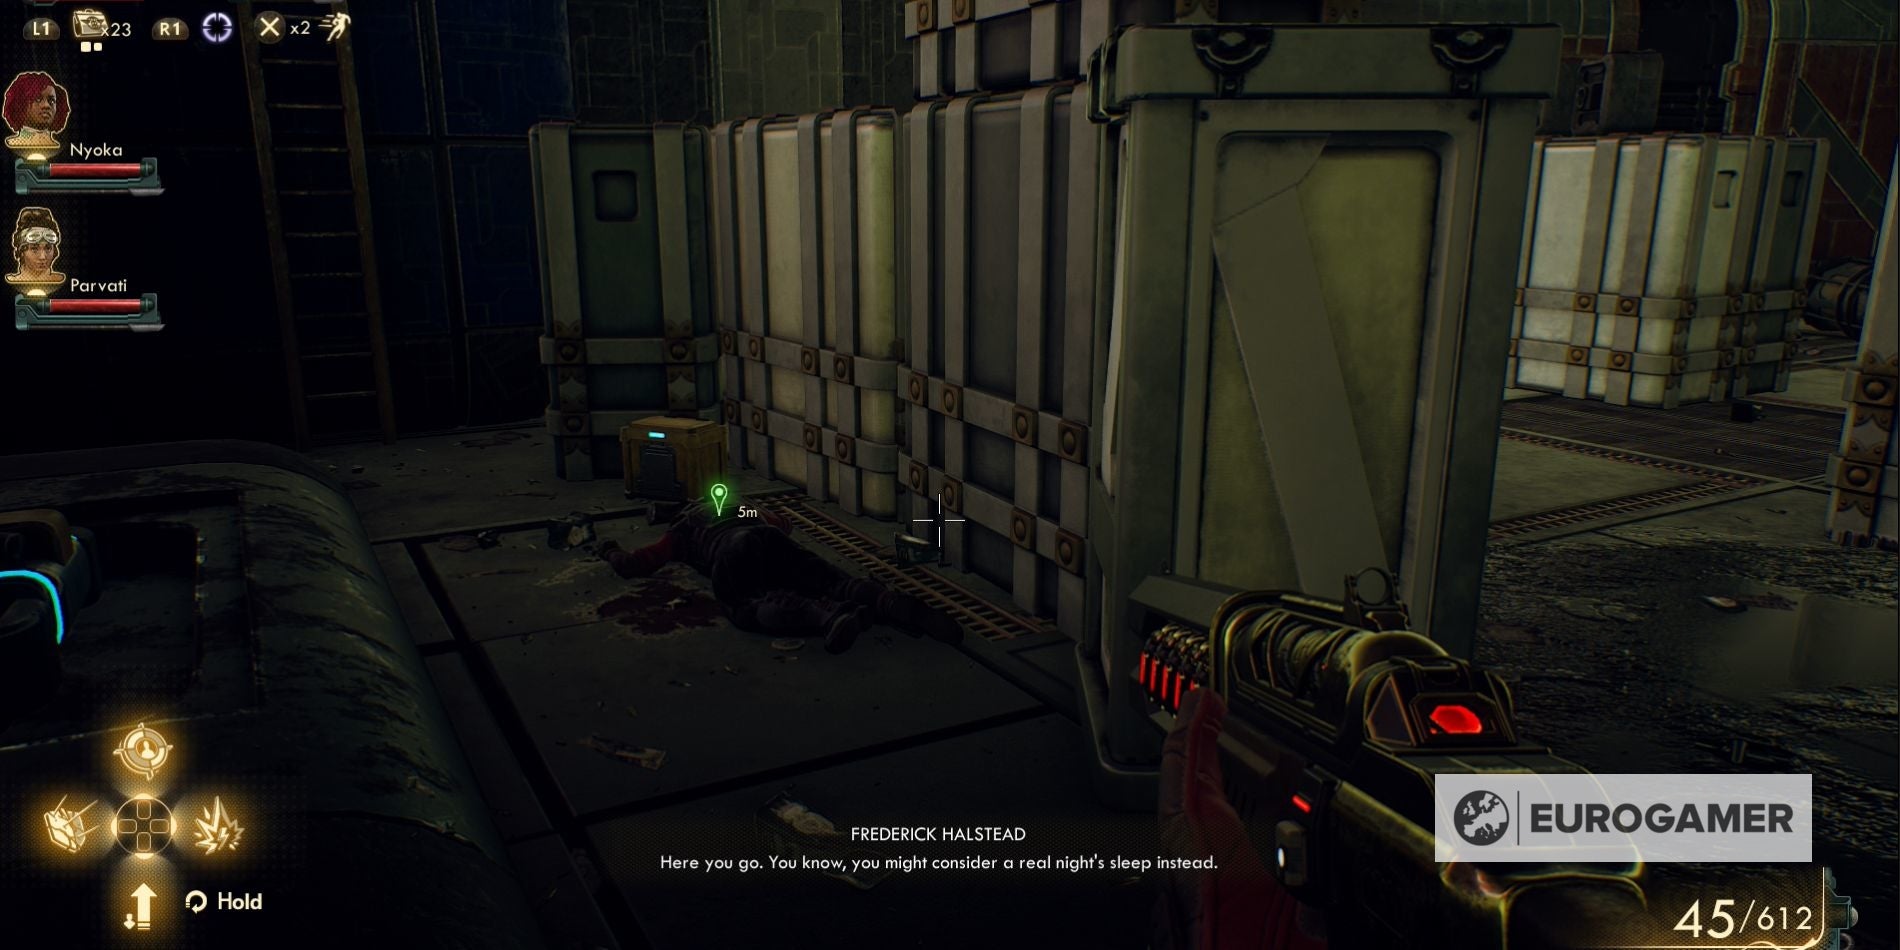
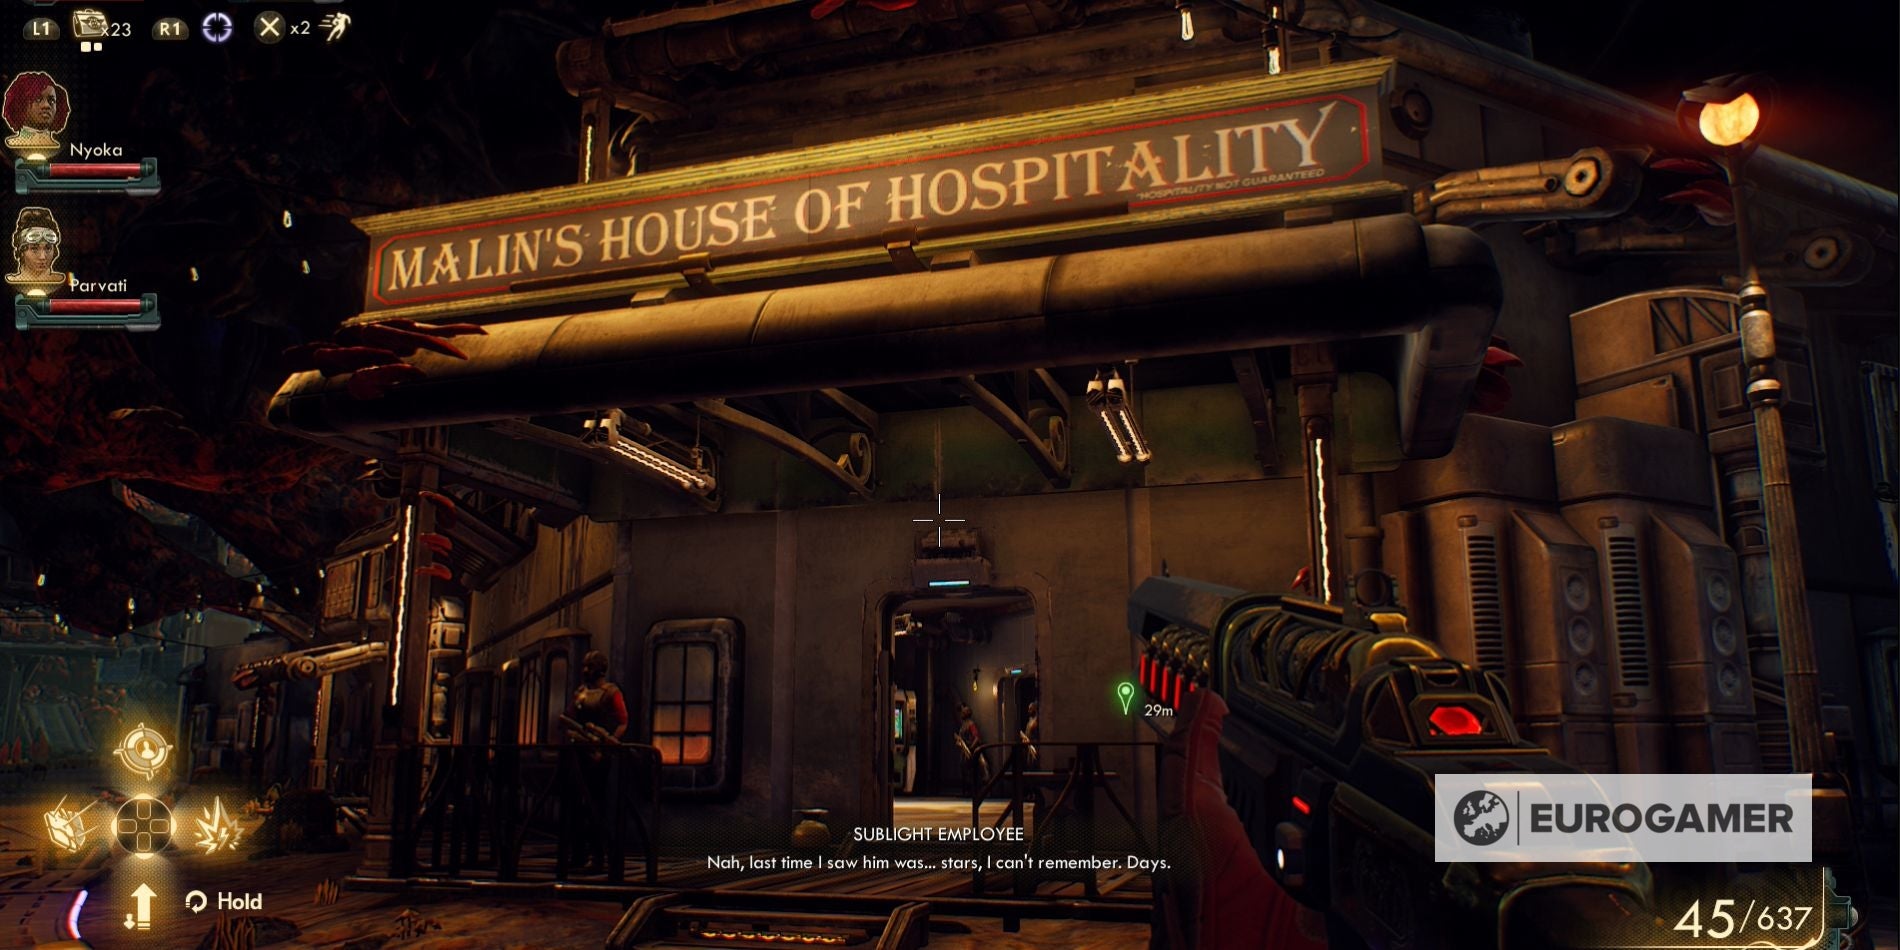
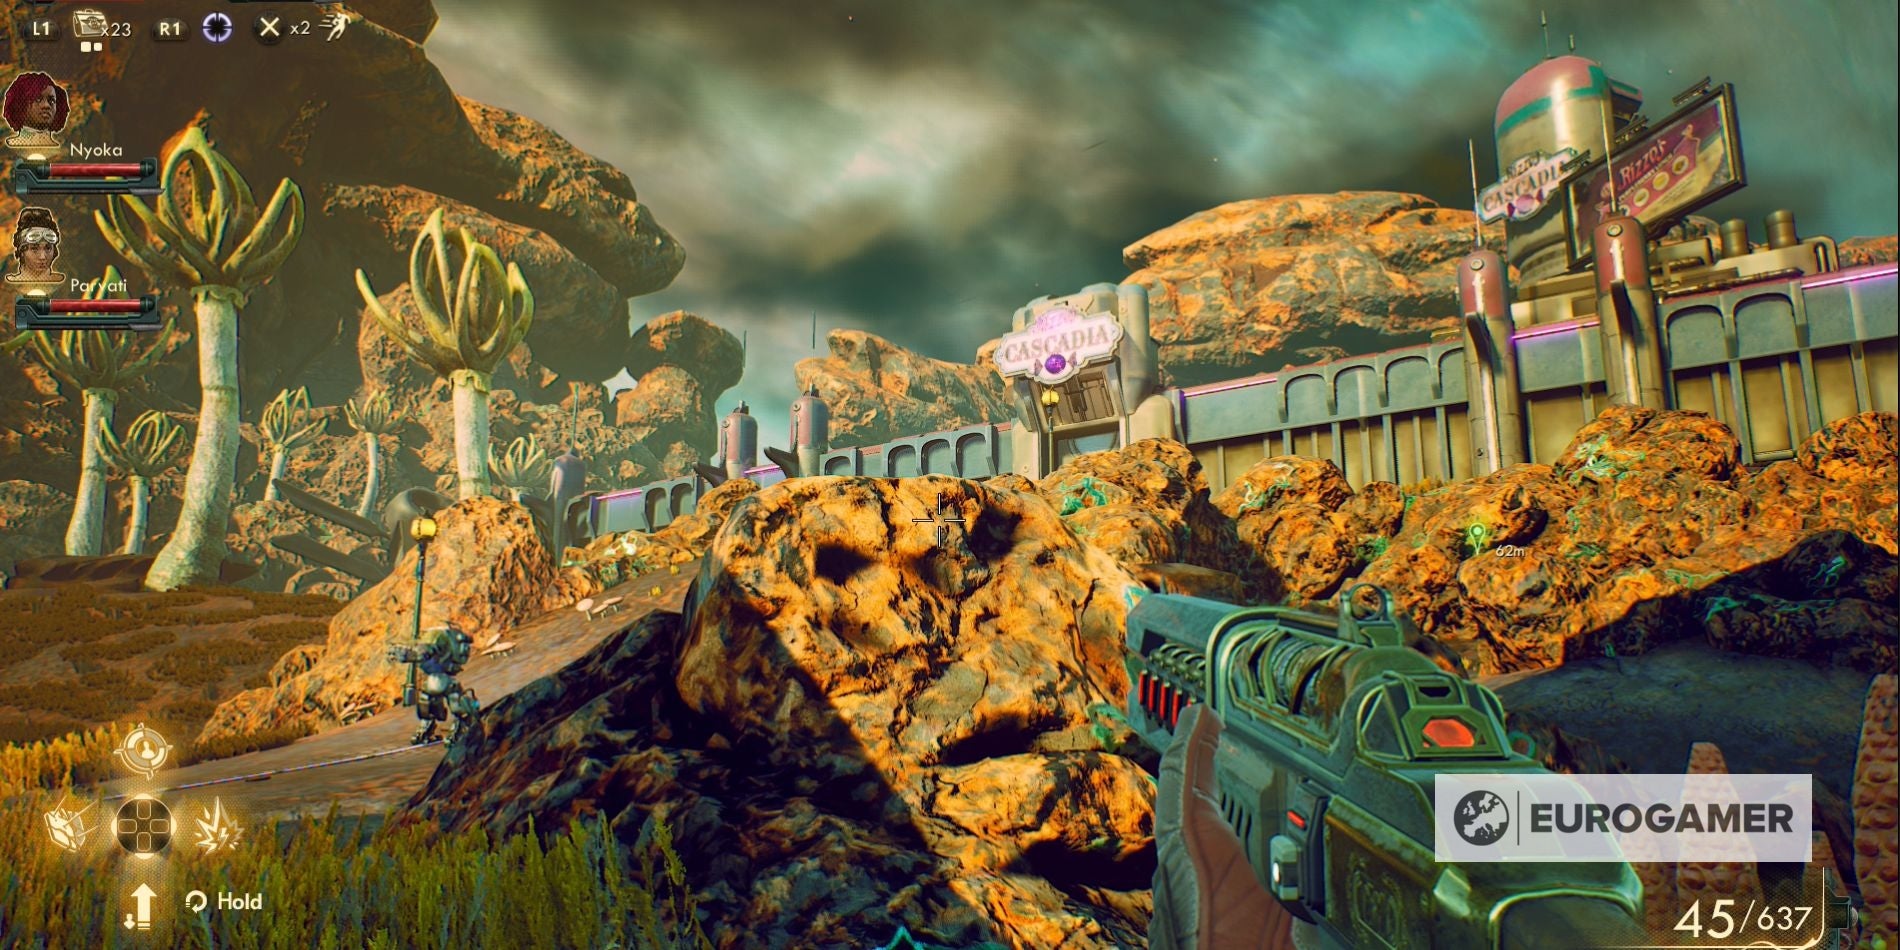
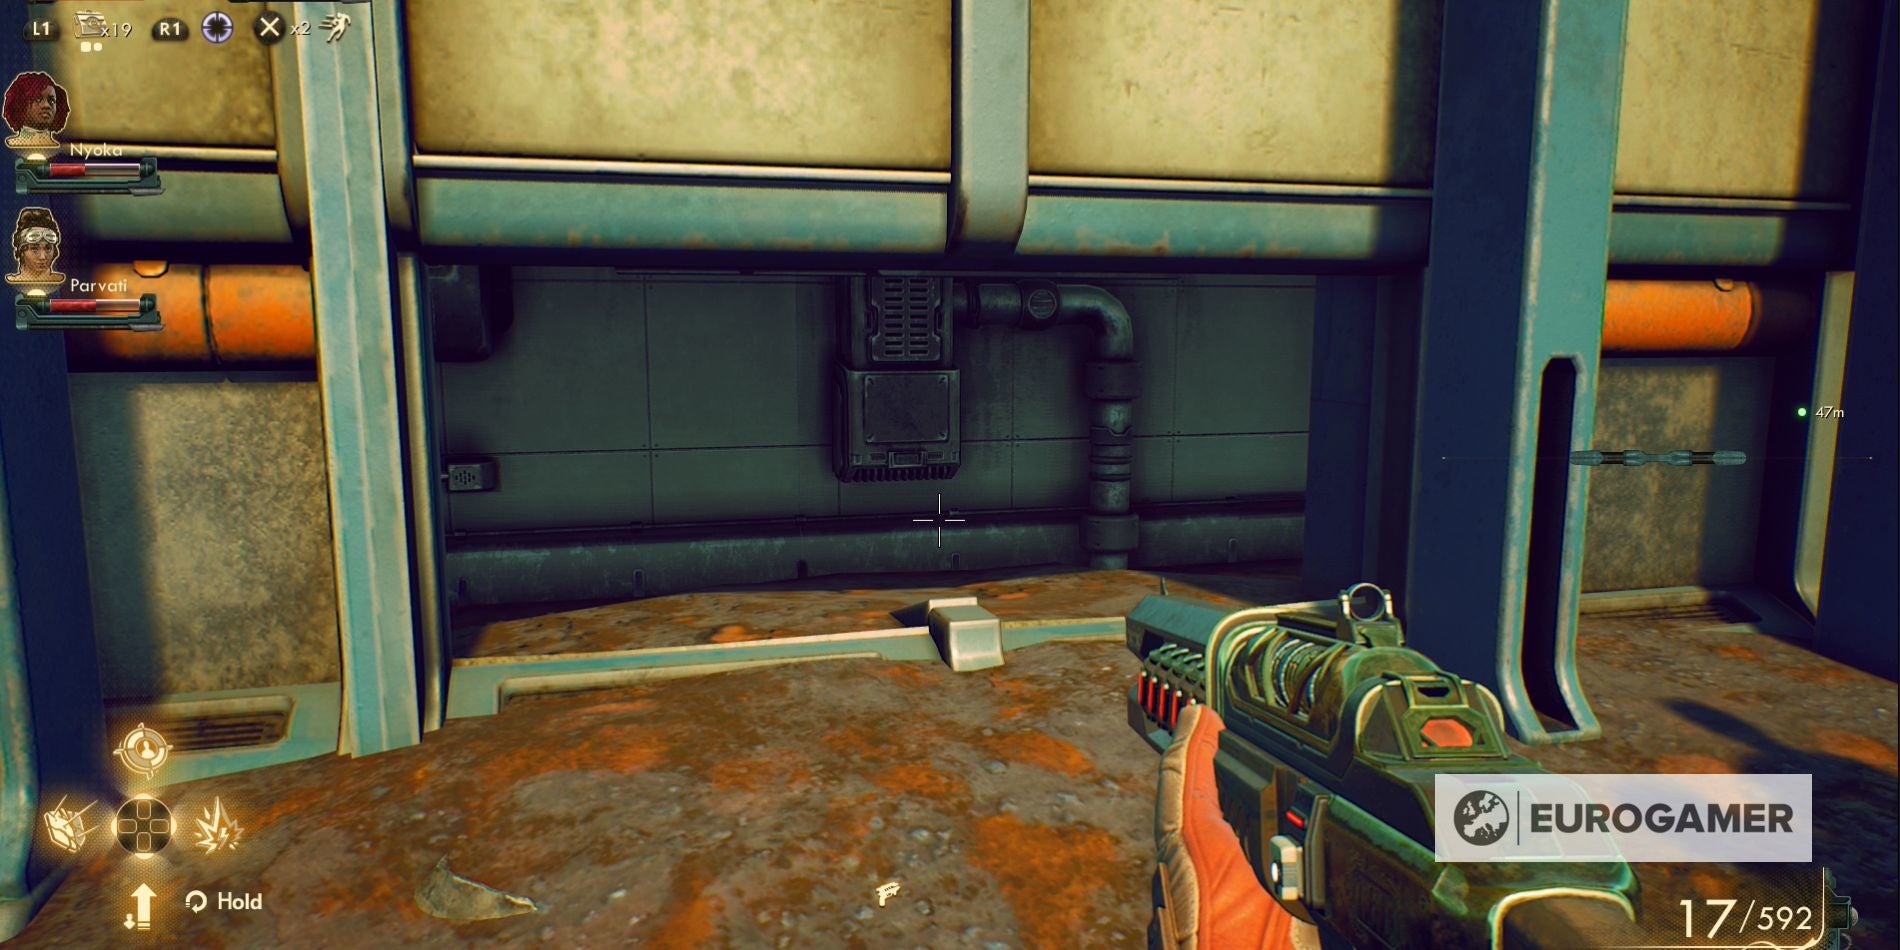
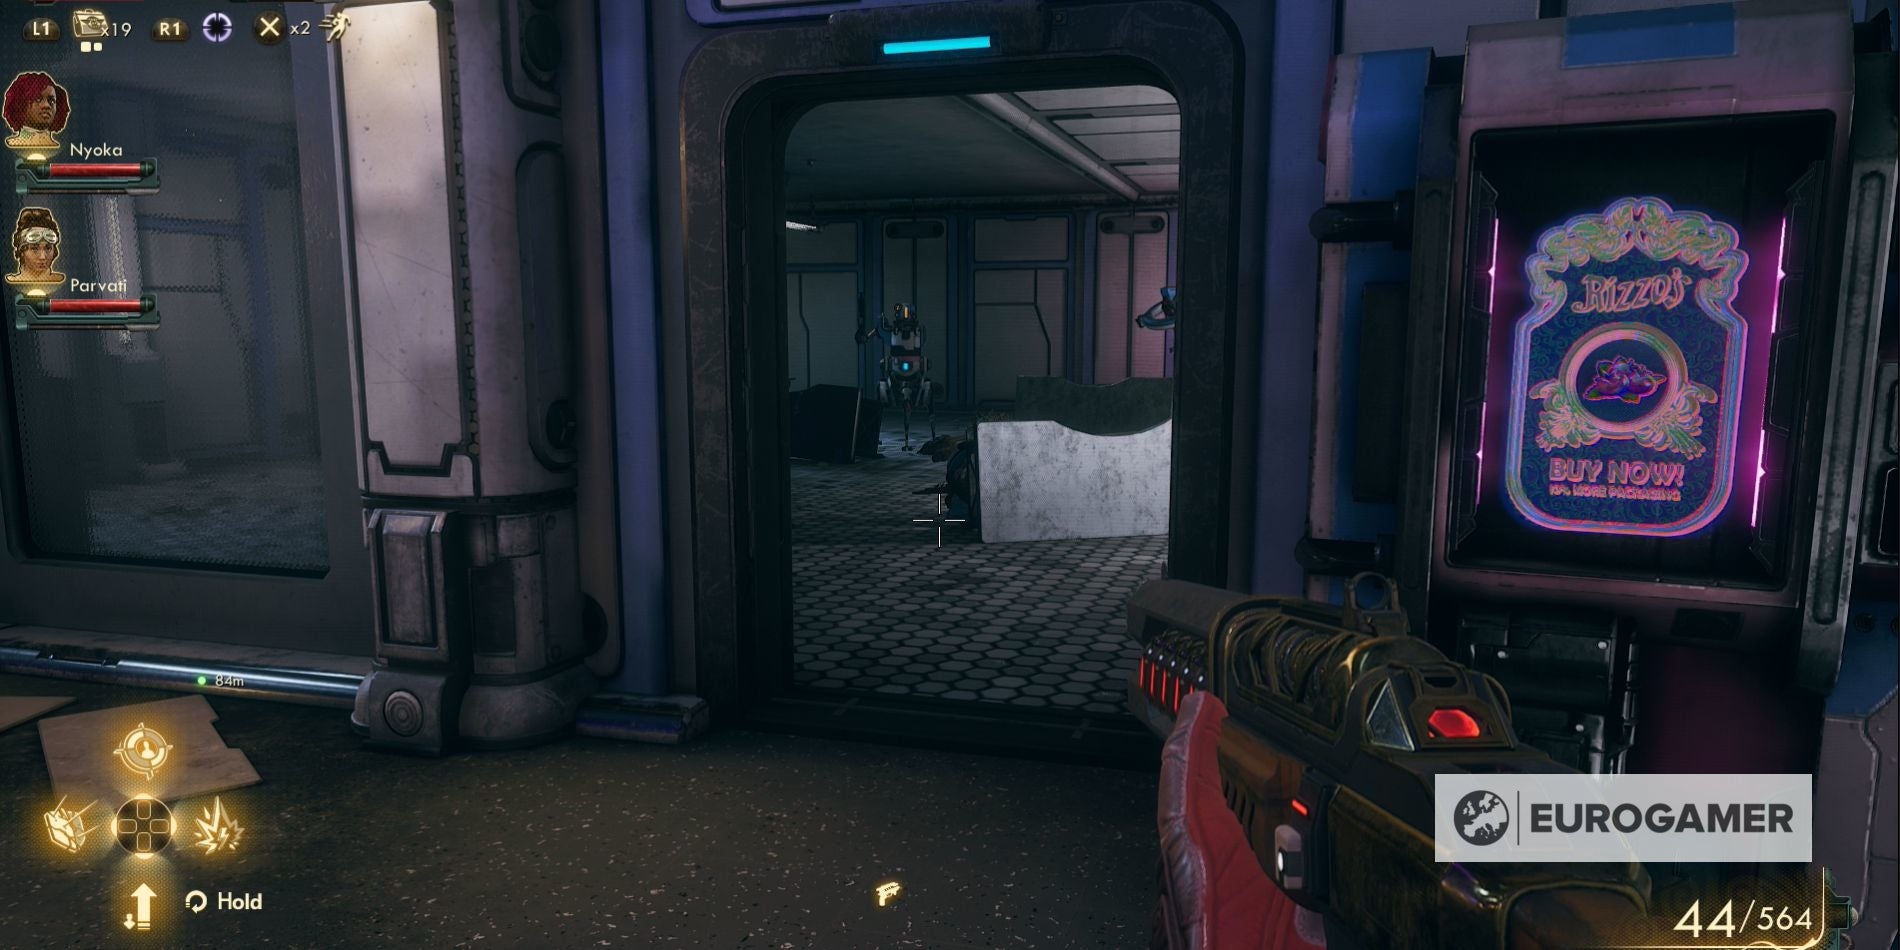
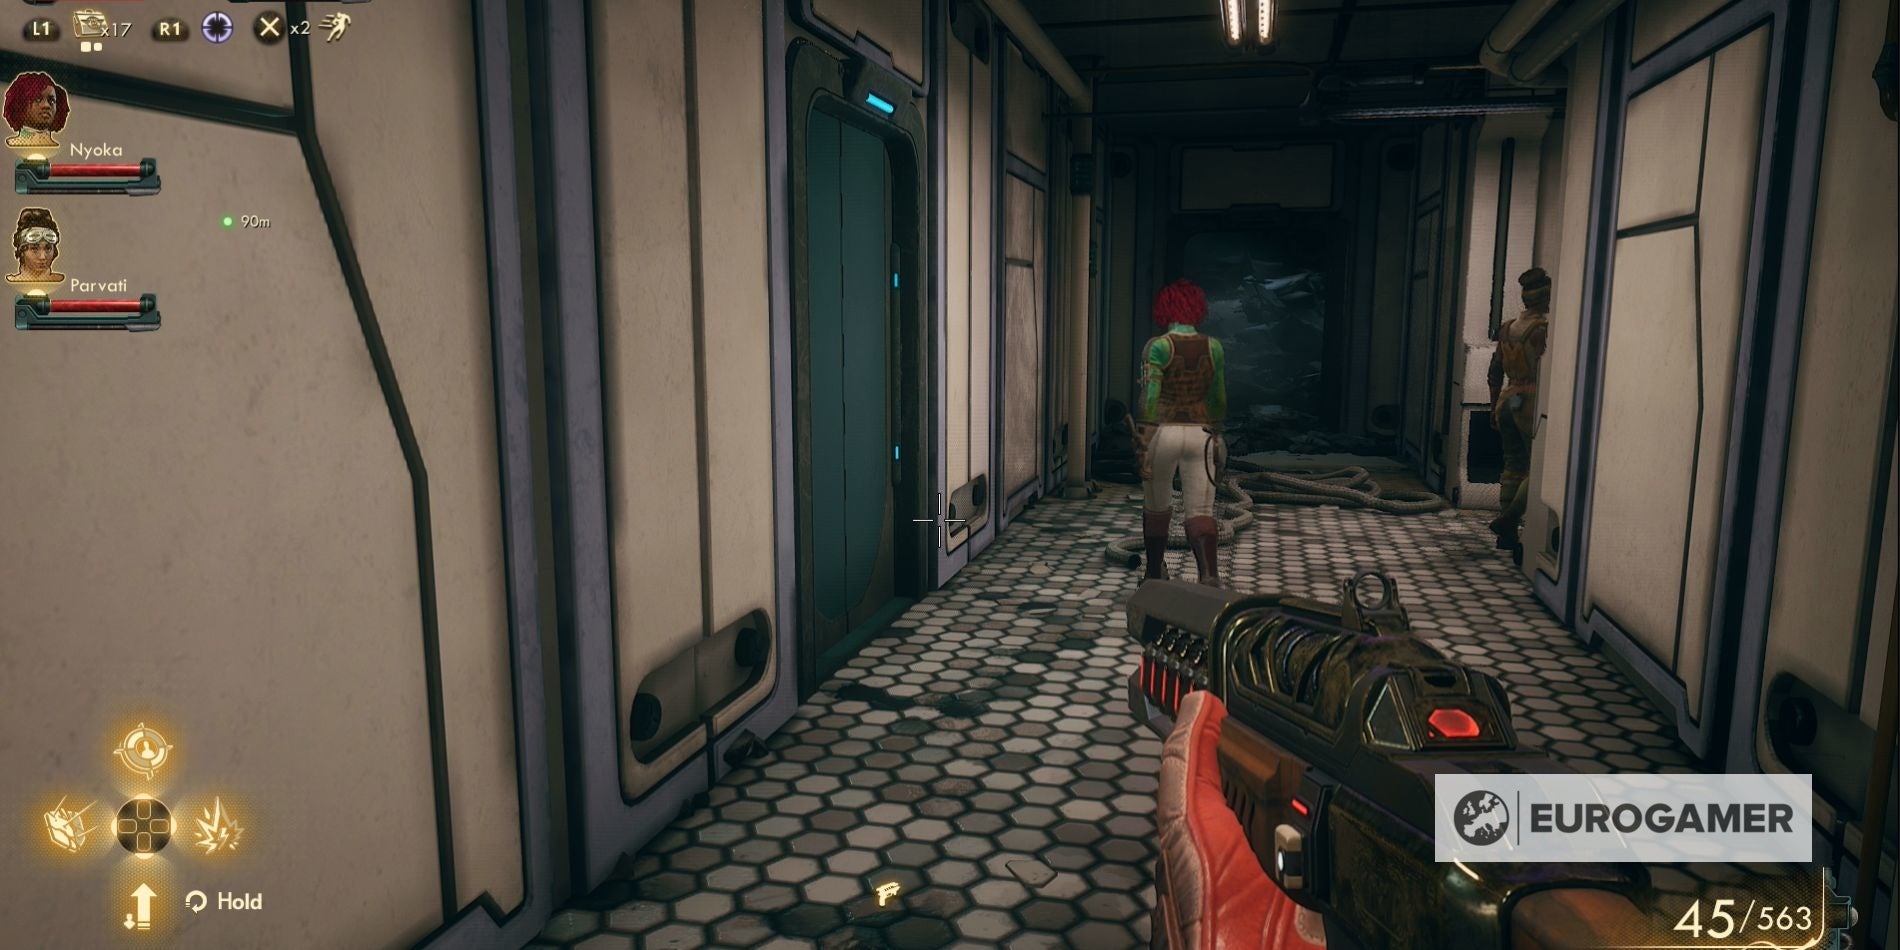
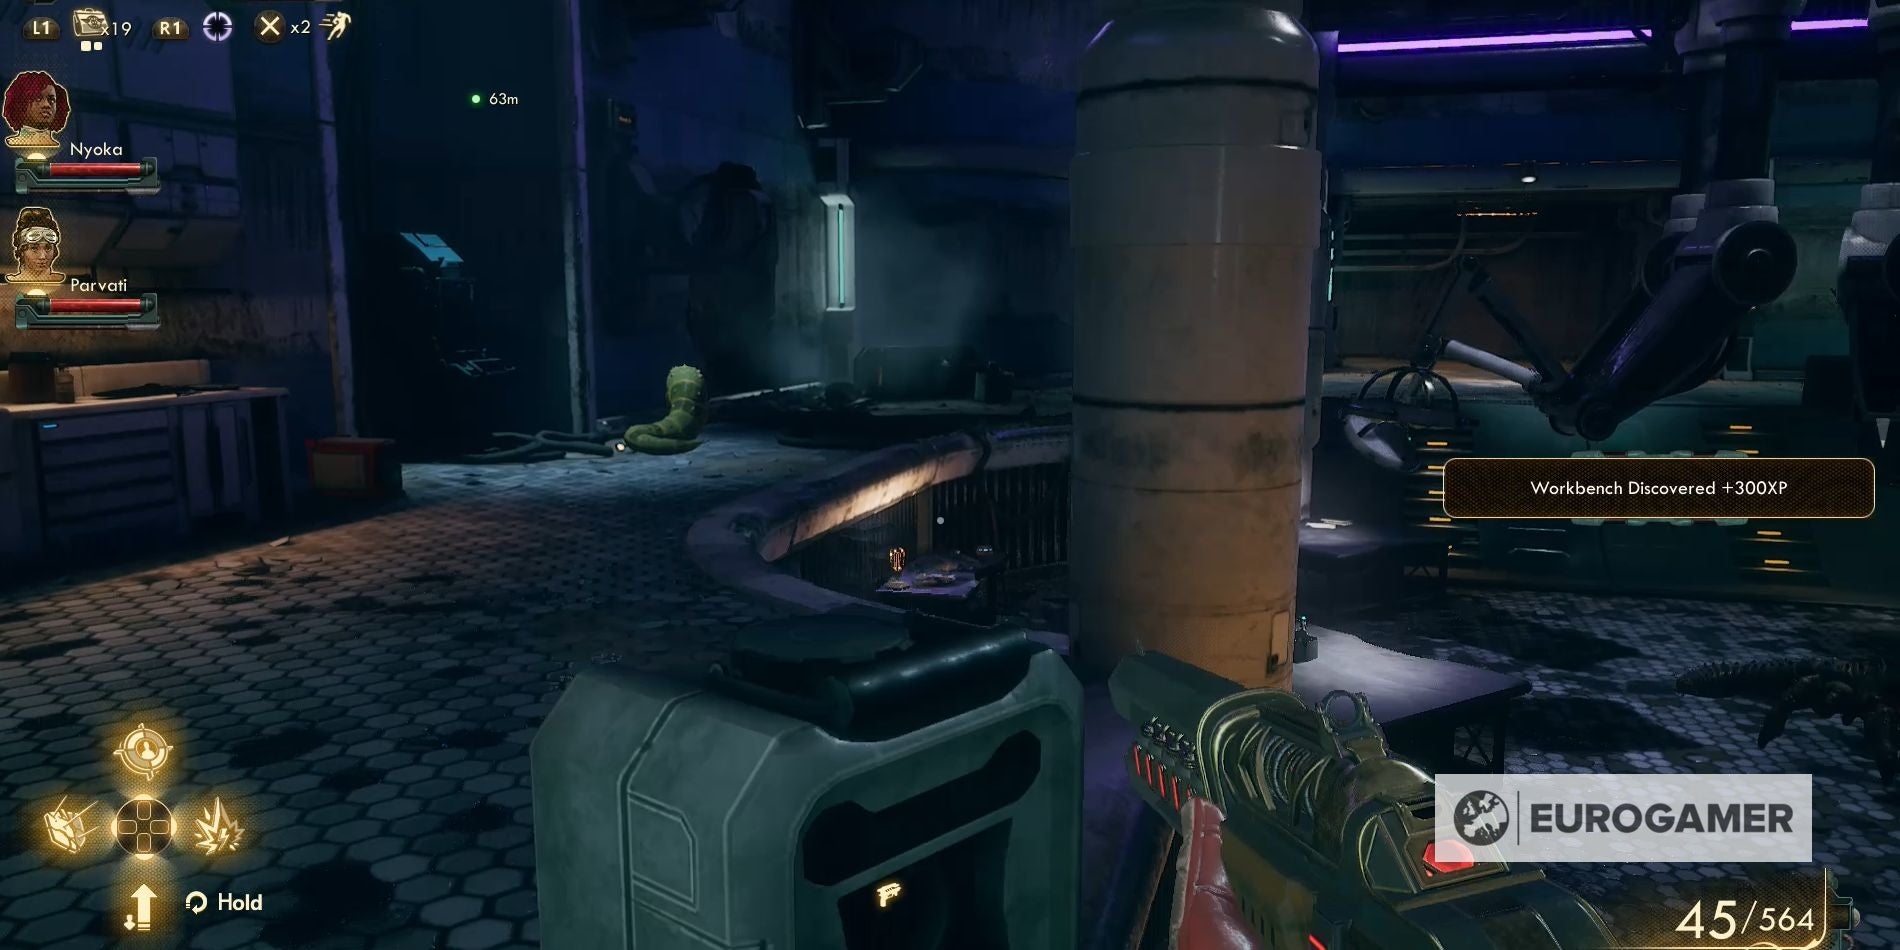
If you have Hack Level 45, you’ll be able to override this login. Either way you’ll be able to retrieve the Gloop Gun. The Outer Worlds begins on Terra-2 where you can complete The Frightened Engineer quest and decide whether to divert power to Edgewater or the Botanical Lab. Once you’ve fixed The Unreliable, you can complete Weapons From the Void to unlock the Science Weapons. You can crew The Unreliable with a crew of companions and manage your reputation with various factions too. Finally, if you’re ready for spoilers, we have a guide on the various endings. If you have started or completed the story mission, Radio Free Monarch, then you’ll also be able to start the faction quest, Space-Crime Continuum, while talking to Lilya. To access the secret lab containing the Science Weapon, you need to complete the opening steps of this faction quest. Once you’re able to start this faction quest, head back to Stellar Bay and go down to the docks. There, hidden behind a set of boxes, you’ll find a corpse. Loot it to find a Bloody Note. Now it’s time to return to Fallbrook and meet with Catherine Malin. You can find her in Malin’s House of Hospitality. Catherine will give you a code to enter the abandoned lab in Cascadia. Once you’ve finished talking to her, it’s time to leave Fallbrook and head to Cascadia. The quickest way to reach this new town is to head west from Fallbrook. When you arrive at Cascadia make sure you kill the various robot and marauder enemies that are located outside the town. If one stays alive they could alert the enemies hiding in the ruined town. After killing all the surrounding enemies, head to the left-hand corner of the wall in relation to the locked main door to Cascadia. Here you’ll find that sections of the wall have been removed, allowing you access to the town. If you have companions with you, it’s a good idea to make them stay just outside the wall, so they don’t get spotted by the marauders who now make Cascadia their home. Using crouch, sneak along the inside of Cascadia and head to the pink-ish building that is near the main door to the town. Go inside this building and close the door behind you to ensure no-one spots you. Use the computer terminal you find inside and select ‘[Supervisor Override]’, followed by ‘[Enter Password: ANTEDILUVIAN]’. This will reveal the elevator that will take you down into the Rizzo Secret Laboratory. Now that you have access to the secret lab, it’s time to find the Mind Control Ray. Make sure you’re well equipped for this journey, because it contains a variety of robots and monsters - all of which want to cause you harm. Your journey begins by going through the door next to the vending machine. Leave this room through the door in the left-hand corner and then go straight through the next. Go to the left end of the room and then through the door at the bottom of the stairs. Now you need to follow the corridor along and take the first left turn. If you continue down this corridor, you will find yourself surrounded by landmines. The next door you want is the first on the left hand side. The rooms beyond this door are full of dangerous wildlife, which you can either fight or run away from. Either way be prepared to be attacked from all sides. After entering this room, head through the door in the right-hand corner of the room. This will lead you into a larger lab, which has a set of stairs at the end. Go up these stairs and up the next set you see to reach a small control centre containing another elevator. Don’t take the elevator! Instead, look to the right of the elevator to find a small platform with a ladder. Jump over to it, so you can climb up the ladder and reach a higher platform. There will be another another platform, so jump across to that and climb up the second ladder you find there. At the top of this ladder you’ll find the safe containing the final Science Weapon - the Mind Control Ray.